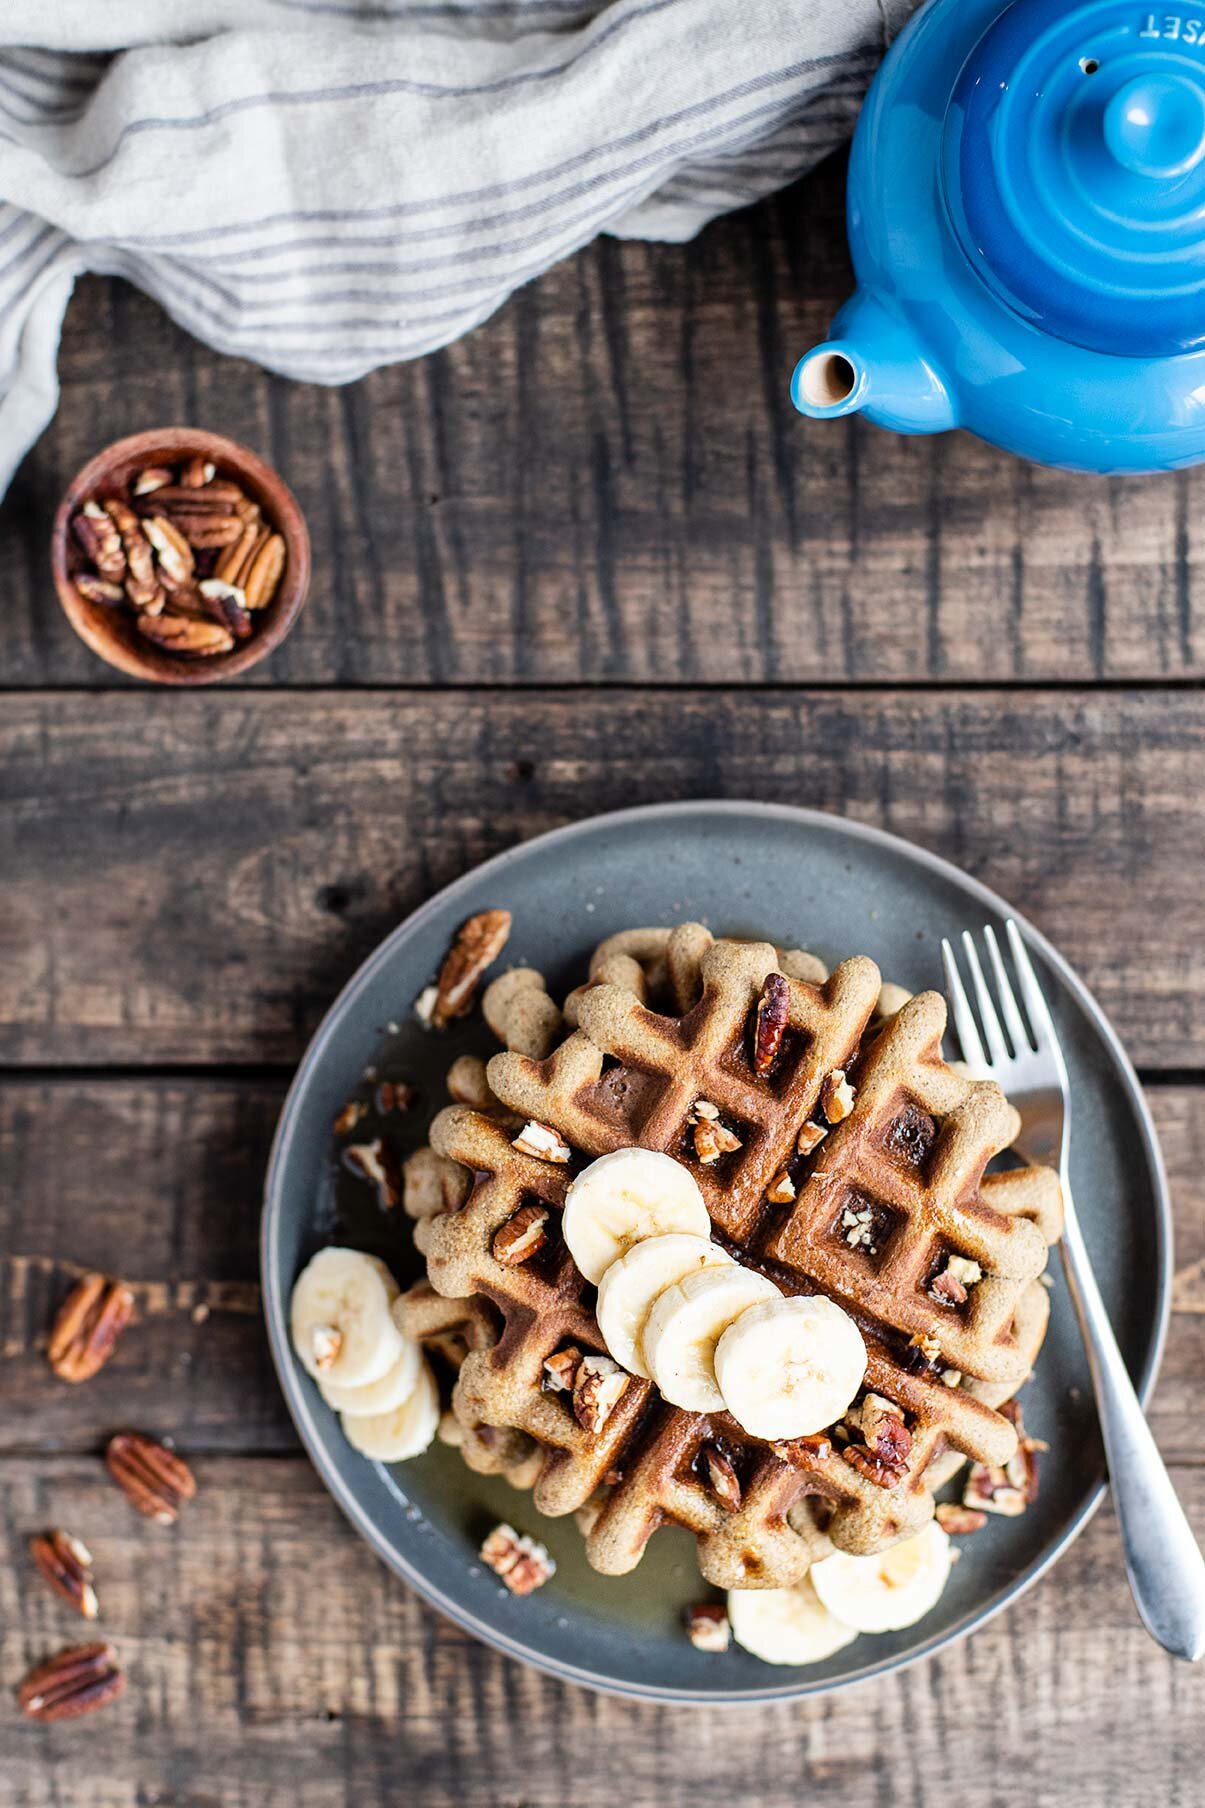
Grain-Free Banana Nut Waffles
/When you descend the ski hill at Crested Butte in Colorado, the smell of vanilla, butter and maple syrup wafts in your face. It gets stronger the closer you get to the bottom. As the hill tappers off and your skis slow, you find yourself standing in front of a small shack serving Belgian Waffles. They are steaming even as they get plated, causing swirls of butter and maple syrup to take over your mind. Talk about a solid business plan! Serving hot waffles to hungry traveling skiers who just want something warm--now that's a jackpot.
One whiff of those ski hut waffles has the ability to set me off on a waffle-craving craze for weeks. These banana nut waffles have a similar effect, filling the house with the sweet smell of maple syrup, butter, and vanilla. Toasted pecans only add to this experience. The difference is, they are made with 100% wholesome ingredients (because you know that's how I like it!).


Grain-Free Banana Nut Waffles
Serves: 4 | Total Time: 30 minutes
Ingredients:
-
For batter:
- 3/4 cup almond flour
- 1 banana
- 2 tablespoons coconut flour
- 1/4 teaspoon cinnamon
- 1 pinch salt
- 1 teaspoon baking soda
- 3 eggs
- 1/4 cup milk of choice
- 1 teaspoon vanilla Optional, to serve:
- Sliced banana
- Toasted pecan pieces
- Butter
- Maple syrup
Directions:
- Pre-heat a non-stick waffle iron.
- Add batter ingredients to a blender, and puree until batter is smooth and no clumps remain.
- Pour ¼ of the batter into waffle iron, and close iron. Cook for 4-5 minutes, until waffle is fluffy and golden. Transfer waffle to a plate.
- Repeat step 3 until all of the batter is used, cleaning waffle iron as necessary between rounds to prevent and burning or sticking.
- Serve with pats of butter, toasted pecans, sliced banana, and a drizzle of maple syrup.