Sourdough Bagels From Scratch

Sourdough Bagels

These round little baked goods have a special place in my heart, and not because I love New York bagels or have strong opinions about what a bagel “should" be. Instead, it’s because they are a token from my high school years, when I would get home from class and set to work mixing flour, salt, water and yeast. My dad loved (and still loves) telling people that this was how his teenage daughter chose to spend her free time. I haven't outgrown the phase, apparently—only matured it, taking the last year to research and test a sourdough version. These naturally leavened bagels are my new go-to, with a chewy crust, great rise, and complex flavor.

Sourdough Bagels
Sourdough Bagels

Sourdough Bagels from Scratch

Published February 9, 2021 by

Serves: 12   |    Active Time: 2 hours active cooking time; 25 total hours (including rising)


Ingredients:


For the Levain:
  • 500g bread flour
  • 500g warm water
  • 250g ripe sourdough starter (100% hydration) (For me, this is typically my entire jar of starter — that’s good, you will put some back in the jar after the first ferment. I’ve found this is a great way to reinvigorate my starter, too!)

  • For the Dough:
  • 1000g levain (above)
  • 360-480g bread flour
  • 6g diastatic malt powder (optional, provides improved rise and golden crust)
  • 17g salt
  • 3g instant dry yeast

  • For Cooking & Topping:
  • Large stock pot of water
  • 2 tablespoons honey (optional, gives bagels golden crust)
  • 1 cup of toppings, such as: sesame seeds, poppy seeds, everything bagel topping, shredded cheese, cinnamon sugar, etc.

  • Directions:

    1. This recipe includes a suggested baking schedule to help you plan, but you can adjust the schedule to fit your calendar. Feed your starter the night (or ~8hours) before making the levain.
    2. 8 am: Make levain by combining bread flour, warm water and 250g of ripe starter in the bowl of stand mixer. Cover, and set in a warm place to ferment, 8 hours (if it’s a very warm day, cut this to 6 hours).
    3. 4 pm: Move 250g of the levain back into your starter jar, leaving 1000g of active levain in the mixing bowl. Add 360g flour, malt powder, salt, and yeast to bowl. Place the dough hook attachment on your stand mixer, and mix until roughly combined. Turn mixer to speed 3 and knead, adding the additional 120g of flour in batches. The dough should be tough, smooth an elastic. If you notice the dough tearing, add a few small drops of water and stop adding flour. Knead for an additional 5-7 minutes.
    4. 4:15 pm: Line a baking sheet with parchment. Divide the dough in 12 equal sized pieces, about 120-130g each. Shape each piece into a ball, and place on baking sheet. Cover with a damp towel and set in a warm place for 20 minutes.
    5. 4:40 pm: Shape the bagels: working one at a time, use your thumb to poke a hole through the middle of each roll, and gently stretch to form a bagel shape. (Tip: once the initial hole is formed, I like to spin the loop around my finger and let gravitational pull do the stretching.) As the bagels rise and bake, the dough will puff, shrinking the hole in the middle, so make the hole a tad bigger than you want it to be in the finished product. Place shaped bagels back on baking sheet. Cover again with a damp towel, and rise for 20 minutes.
    6. 5:05 pm: The bagels should be puffy. Test their rise by dropping one in a bowl of water: it should float. If it does not, allow to rise longer. Cover entire tray of bagels loosely with a plastic bag (or two), and place in fridge overnight (or up to 36 hours - the longer you wait the more sour they will taste).
    7. 8 am (the next day): Prepare to cook bagels: Preheat oven to 475°F. As oven heats, bring a stock pot of water to a boil. Add honey. Prepare your toppings, by placing each topping in a wide bowl or on a plate that you can easily dip a bagel into.
    8. 8:05 am: Boil bagels: Remove bagels from fridge. Gently lower 3 bagels into pot. Cook for 30 seconds, then flip, and cook for 30 seconds on second side (Tip: I set a stopwatch next to the stove so I can watch the clock). Using a slotted spoon, remove bagels from water, allowing excess water to drain back into the pot. Dip top of bagel into bowl of toppings, then set, topping-side up, on the sheet pan. Repeat until all bagels are boiled. Note: Boiling will slow with the addition of the cold bagels — keep the water warm enough to maintain a gentle boil.
    9. 8:15 am: Bake bagels: Bake for 20-25 minutes, until golden brown on all sides.
    10. 8:35 am: Transfer to cooling rack and allow to cool at least 10 minutes before slicing.
    11. Serve to taste with butter, cream cheese, lox, capers, etc. Bagels are best fresh, but will last the week if stored well: Allow bagels to cool completely before storing. Once cooled, wrap tightly in plastic or place in an airtight container. Store at room temperature for up to 7 days.

    Roasted Red Pepper, Black Bean & Quinoa Breakfast Bowl

    Roasted Red Pepper, Black Bean & Quinoa Breakfast Bowl

    Leftover quinoa in the fridge? This one is for you. 😊

    I recently bought a bag full of quinoa because I wanted to try my hand at popping it (like popcorn). Popped quinoa is something that was sold roadside and in artisan markets when I visited northern Chile. It was a novelty for me — though I had eaten plenty of quinoa before, and knew it was local to the Andean region, seeing it puffed was different. Think puffed rice, but round, smaller, and with a delicious nutty flavor.

    I tried two methods for popping the grains (one stove top, one in the microwave) and neither produced the results I was looking for. The final product was like a toasted quinoa seed, which was crunchy and nutty and great on yogurt. But it wasn’t a “pop” or a “puff” by any standard. Have you popped quinoa? How did you do it? Do I need an air popper? I have dreams of a chocolate almond butter granola bar with puffed quinoa and need your help!!

    On the bright side: these experiments have meant I’ve had plenty of quinoa in the pantry.

    Roasted Red Pepper, Black Bean & Quinoa Breakfast Bowl
    Roasted Red Pepper, Black Bean & Quinoa Breakfast Bowl

    Roasted Red Pepper, Black Bean & Quinoa Breakfast Bowls have been the highlight of my quinoa-filled week.

    They are an “oooooh, yummy” and also “oh that looks nourishing” kind of dish, at the same time.

    Making these in the morning is easiest when you have leftover quinoa and already cooked (or canned) black beans to start with. You can totally cook up a fresh batch to make these bowls, but using leftovers makes this easy, and easy mornings = good. Next time you’re making quinoa, make extra with tomorrow’s breakfast in mind.

    Roasted Red Pepper, Black Bean & Quinoa Breakfast Bowl

    Roasted Red Pepper, Black Bean & Quinoa Breakfast Bowl

    Published January 24, 2019 by

    Serves: 2   |    Active Time: 20 minutes


    Ingredients:

  • 2 eggs
  • 1 tablespoon coconut oil or other cooking oil
  • 1 red bell pepper, sliced in strips
  • 2 cups cooked quinoa, warmed
  • 1/2 cup black beans, canned or pre-cooked and strained, warmed
  • For serving: salt & pepper, sliced avocado, minced cilantro, lime wedges

  • Directions:

    1. Divide quinoa and black beans between two serving bowls.
    2. Cook the peppers: Heat cooking oil in a skillet over medium heat. When the oil glistens, tilt the pan back and forth to coat it in oil. Place red peppers in pan, and sauté, stirring every 2-3 minutes, until peppers are soft and edges are browning. Transfer peppers to serving bowls.
    3. If your pan is dry, add a bit more oil. Crack the eggs into the pan, one at a time, and reduce heat to low. Cook until whites are completely set and yolks have reached your desired doneness. Use a spatula to transfer eggs to serving bowls.
    4. Top each bowl with salt & pepper to taste, sliced avocado, minced cilantro, and a lime wedge. Serve warm.

    Goat Cheese & Chive Scrambled Eggs

    Goat Cheese & Chive Scrambled Eggs

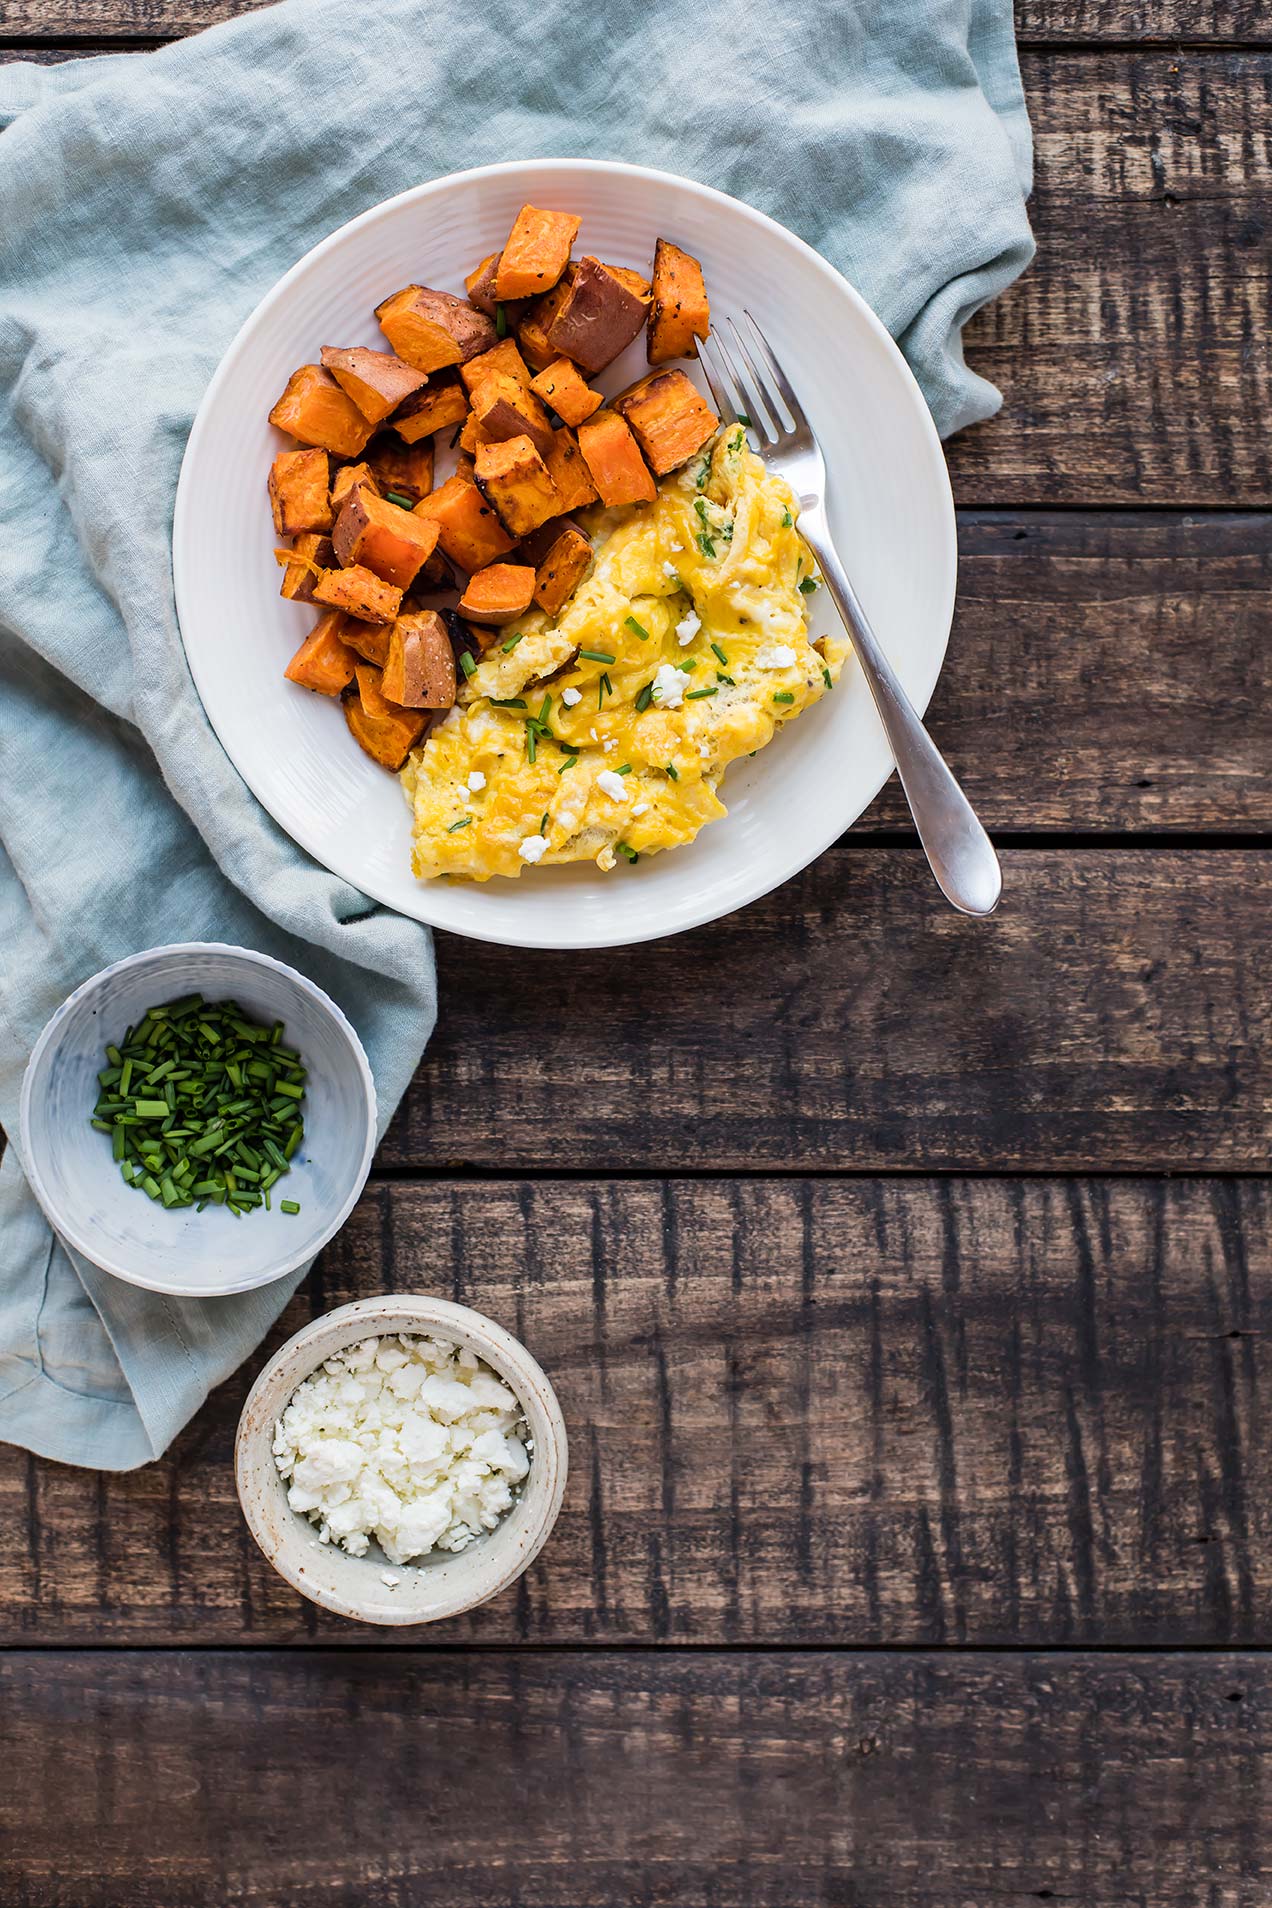
    Adding goat cheese crumbles to scrambled eggs takes about two additional seconds but adds so much creamy cheesy flavor.

    While I normally opt for eggs over easy these days, scrambled eggs were probably the first thing I ever learned to cook myself, and that alone made them one of my favorite foods as a kid. (I would scramble and egg in the microwave on slow weekends when my mom would ask, “Are you going to eat breakfast today?")

    That version didn’t call for goat cheese (and I don’t think twenty-years-ago Caitlin would’ve appreciated the addition), but goat cheese adds pockets of creaminess that are out of this world.

    Goat Cheese & Chive Scrambled Eggs
    Goat Cheese & Chive Scrambled Eggs

    Chives and goat cheese are a classic combo. Chives add a delicate onion-garlic flavor that is just zippy enough to give creamy goat cheese some extra life. Chives are one of the first plants in the garden that turns green come spring, making this breakfast a perfect early spring kind of dish.

    I happened to also be cooking up a batch of creamy Icelandic Langoustine Soup, and had some extra chives to burn. I hate buying a bunch of herbs and only using half, leaving the other half to wither in the fridge… though, that ends up being the fate of many MANY bunches of herbs in our fridge. Sound familiar? Well, there are LOTS of ways to use up chives, including this recipe! Here are a few more to help you finish off that bunch: Crustless Quiche Lorraine (a reader fave!), Sweet Potato Chive Hash Brown Waffles, or Garlic and Herb Shrimp with Vine Ripe Tomatoes. You could basically build a whole week’s meal plan around a bunch of chives!

    We served these eggs with a side of roasted sweet potatoes, but sautéd veggies would also be delish!

    Goat Cheese & Chive Scrambled Eggs
    Goat Cheese & Chive Scrambled Eggs

    Watch now: Goat Cheese & Chive Scrambled Eggs

    Goat Cheese & Chive Scrambled Eggs

    Published January 17, 2018 by

    Serves: 2   |    Active Time: 20 minutes


    Ingredients:

  • 4 eggs
  • 3 tablespoons goat cheese crumbles, plus more for topping
  • 1/8 teaspoon salt
  • 1/8 teaspoon ground black pepper, plus more for topping to taste
  • 1 tablespoon cooking oil, such as coconut or avocado
  • 2 tablespoons minced chives, plus more for garnish 

  • Directions:

    1. Crack all four eggs into a mixing bowl. Whisk together until they are frothy and solid yellow. Add goat cheese, salt, and pepper, and whisk to incorporate.
    2. Heat oil in a 10-inch skillet over medium heat. Pour egg mixture into skillet. As eggs begin to set (after a few minutes) gently use a spatula to pull eggs across pan, making curds. Add in chives and continue to cook for a few more minutes, occasionally stirring, until all of the egg mixture is set.
    3. Divide among serving plates and sprinkle with extra goat cheese and chives, along with extra black pepper to taste.