Ramen Noodle Salad

Ramen Noodle Salad

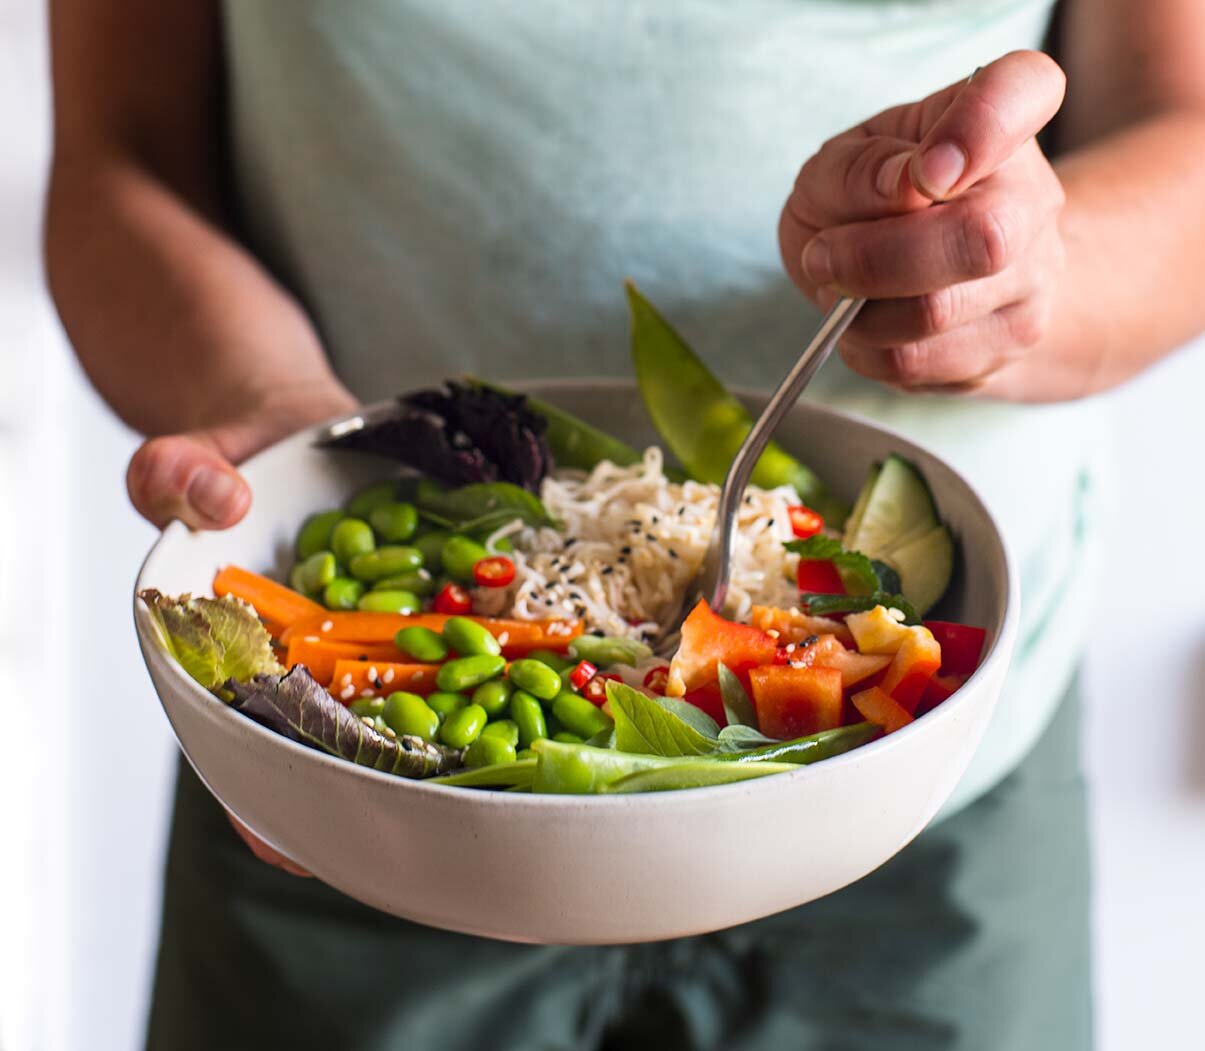
Quick work day lunch. Lazy dinner.  Full of veggies, bright with flavor, and satisfying. Adaptable. Easy camping meal (and yes, there is still camping left to do this year!). This dish is all of those things, which is likely why it’s become a repeat hit for us this summer. 

I stocked up on ramen noodles from Costco early last spring, and since they’ve become a fall back when I don’t want to go to the grocery store, or when I don’t want to spend a lot of time cooking. When weather turned hot, ramen went from soup to salad with surprising ease. I had extra appreciation for this meal just a few weeks ago, when I packed up a container of veggies and two packets of ramen noodles as a camping dinner. It was one of the fastest, mess- and stress-free camping dinners I’ve had! .

Ramen Noodle Salad
Ramen Noodle Salad

This is more of a concept than a recipe. What I mean is you can swap ingredients in or out based on what you have. Just keep the concept in mind, which has a few core ingredient categories: ramen noodles, veggies and herbs, dressing, and crunchy toppings. From there, make it your own. Protein, like soy beans, tofu, or chicken/shrimp are optional bonuses.

Ramen Noodle Salad

Published September 22, 2020 by
   Print This Recipe

Serves: 2   |    Active Time: 15 minutes


Ingredients:

  • 2 packets ramen noodles (remove sauce or flavoring packets; they will not be used)
  • Water, for cooking noodles
  • 2-3 cups fresh vegetables, such as: lettuce, spring greens, cubed avocado, julienned carrots, sliced cucumbers, cherry tomatoes, diced bell pepper, snow pea, sugar snap peas, sliced radishes
  • 1/4 cup fresh herbs, such as: Thai basil, Genovese basil, mint, cilantro, sliced green onions
  • 2 tablespoons crunchy toppings, such as: toasted sesame seeds, slivered almonds, toasted cashews
  • Optional: 4 ounces protein, such as: steamed soy beans (edamame), tofu, roasted chicken, or shrimp
  • Optional, for added spice when serving: chili flakes or minced fresh Thai chilis to taste

  • For the dressing:
  • 1/4 cup white rice vinegar
  • 2 tablespoons cup soy sauce
  • 2 tablespoons olive oil
  • 1 tablespoon toasted sesame oil
  • 1 tablespoon sambal olek (chile-garlic sauce) or Sriracha
  • 1 teaspoon maple syrup

  • Directions:

    1. Cook noodles according to directions on package, but do not use any flavor packets or sauce included with them. Once cooked through, drain noodles through a strainer and rinse with cold water to cool.
    2. Divide cold noodles amongst serving bowls. Arrange chopped vegetables over top, along with herbs, and optional protein.
    3. In a jar, combine ingredients for dressing. Place lid on jar and shake to combine. Drizzle dressing over noodles and veggies.
    4. Top with toasted sesame seeds and/or nuts. Add chili flakes or minced Thai chilies to taste for add spice, and serve.

    Peachy Mint Green Smoothie

    Peachy Mint Green Smoothie

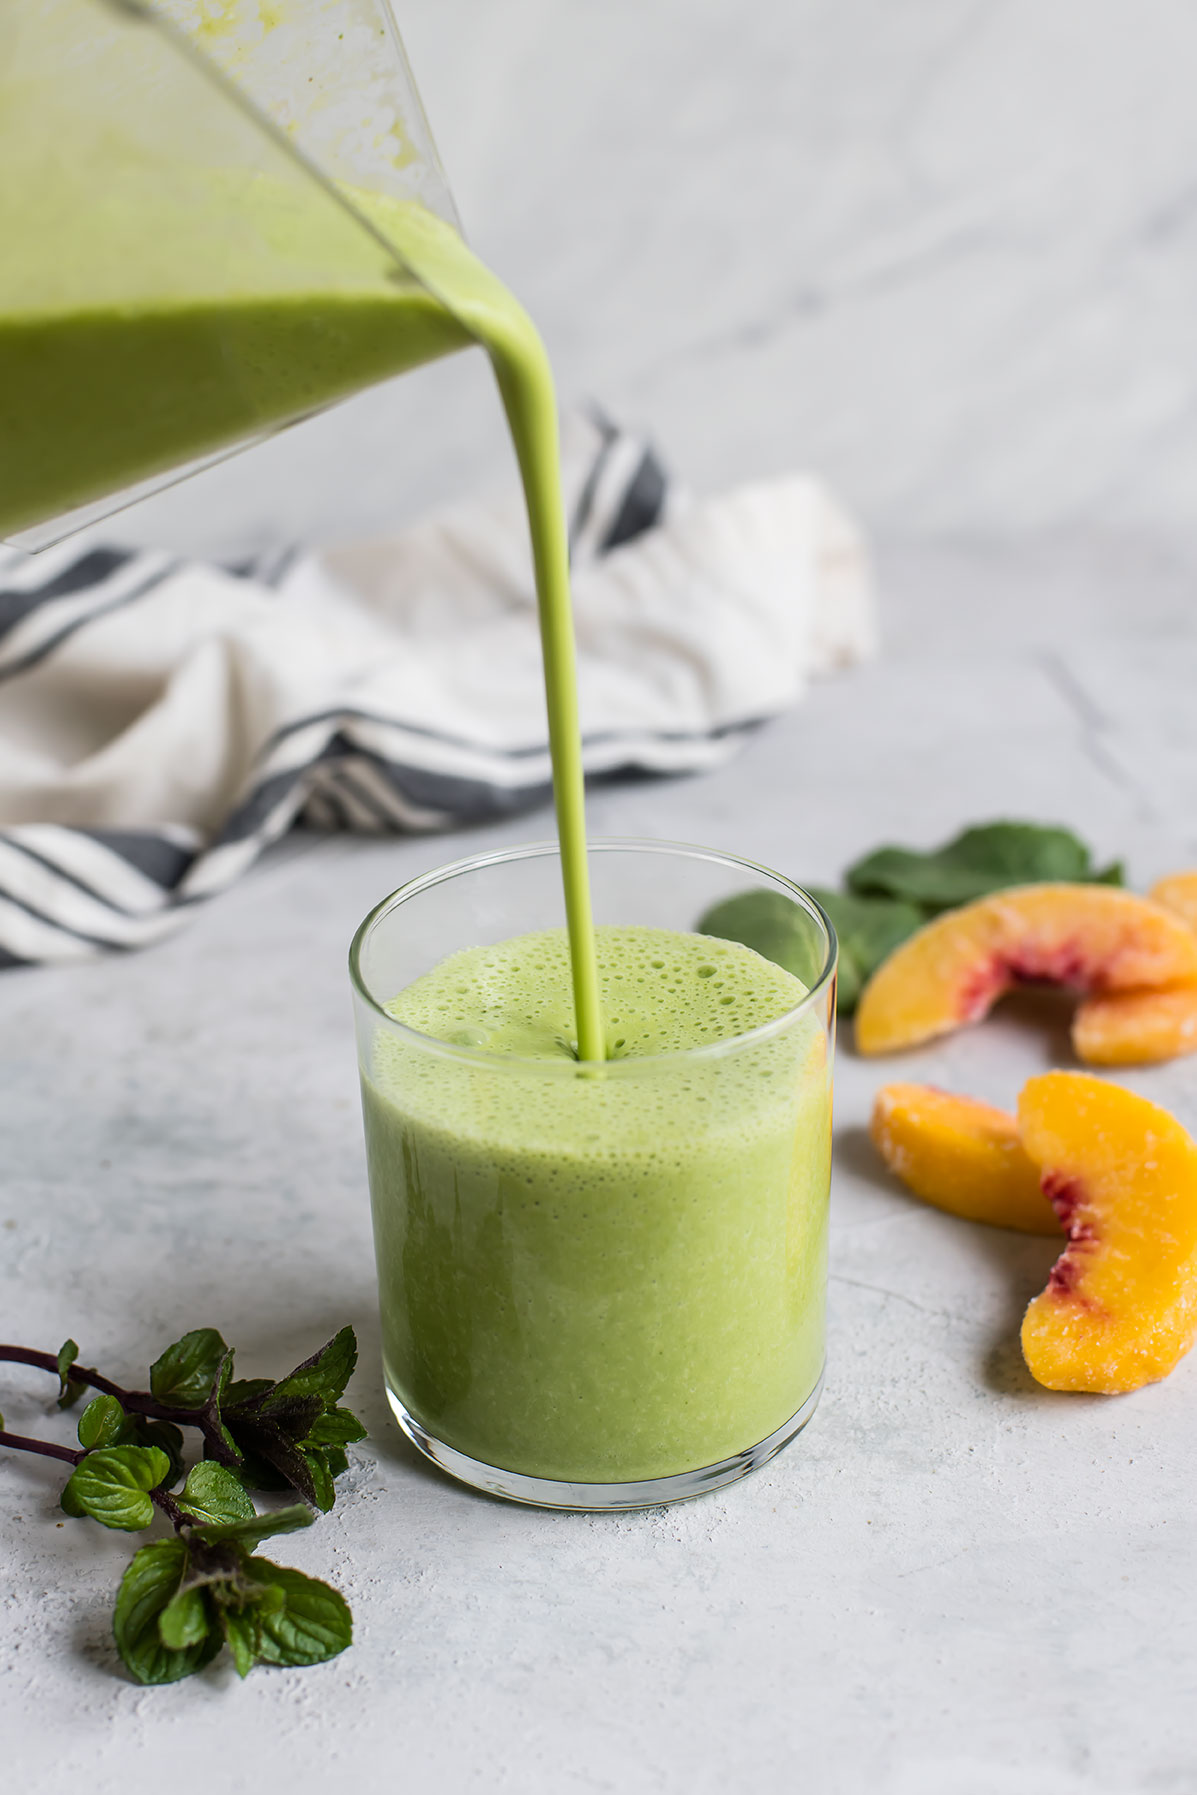
    Sometimes it feels like inspiration finds the maker, not the other way around. Take this smoothie. I’ve been pretty fresh out of inspiration (or maybe motivation, it’s hard to tell the difference), as evidenced by the slow roll of recipes here at Foraged Dish over the last month. I’ll plan out a recipe, and at the last moment decide I just would rather make something else. But while waiting for an extraordinarily delayed flight, I stopped by a small café at the La Guardia airport, and ordered a green smoothie. It was mint-forward, made with summer fruits, and quite good, even though you never expect airport food to be any good. I’ve had so much mint in the garden, it’s been in just about everything these days. Here’s my recreation of that smoothie!

    Peachy Mint Green Smoothie
    Peachy Mint Green Smoothie

    Peachy Mint Green Smoothie

    Published June 26, 2019 by

    Serves: 2   |    Active Time: 10 minutes


    Ingredients:

  • 1 banana, fresh or frozen
  • 1 peach, fresh or frozen
  • 2 large handfuls greens, such as baby spinach or baby kale
  • Leaves from 6-8 sprigs of mint
  • 1/3 cup plain greek yogurt
  • 1/2 cup water or juice (such as pineapple or peach juice)
  • Optional: 4 ice cubes
  • Optional: 1 scoop unflavored protein powder, such as collagen or whey

  • Directions:

    1. Add all ingredients to a blender and blend until completely smooth. Pour into glasses and enjoy.

    Grain-Free Mint Chocolate Brownies

    Grain-Free Mint Chocolate Brownies

    “These are a treat,” I said to Oliver after taking a bite. Fudgy on the bottom, creamy in the middle, and even more chocolatey on top, these brownies are rich all the way through.

    If you like York Patties, or Mint Chocolate Chip Ice Cream, or Andes Mints, these brownies are for you. And before I get to far… they are grain-free, gluten-free, and nut-free. Plus, they’re sweetened with honey!

    Mint and chocolate is a favorite combo of mine, and when I was day dreaming of holiday baking these stayed in the forefront of my mind. They feel super festive! It wasn’t until after I had made them that I was swiping through images of a cookbook my mom made of her favorite recipes and I found mint brownies nestled in there. Somewhere in the back of my mind I suppose I remembered her brownies…

    Grain-Free Mint Chocolate Brownies
    Grain-Free Mint Chocolate Brownies

    Let’s start at the bottom: the brownie base is made of the same batter used in these strawberry cheesecake swirled brownies. It is a very chocolatey, batter that calls for coconut flour and a LOT of cocoa. The result is one fudgy brownie!

    The next layer is a sweet mint cream cheese frosting. Most mint brownies call for buttercream here, but I’ve never been a fan of buttercream, and even as a kid I preferred cream cheese frosting. Nothing’s changed on that front! (For extra festive-ness, you can stir in a drop or two of green food coloring if you like.)

    The topping is a simple chocolate ganache, making a chocolate mint sandwich that even looks a bit like an Andes Mint!

    When you bite through all three layers it is rich, sweet and melt-in-your-mouth delicious… a total treat! (One night we had these with the Mint Chip Ice Cream from CoolHaus. 😍)

    Grain-Free Mint Chocolate Brownies

    Grain-Free Mint Chocolate Brownies

    Published December 6, 2018 by

    Serves: 16   |    Active Time: 1 hour


    Ingredients:

    Brownie Base:
  • 1/2 cup melted unsalted butter or coconut oil
  • 1/2 cup cocoa powder
  • 1/3 cup semi-sweet chocolate chips
  • 1/4 cup honey
  • 2 eggs, room temperature
  • 1 teaspoon vanilla extract
  • 1/4 cup coconut flour
  • 1/4 teaspoon salt

  • Mint Filling:
  • 8 ounces cream cheese, room temperature
  • 1/4 cup honey
  • 1/4 teaspoon peppermint extract

  • Chocolate Ganache Topping:
  • 2 tablespoons unsalted butter or coconut oil
  • 2 tablespoons half-and-half
  • 1/2 cup semi-sweet chocolate chips

  • Directions:

    1. Preheat oven to 350°F and line a 8x8 baking dish with parchment paper.
    2. In a small sauce pan, combine melted butter or coconut oil, cocoa powder, and chocolate. Heat over low heat, stirring until most of the clumps have melted. Remove from heat and allow to sit until entire mixture is smooth and melted.
    3. Scrape mixture into a mixing bowl. Using electric beaters, stir in honey. Add eggs and vanilla and beat again. Mixture should begin to thicken. Add coconut flour and salt. Beat until smooth and no clumps remain.
    4. Spread batter in even layer in prepared baking dish.
    5. Bake for 20 minutes, until brownies are slightly puffy, and a knife comes out clean when inserted in the middle. Allow to cool for completely before topping with mint filling.
    6. Mint filling: while brownies are cooling, beat together cream cheese, honey, and mint until smooth. When brownies are no longer warm to the touch, spread cream cheese mixture over top in an even layer. Place brownies in fridge, covered, for at least one hour (or overnight! Short cutting this time will make it hard to spread the ganache over top and get clean layers.)
    7. Chocolate ganache topping: Place butter, half-and-half, and chocolate in a small sauce pan and heat over low heat, stirring constantly, until a smooth ganache is formed. Remove from heat. Spread chocolate ganache over cream cheese mixture and allow to set 10 minutes before slicing into 9-16 squares. Tip: for the cleanest cuts, rinse your knife between each slice.