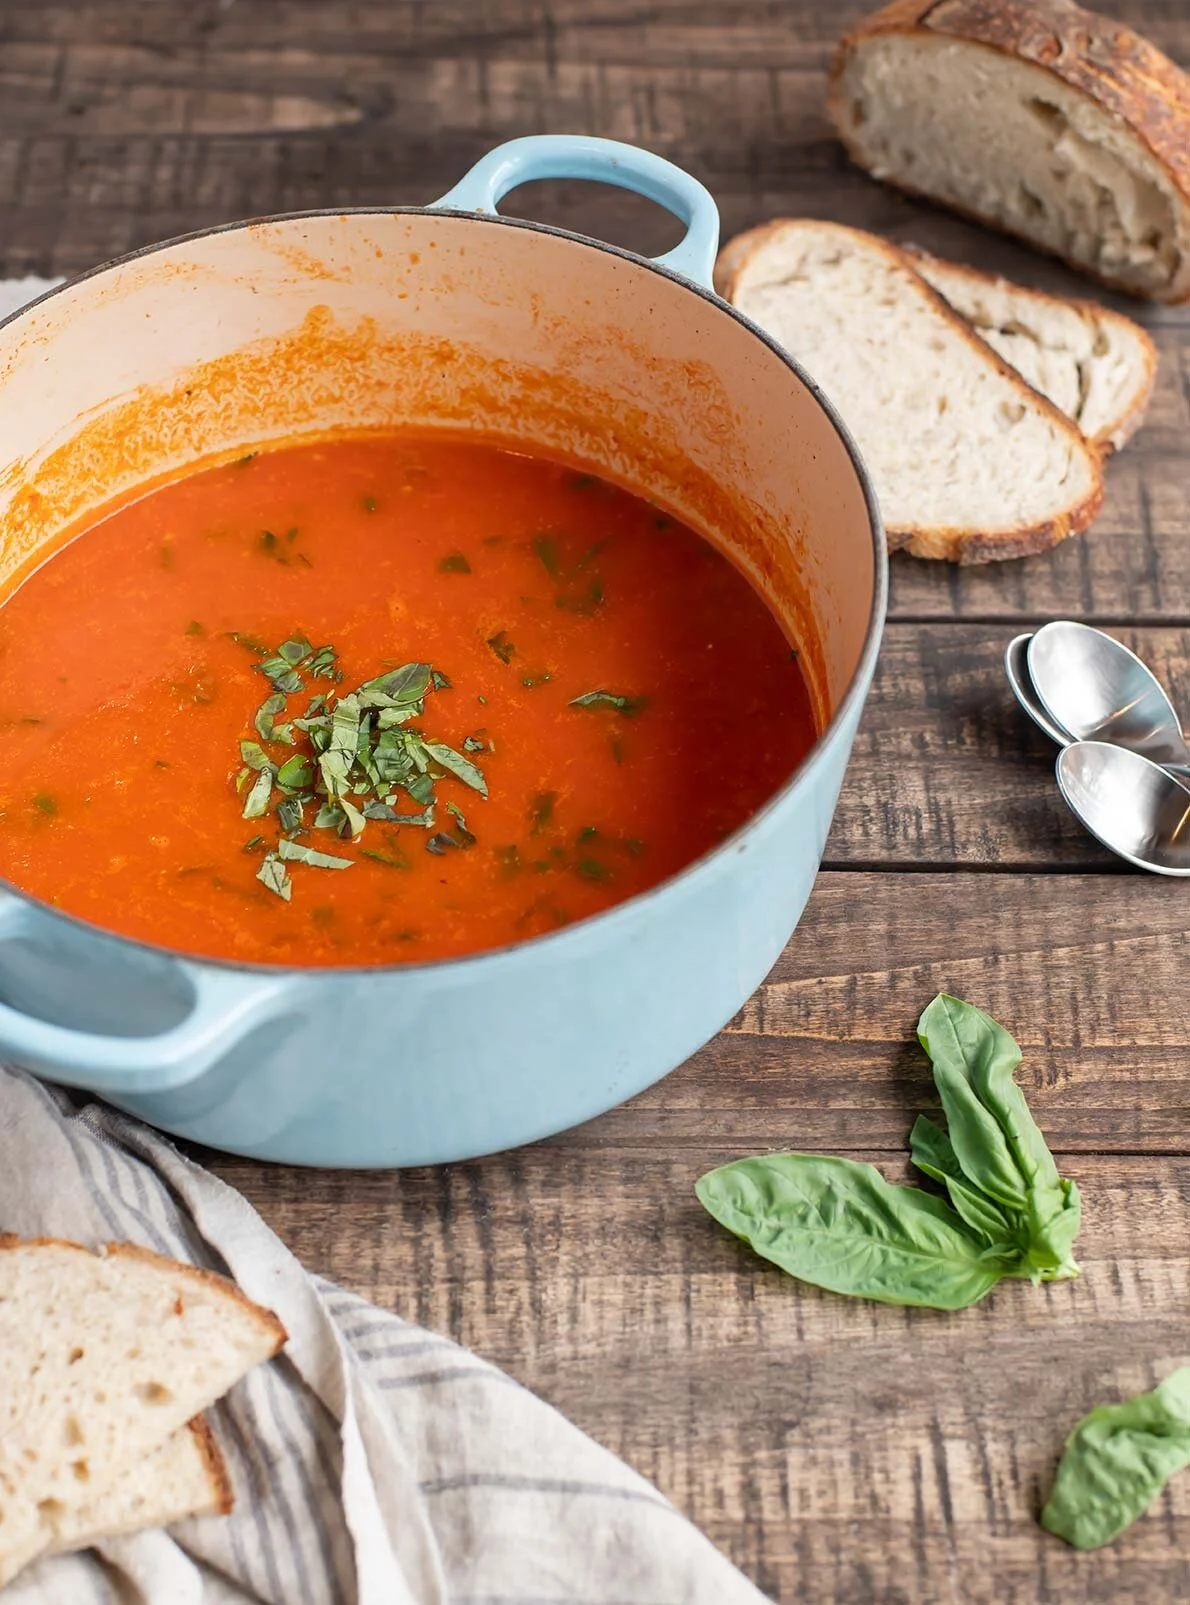
Tomato Basil Soup from Canned Tomatoes

This tomato soup uses canned tomatoes, which means that even before spring’s flowers have started to show, you can zip it together.

It goes without saying that there is a lot going on in the world right now, which means that even though spring officially started last week, comfort food is still in order. This recipe is the epitome of comfort and is easy to make with supplies you have on hand.

P.S., I have gotten very in to making homemade sourdough. I started with this recipe, which I highly recommend, and have been tweaking and exploring as I go. When you have a fresh loaf sitting around, it’s hard not to want soup for dinner, just because of the bread-dipping action.

Tomato Basil Soup from Canned Tomatoes

Tomato Basil Soup from Canned Tomatoes

Published March 19, 2020 by

Serves: 3-4   |    Active Time: 30 minutes


Ingredients:

  • 2 tablespoons butter
  • 6 cloves garlic, minced
  • 1 medium onion, diced
  • 2 tablespoons flour (optional, makes a thicker, creamier soup)
  • 2 tablespoons tomato paste
  • 1 28-ounce (or 2 14-ounce) can diced tomatoes
  • 2-3 cups vegetable broth
  • 4 sprigs thyme
  • Salt
  • Pepper
  • Optional: 1/4 teaspoon red pepper flakes
  • Optional: 1/4 cup fresh basil, cut chiffonade, with one tablespoon reserved for garnish
  • For serving: grated Parmesan, grilled cheese, croutons, etc.

  • Directions:

    1. In a large soup pot, melt butter over medium heat. Add minced garlic and diced onion, and sauté, stirring occasionally, until onion is translucent.
    2. Add flour to the pot, and continue to cook, stirring, until onions are coated and just starting to brown. Add tomato paste, and stir to incorporate. Cook for another 2-3 minutes.
    3. Add canned diced tomatoes, thyme, and broth. Season with a generous pinch of salt, a few cracks of freshly ground pepper, and 1/4 teaspoon of red pepper flakes.
    4. Place lid on pot, and bring to a simmer. Cook for about 15 minutes to incorporate flavors.
    5. Using a slotted spoon or fork, remove thyme from soup. Discard.
    6. Purée the soup: if you have an immersion blender, use it to blend the soup until puréed. If you have a countertop blender, ladle soup into blender jar in batches, and purée. Ensure the lid is on very well!
    7. Stir sliced basil (reserving 1 tablespoon for garnish) into soup. Taste, and season as needed with additional salt, and/or pepper.
    8. Ladle into bowls, and serve to your preferences (i.e., topped with parmesan, with croutons, a grilled cheese, etc).

    10 Comments

    Restaurant-Inspired Instant Pot Chicken & Split Pea Korma

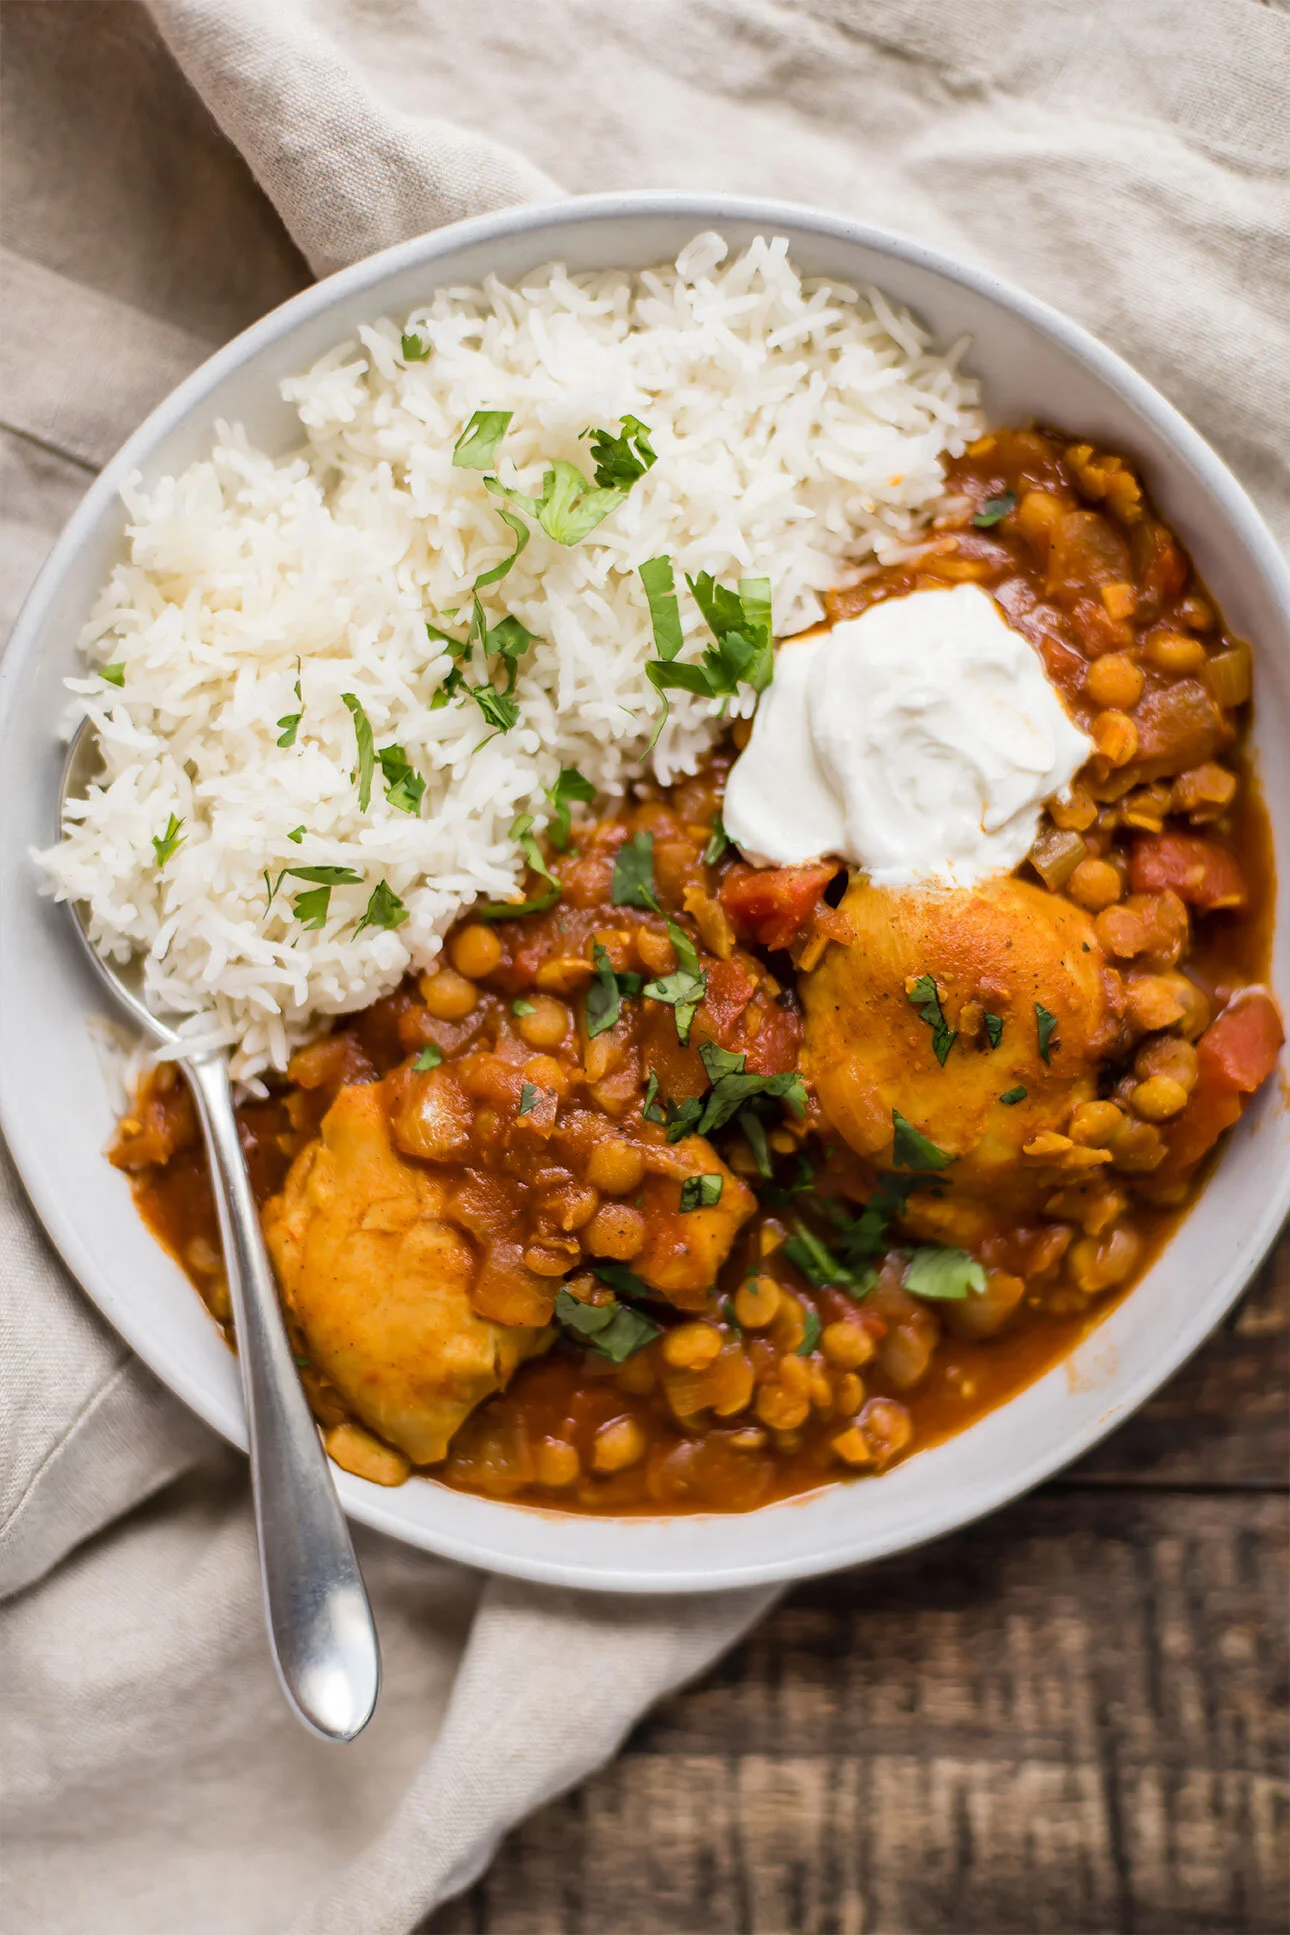
    Instant Pot Chicken & Split Pea Korma

    Two months ago, my mom and I made a trip to Washington D.C. We stayed in an Airbnb in the Adams Morgan neighborhood, which we discovered is the perfect location for finding amazing restaurants. The first night, after flying in, we wandered straight to Lapis, an Afghan Bistro. My mom ordered chicken korma with split peas. After one bite, it was all I could think of the rest of the week. I got home that very night and Googled the dish name, but came up short. Days later you could find me translating “chicken korma” to Pashto and then Googling that. My searches were unfruitful yet relentless. Slowly I pulled a few pieces together:

    First, that you can’t skip the garam masala. Please don’t skip it.

    Second, that Sun Brands makes a dang good curry powder.

    And third, that “korma” actually is a very generic term—but I did my best to recreate that dish from Lapis. The result is one of my favorite Indian Curries I’ve made yet.

    P.S., We also ate at Tail Up Goat, Line Hotel Restaurant, and Blüprint Chocolatiers. All are highly recommended, but something about that korma outshined the rest. It was a (wonderful) weekend of wining and dining, to say the least.

    Instant Pot Chicken & Split Pea Korma
    Instant Pot Chicken & Split Pea Korma

    Restaurant-Inspired Instant Pot Chicken & Split Pea Korma

    Published November 5, 2019 by

    Serves: 6   |    Active Time: 45 minutes


    Ingredients:

  • 2 tablespoons butter
  • 1 yellow onion, diced
  • 4 cloves garlic, minced
  • 1 inch fresh ginger, minced
  • 1 jalapeño, minced
  • 3 tablespoons tomato paste
  • 1 sixteen ounce can of diced tomatoes
  • 1 tablespoon garam masala
  • 2 tablespoons Madras curry (try Sun Brands)
  • 1/2 teaspoon ground black pepper
  • 1 cup yellow split peas
  • 1 pound boneless skinless chicken thighs
  • 2 1/2 cups broth
  • Salt
  • To serve: cooked Batsmati rice, cilantro for garnish, plain yogurt

  • Directions:

    1. Place butter in Instant Pot and set on Sauté setting. When butter is melted and hot, add onions, garlic, and ginger. Add a pinch of salt. Sauté until onions turn translucent.
    2. Add minced jalapeño to the pot, and stir. Add tomato paste, and stir again. Cook for 3-5 minutes, to develop the flavors, stirring occasionally.
    3. Add canned tomatoes, garam masala, Madras curry powder, and black pepper. Stir, and cook for 2-3 more minutes.
    4. Add chicken thighs and split peas to the pot, and pour in the broth. Add an additional pinch of salt. Stir.
    5. Place lid on Instant Pot and switch to “Bean/Chili” setting. Set timer to 16 minutes, with the vent set in the sealed position.
    6. When timer goes off, release the pressure. Remove the lid, and stir. Add additional salt to taste as needed (amount will largely depend on the broth you use).
    7. Serve korma over rice, garnished with cilantro. Top with a dollop of yogurt. Serve hot.

    Instant Pot Chicken & Split Pea Korma

    White Bean Salad with Fried Garlic Toasts

    White Bean Salad with Fried Garlic Toasts

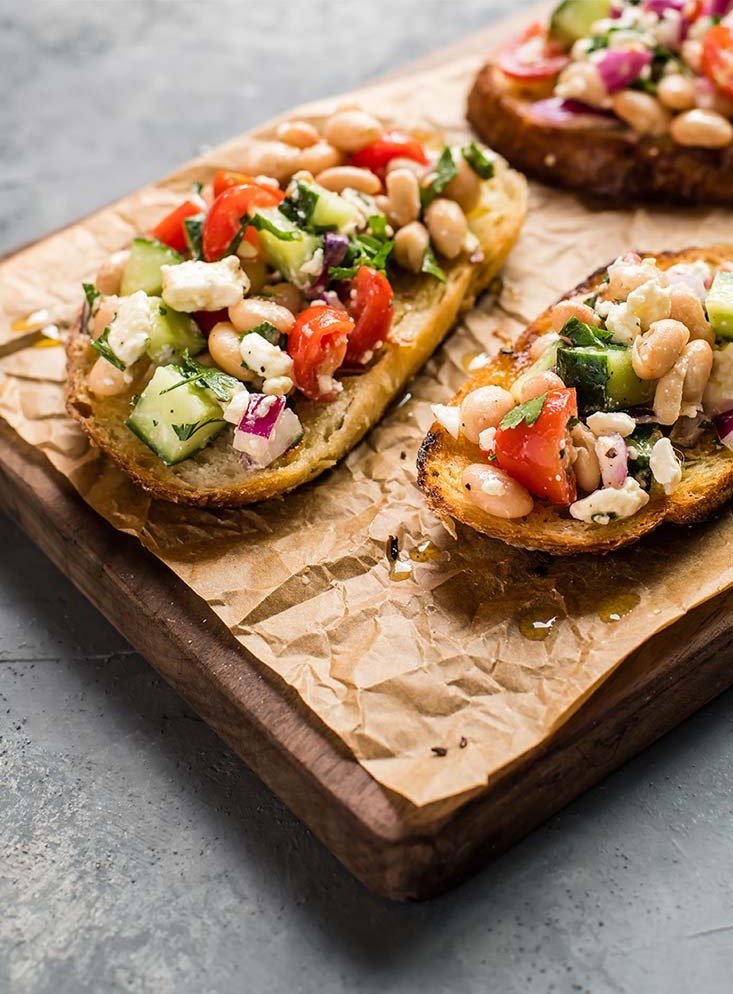
    Low-effort and no-cook are ideal characteristics of a late summer, weeknight meal. Grilling is great, but sometimes you need something even easier—not to mention fresher—to put on the table. This white bean salad has been one of my favorite 15-minute dinners this summer, eaten straight, tossed with a bit of arugula, or best of all, with slices of sourdough that have been fried in butter and garlic. It’s satisfying (beans and feta cheese!) but also delivers some produce (tomatoes, cucumber, parsley). Some might call this an appetizer, but for me it’s just right as a light meal. Happy August!

    White Bean Salad with Fried Garlic Toasts
    White Bean Salad with Fried Garlic Toasts

    White Bean Salad with Fried Garlic Toasts

    Published July 30, 2019 by

    Serves: 4   |    Active Time: 15 minutes


    Ingredients:

  • 1 14-ounce can navy beans
  • 1/2 cup diced cucumber
  • 1/2 cup diced cherry tomatoes
  • 1/4 red onion, minced
  • 1/2 cup feta crumbles
  • 2 tablespoons minced parsley
  • 1-2 tablespoons extra virgin olive oil
  • Freshly ground black pepper
  • Salt to taste (optional)

  • For the toasts:
  • 4-5 slices bread of choice (such as sourdough)
  • 2-3 tablespoons butter
  • 1 clove garlic

  • Directions:

    1. Strain and rinse navy beans. Place in a medium-sized bowl.
    2. Add diced cucumber, cherry tomatoes, red onion, feta, and parsley. Gently stir until ingredients are well distributed. Drizzle with olive oil.
    3. Add freshly cracked black pepper to taste, then season with salt to taste (Note: the feta will also add salt to this dish, so really taste it as you add salt. I find I only need to add a little bit. If your beans were already salty, you may not need salt at all).
    4. Bean salad can be made several hours ahead of time. Cover and place in fridge until ready to eat.
    5. When ready to serve, prepare the garlic toasts: mince garlic. Add garlic, along with 1/2 tablespoon of butter to a skillet and warm over medium heat. Swirl butter in pan to cover the bottom.
    6. When pan is hot, place several pieces of bread in skillet in a single layer. (My 10-inch skillet only fit 3-4 pieces at a time, depending on size. Work in batches.) Toast on the first side for 3-4 minutes. Then, use tongs to flip bread to second side. Add an additional 1/2 tablespoon of butter if pan gets dry. Toast for 3-4 minutes on second side, then remove from pan. Repeat until all slices are toasted.
    7. Serve: top each toast with bean salad and set on serving plates.

    White Bean Salad with Fried Garlic Toasts
    1 Comment