Tomato Basil Soup from Canned Tomatoes

This tomato soup uses canned tomatoes, which means that even before spring’s flowers have started to show, you can zip it together.

It goes without saying that there is a lot going on in the world right now, which means that even though spring officially started last week, comfort food is still in order. This recipe is the epitome of comfort and is easy to make with supplies you have on hand.

P.S., I have gotten very in to making homemade sourdough. I started with this recipe, which I highly recommend, and have been tweaking and exploring as I go. When you have a fresh loaf sitting around, it’s hard not to want soup for dinner, just because of the bread-dipping action.

Tomato Basil Soup from Canned Tomatoes

Tomato Basil Soup from Canned Tomatoes

Published March 19, 2020 by

Serves: 3-4   |    Active Time: 30 minutes


Ingredients:

  • 2 tablespoons butter
  • 6 cloves garlic, minced
  • 1 medium onion, diced
  • 2 tablespoons flour (optional, makes a thicker, creamier soup)
  • 2 tablespoons tomato paste
  • 1 28-ounce (or 2 14-ounce) can diced tomatoes
  • 2-3 cups vegetable broth
  • 4 sprigs thyme
  • Salt
  • Pepper
  • Optional: 1/4 teaspoon red pepper flakes
  • Optional: 1/4 cup fresh basil, cut chiffonade, with one tablespoon reserved for garnish
  • For serving: grated Parmesan, grilled cheese, croutons, etc.

  • Directions:

    1. In a large soup pot, melt butter over medium heat. Add minced garlic and diced onion, and sauté, stirring occasionally, until onion is translucent.
    2. Add flour to the pot, and continue to cook, stirring, until onions are coated and just starting to brown. Add tomato paste, and stir to incorporate. Cook for another 2-3 minutes.
    3. Add canned diced tomatoes, thyme, and broth. Season with a generous pinch of salt, a few cracks of freshly ground pepper, and 1/4 teaspoon of red pepper flakes.
    4. Place lid on pot, and bring to a simmer. Cook for about 15 minutes to incorporate flavors.
    5. Using a slotted spoon or fork, remove thyme from soup. Discard.
    6. Purée the soup: if you have an immersion blender, use it to blend the soup until puréed. If you have a countertop blender, ladle soup into blender jar in batches, and purée. Ensure the lid is on very well!
    7. Stir sliced basil (reserving 1 tablespoon for garnish) into soup. Taste, and season as needed with additional salt, and/or pepper.
    8. Ladle into bowls, and serve to your preferences (i.e., topped with parmesan, with croutons, a grilled cheese, etc).

    10 Comments

    Chicken & Rice Soup with Ginger & Toasted Sesame

    Chicken & Rice Soup with Ginger & Toasted Sesame
    Chicken & Rice Soup with Ginger & Toasted Sesame

    This recipe is a republish from 2016, originally inspired by a lunch at a little Korean shop, and long due for an update. If you hadn’t tried this one before, now’s the time! It’s bolder and tastier than ever.

    Located in an otherwise uninviting strip mall, “A Cup of Peace” is one of the few places in Boulder serving Korean food. While I have no idea what they put in their recipe for chicken soup, one bowl was enough to inspire me to make my own. An extremely simple soup, the broth is robust with umami, in part because it is doused with soy sauce and sesame oil (which is like liquid gold in the kitchen, isn’t it?).

    In a time where we all need a little added comfort in our lives, chicken soup seems like a sort of staple. A healing, cozy staple. Perhaps because I haven’t eaten much of it, classic chicken noodle soup has never been my thing. But the flavors here are very much my thing. (In case you forgot already, toasted sesame oil is liquid gold status in my cupboard).

    Chicken & Rice Soup with Ginger & Toasted Sesame
    Chicken & Rice Soup with Ginger & Toasted Sesame

    Chicken & Rice Soup with Ginger & Toasted Sesame

    Published March 14, 2020 by

    Serves: 6   |    Active Time: 45 minutes


    Ingredients:

  • 1 tablespoon coconut oil
  • 4 cloves garlic, minced
  • 1 inch ginger, minced or finely grated
  • 1 pound boneless, skinless chicken breasts
  • 8 cups chicken broth
  • 1/4 cup soy sauce
  • 2 tablespoon rice vinegar
  • 1 tablespoon chili garlic paste (Sambal Oelek)
  • 1 teaspoon fish sauce (optional)
  • 1/2 cup dry white rice
  • 1 zucchini
  • 1 summer squash
  • 3 stalks green onion, green and white parts sliced (roots removed)
  • Drizzle of toasted sesame oil
  • Salt to taste (Note: depending on your broth, you may not need any salt)
  • 1/4 cup sesame seeds

  • Directions:

    1. In a large soup pot, melt coconut oil over medium heat. Add minced garlic and ginger, and sauté a few minutes, until golden.
    2. Pour broth, soy sauce, rice vinegar, chili garlic sauce, and (optionally) fish sauce to the pot, and stir.
    3. Bring soup to a simmer, and add chicken breast. Continue to simmer until chicken is cooked through, about 10 minutes. (If using Instant Pot, see note below)
    4. Using tongs or a slotted spoon, remove chicken from the broth. Use two forks to shred the chicken. Then, add it back to the soup.
    5. Slice zucchini and summer squash into half-moons. Add zucchini, squash and the dried white rice to the soup, and return to a simmer. Cook, uncovered, until the vegetables and rice are tender, about 15 minutes.
    6. While soup is cooking, toast sesame seeds: place in a skillet over low heat. Shake the pan every minute or two to stir the seeds. Watch closely to avoid burning, and remove seeds from heat once lightly golden. Set aside.
    7. Remove soup from heat. Stir, and optionally season to taste with salt (depending on your broth, you may not need any salt!). Stir in half of the green onions, and drizzle with toasted sesame oil.
    8. Ladle into bowls, and garnish with additional green onions and sesame seeds. Serve.
    Note: If using an Insant Pot, saute ginger and garlic in bottom of IP using Sauté setting. Add broth, soy sauce, vinegar, chii garlic sauce, fish sauce, chicken, zucchini, summer squash, and dried rice. Turn IP to Manual and set to High Pressure for 7 minutes with valve closed. Allow to naturally release for 5 minutes, then open the valve.
    2 Comments

    Tangerine Dream Smoothie

    Tangerine Dream Smoothie

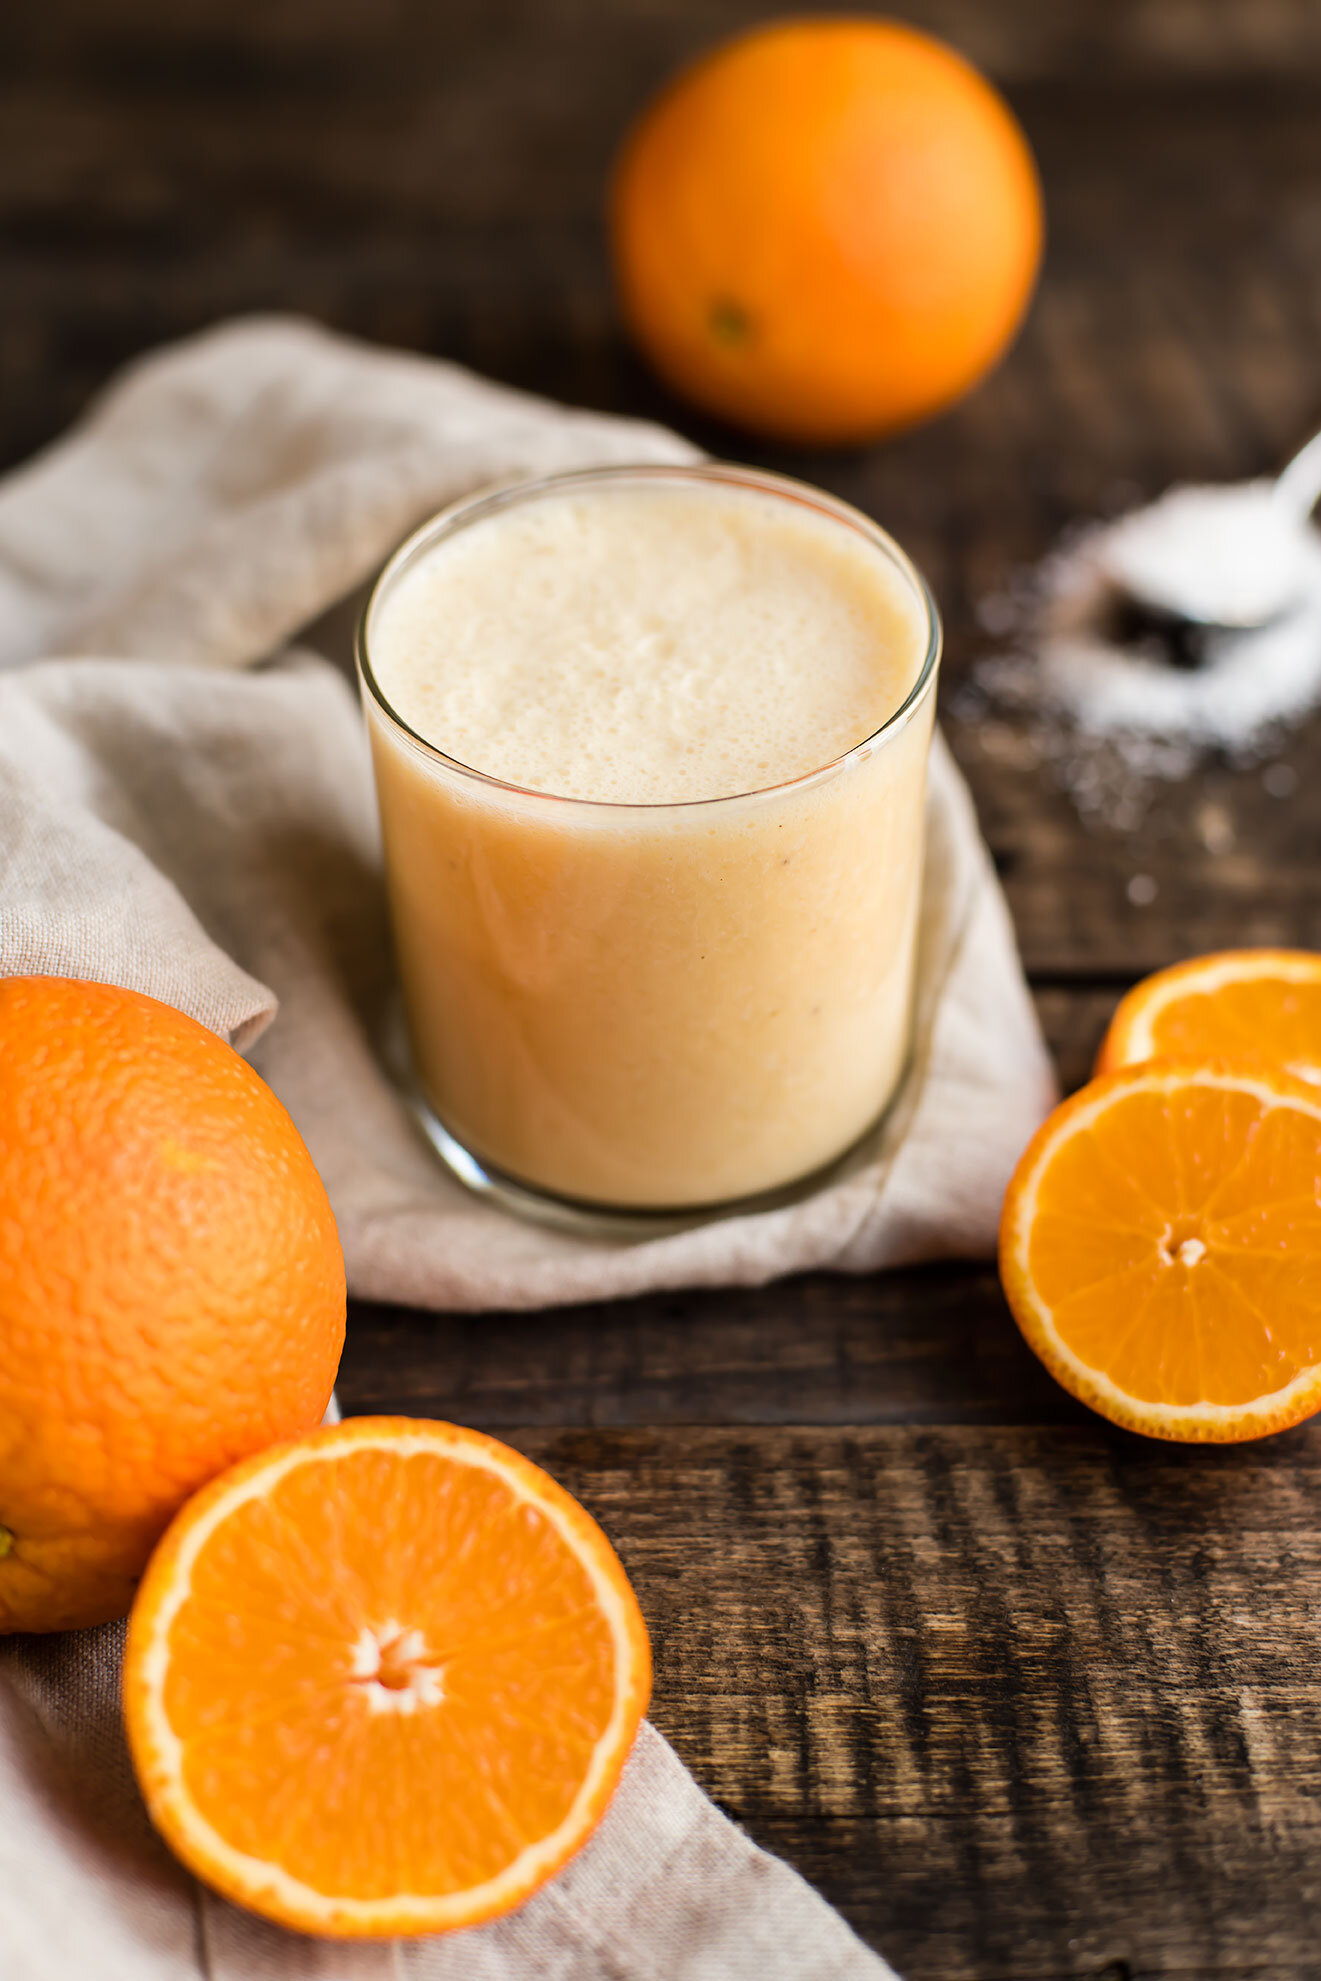
    Our local grocery store (Alfalfa’s) has a smoothie bar and every once in a while they’ll set out samples. Recently they had not one but three flavors to sample, and I debated which brightly-colored mini cup to take. I finally landed on tangerine, even though orange is not typically my favorite flavor. Immediately, I was reminded of a story about Orange Julius I post to this blog years ago. It was creamy, with citrus punch and a touch of vanilla. It was a throw-back, a reminder of orange cream soda and orange creamsicles and childhood. It was nostalgia. But, flavor-wise, even better, because it was made with tangerines at peak citrus season. So, I took that inspiration and ran with it, adding a little coin of ginger because I couldn’t help myself.

    Tangerine Dream Smoothie
    Tangerine Dream Smoothie

    Tangerine Dream Smoothie

    Published February 20, 2020 by

    Serves: 1-2   |    Active Time: 10 minutes


    Ingredients:

  • 2 tangerines, 2 minneola tangelos, or 1 sumo citrus, peeled
  • 1/2 cup plain yogurt or vanilla yogurt
  • 1/4 cup milk of choice
  • 1 banana, peeled and roughly chopped
  • 5-6 ice cubes
  • 1 nickle-sized slice of ginger
  • Optional: 1 scoop plain, unsweetened collagen or whey protein powder
  • Optional: 2 tablespoons unsweetened desiccated coconut
  • Optional: Small drop vanilla extract

  • Directions:

    1. Place all ingredients in the blender and secure lid on blender jar. Puree until completely smooth.
    2. Pour into serving glasses and enjoy cold.