Lower Sugar Sweet Potato Casserole with Oatmeal Pecan Topping

Lower Sugar Sweet Potato Casserole with Oatmeal Pecan Topping

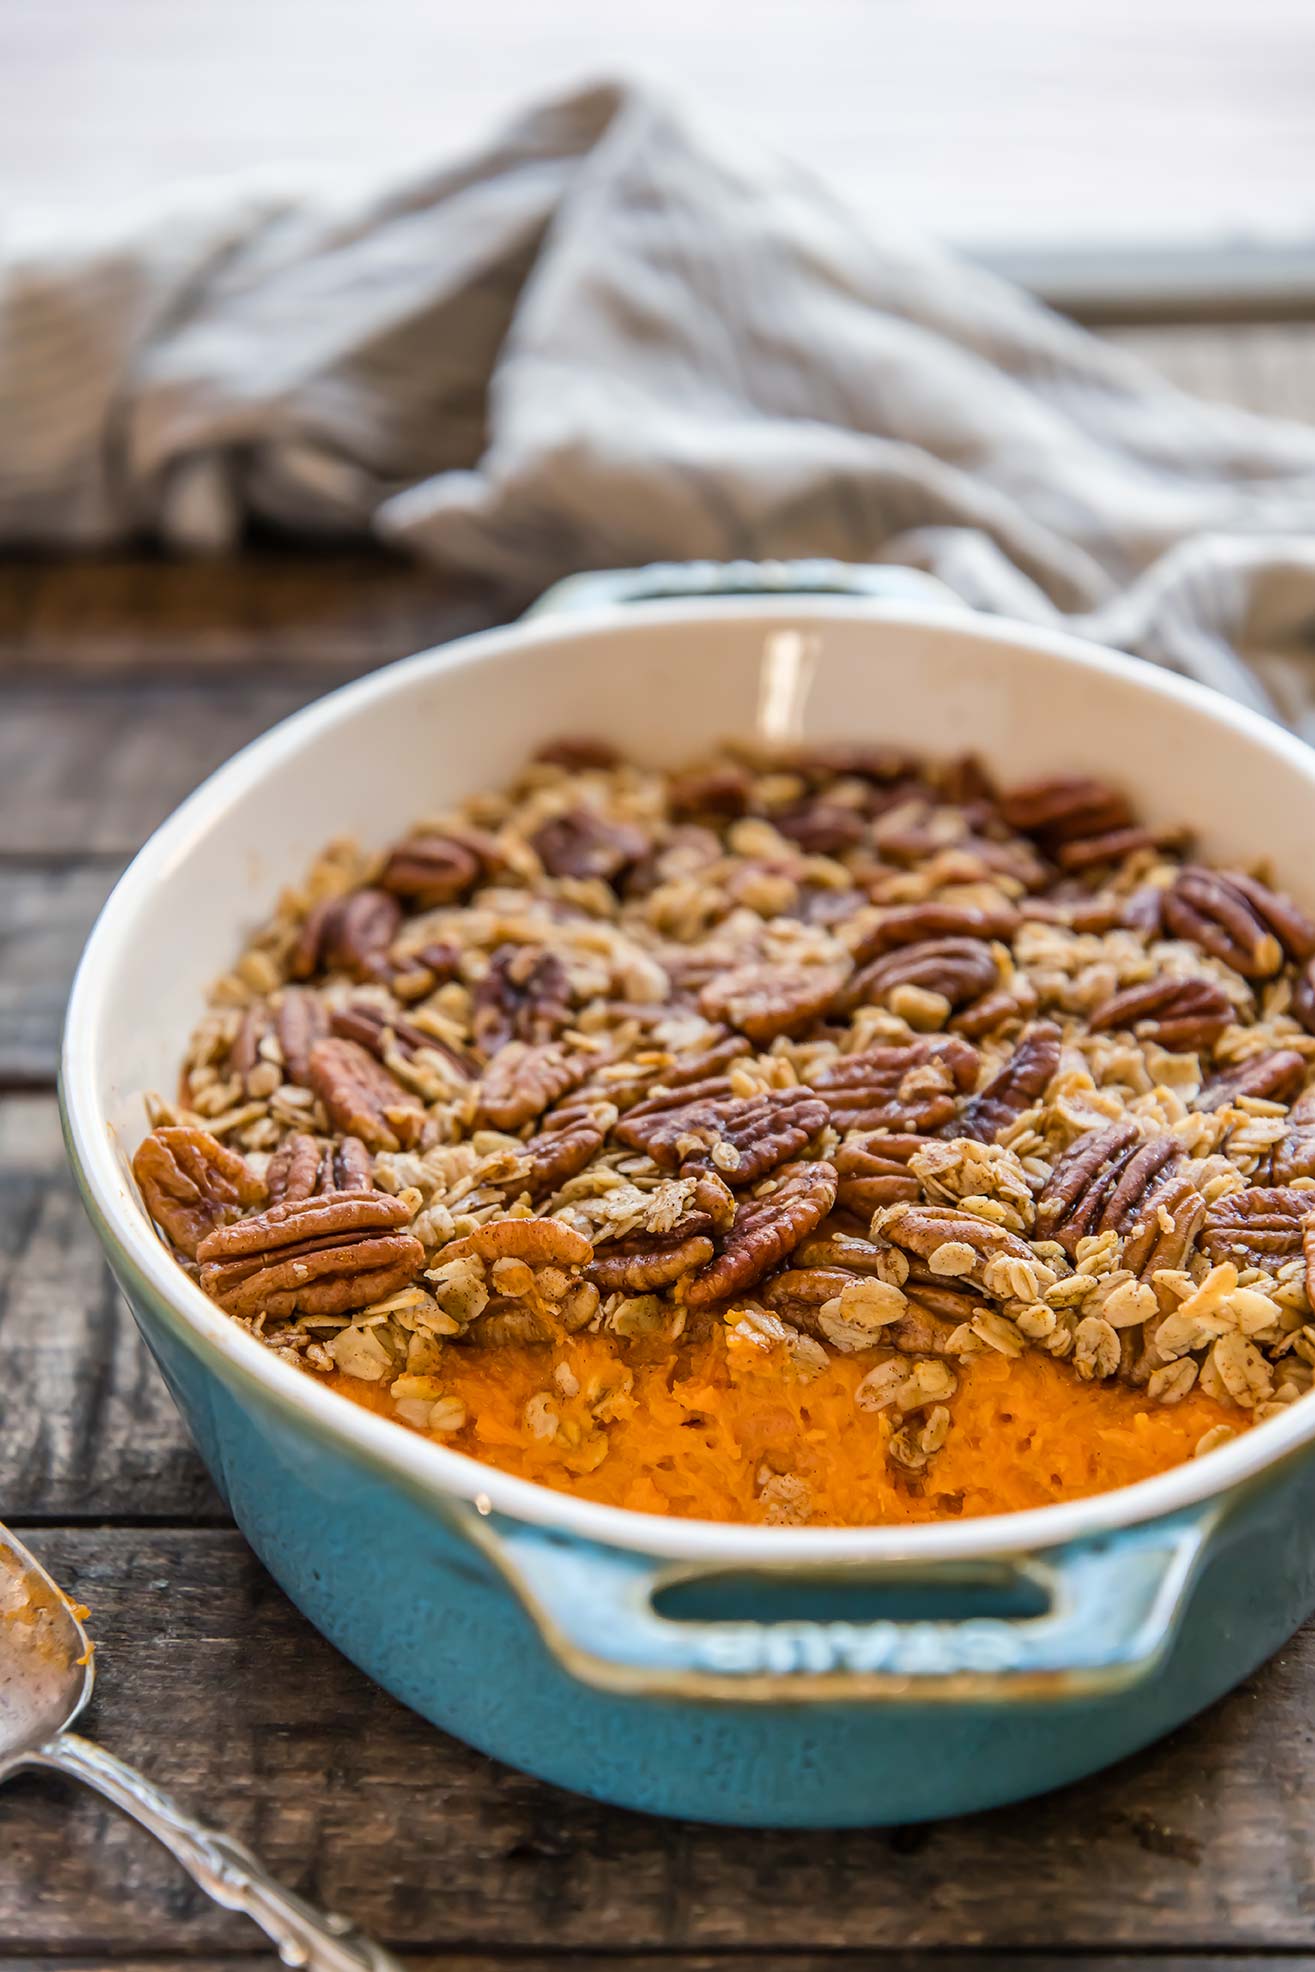
I grew up on the sort of sweet potato casserole that is topped with marshmallows, and I love the stuff.

One Thanksgiving in California is vividly stamped in my mind — the year we visited my grandparents and I realized for the first time that my grandma cooked almost every dish for Thanksgiving dinner in the microwave. IN THE MICROWAVE! Coming from rather culinary parents, it was a bit of a shock, and I’m not sure why I hadn’t noticed in previous years (I don’t even remember other Thanksgiving dinners at their house; maybe this was a first).

Anyways… this sweet potato casserole is not made in the microwave (do I even need to say that?) and so it’s off to a far superior start already! But it’s also been revised in other ways, calling for less sugar and being topped with crumbly, crispy pecans and oats instead of marshmallows.

Sweet potatoes are quite sweet as they are, so adding sugar to the filling feels unnecessary (most recipes call for 1/4 to 1/2 cup of added sugar). In this version the filling is “natural,” meaning all the sweetness comes from the sweet potatoes, and the topping is made with maple syrup and cinnamon (which has sweet notes of it’s own!).

Lower Sugar Sweet Potato Casserole with Oatmeal Pecan Topping

Tip: Cook the sweet potatoes ahead of time! You can cook the potatoes up to three days before you’re going to make this casserole. Here are a couple of ways to cook them:

  • In an Instant Pot: Place whole sweet potatoes in your Instant Pot with 1 cup of water (use a steamer basket if you have one). Use manual mode and set to high for 15 minutes (vent in sealed position). Allow pressure to release naturally, then open pot. Allow potatoes to cool, and then remove skins, which should easily pull off at this point.

  • In an oven: Preheat oven to 425°F. Prick sweet potatoes with a fork and rub with oil (such as coconut oil). Place potatoes on a baking sheet lined with aluminum foil or a sil-pat and bake for 45 minutes.

In both of these methods, the natural sugars in the sweet potatoes will caramelize so that your sweet potato casserole tastes sweet without the added sugar.

Thanksgiving is THIS WEEK. What else are you making? What’s your favorite thing once you sit down at the table?

Lower Sugar Sweet Potato Casserole with Oatmeal Pecan Topping

Lower Sugar Sweet Potato Casserole with Oatmeal Pecan Topping

Published November 20, 2018 by

Serves: 4   |    Active Time: 4 hours


Ingredients:

  • 3-4 cups mashed sweet potato
  • 1/4 cup half and half or canned coconut milk
  • 3 tablespoons melted butter or coconut oil
  • 1/2 teaspoon salt
  • 1 teaspoon vanilla

  • For Crumble Topping:
  • 1/4 cup melted butter or coconut oil
  • 1/4 cup maple syrup
  • 1/3 heaping cup rolled oats
  • 1 heaping cup pecan halves

  • Directions:

    1. Preheat oven to 350°F.
    2. Combine the first five ingredients in a mixing bowl and stir until well incorporated.
    3. Spread sweet potato mixture in an even layer in a 9x9 baking dish.
    4. In a separate bowl, combine ingredients for crumble topping. Spread crumble topping in an even layer over the sweet potatoes.
    5. Place baking dish in the middle rack of the oven and bake 25-30 minutes. Sweet potatoes should be warmed through and pecans on top should be lightly toasted. Allow to cool 10 minutes before serving.

    1 Comment

    Chorizo & Egg Breakfast Tacos

    Chorizo & Egg Breakfast Tacos

    It started with a business trip to Texas in 2016. It was my first real business trip. My co-worker (Libby, who is somewhat of an aviation food connoisseur) asked if I wanted to stop by Root Down, a restaurant in the terminal. We got sweet potato fries with curry sauce and I realized that whatever I had previously thought about airport food was wrong. (Fruit cups, low fat yogurt, and granola bars? Move aside!)

    Fast forward to 2017: I’m traveling to Ecuador for a client. I had been on a few business trips since that one to Texas, but none as cool as this one — Ecuador! South America! Hadn’t I graduated with a Spanish Degree just for this?! Going into Marketing I had pretty much thought those international opportunities were behind me. Anyhow, I was on my own, so the world was my oyster and the schedule was whatever I said it was. Which means there was time to stop at Root Down, and breakfast was in order. I sat at a table for one with a view of the tarmac and ordered tacos. In that moment I felt awkward by myself, and took solace in those tacos, taking my sweet time. Each taco was small — made on a 4-inch tortilla - and stuffed with greasy chorizo and fluffy scrambled eggs.

    My next encounter with those tacos was this August. It was 6am as we rode the bus to the airport, and by the time we made it to security our stomachs rumbled for breakfast. It was Oliver’s idea, that day, to stop at Root Down but of course I didn’t protest. We both ordered the tacos and coffee and finally, digging into our breakfast, we were on vacation.

    Chorizo & Egg Breakfast Tacos

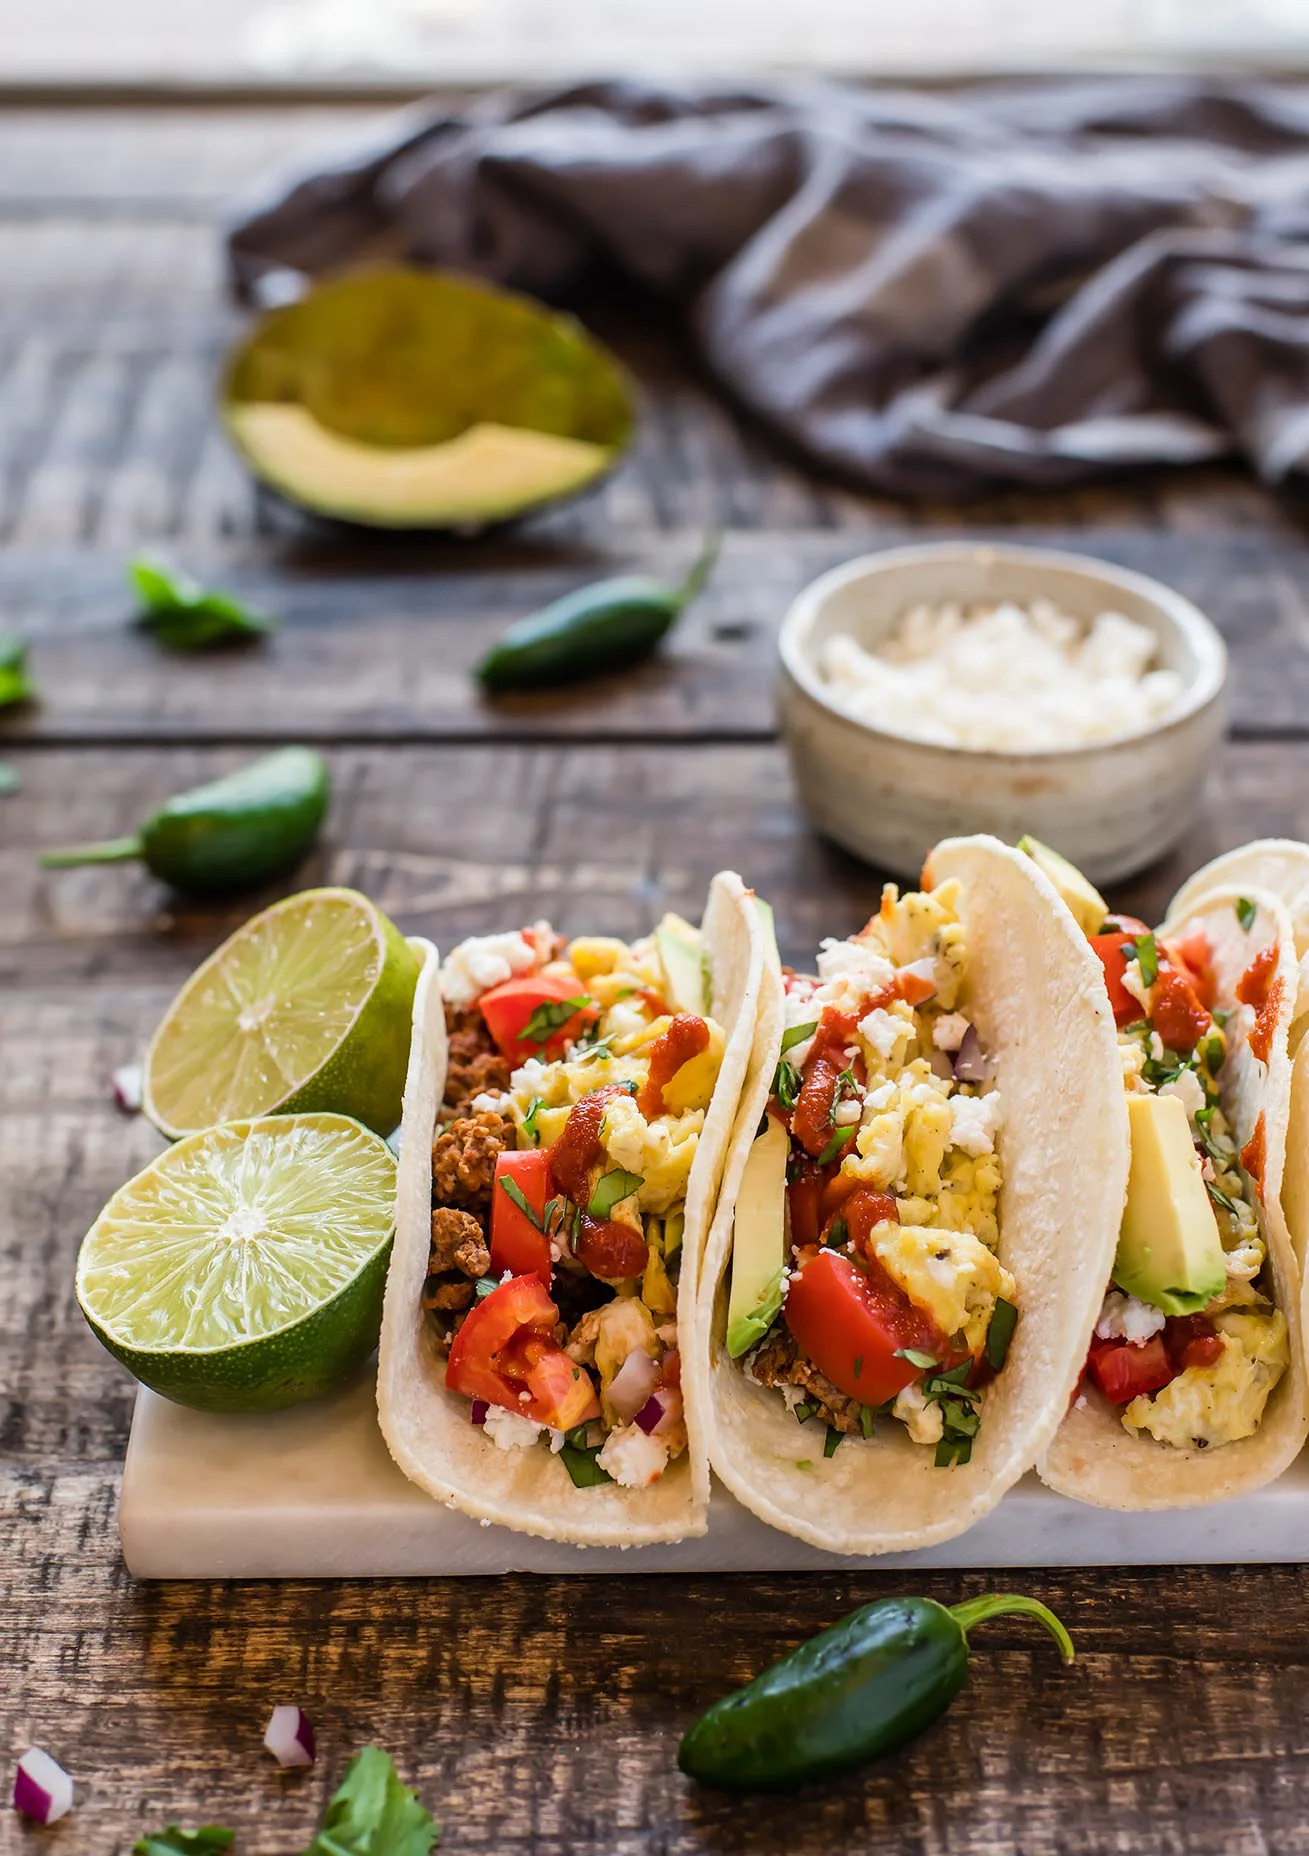
    This taco recipe is my home rendition: chorizo crumbles, scrambled eggs, fresh cilantro, tomatoes, and queso fresco. I replaced the pickled red onions with minced fresh red onions that star on Root Down’s menu, because at home it’s easier (and I like the fresh flavor). And added avocado, because we weren’t going to make tacos without avocado.

    When you make these, it might be easier to just cook up an entire pound of chorizo versus the exact amount you need. It will store well in your fridge, and can go into future meals (great in soups!) or make it easier for you to get breakfast going tomorrow. You could also plan to serve a crowd: make a breakfast taco bar!

    Maybe it’s just nostalgia, but these tacos for breakfast feel a bit like a vacation. Enjoy!

    Chorizo & Egg Breakfast Tacos

    Chorizo & Egg Breakfast Tacos

    Published November 8, 2018 by

    Yield: 3   |    Active Time: 30 minutes


    Ingredients:

  • 6 six-inch corn tortillas
  • 4 eggs
  • 1/4 teaspoon salt
  • 1/4 teaspoon ground black pepper
  • 1 teaspoon coconut oil
  • 1/2 cup chorizo crumbles, cooked and heated
  • 1 Roma tomato, diced
  • 1/2 an avocado, sliced
  • 1/4 cup queso fresco crumbles
  • 1 tablespoon minced red onion
  • 2 tablespoon minced cilantro
  • Optional: hot sauce of choice, to taste
  • Optional, for serving: lime wedges

  • Directions:

    1. Prep your ingredients first in this recipe, as once the eggs are cooked, you’ll want to immediately start assembling your tacos. So, dice that tomato, slice the avocado, and mince the cilantro and red onion now. Reheat or cook the chorizo.
    2. Warm the tortillas. There are plenty of ways you can get this done: place them in a preheated oven for a few minutes, warm them in a toaster oven, or heat them in a dry skillet. Whatever you do, watch them closely so as to avoid burning them or drying them out too much. Just a few minutes will do.
    3. Now, crack eggs into a medium sized mixing bowl. Add salt and pepper and whisk until they are a creamy yellow color and slightly frothy.
    4. Heat coconut oil over medium heat in a 10-inch skillet. When oil sizzles, pour in eggs. As eggs begin to set (it will take a minute or two), use a wooden spatula, to pull the eggs across the pan, stirring them. Continue until no visible liquid egg white remains, and then move the pan off the heat. (Tip: If there are other things to do or prepare, I sometimes will pull the pan from the heat a little bit early, say 30 seconds, to avoid over cooked eggs. They will continue to cook in the pan until you serve them.)
    5. Assemble tacos: take tortillas out of the toaster, and top each with a heaping tablespoonful of chorizo. Divide egg mixture evenly amongst tortillas, and then top each with diced tomato, a slice of avocado, queso fresco, minced red onion, and cilantro.
    6. Serve hot with hot sauce on the side, and lime wedges if using.

    Grain-Free Sandwich Cookies With Pumpkin Butter

    Grain-free sandwich cookies with pumpkin butter
    Grain-free sandwich cookies with pumpkin butter

    I have been on a kick, going back to old Foraged Dish recipes and taking new photos. It is insanely satisfying to compare the old ones to the new. Progress is difficult to measure day-by-day, but all of those days add up! I’m sure, in three years, I’ll look back at my photos from 2018 and roll my eyes. C'est la vie.

    These sandwich cookies were one of my recent victims, and since it is the season for baking and pumpkin, I thought it would be a good opportunity to update the whole post. That means a few updates to the recipe, too:

    • Simplified. The original asked for both almond flour and coconut flour, but since 2015 I’ve discovered a much simpler grain-free shortbread cookie using just almond flour. I quite like the texture of the cookies, too! They are a bit chewy, stay together well, and have great almond and honey flavor.

    • Drizzled with chocolate. How can you make a boring cookie look a little fancier? Maybe you’re thinking frosting, which is true, but since this cookie is a sandwich I wanted the filling to shine. I drizzled each cookie with chocolate, which was just the right touch!

    • Doubled it. More is better right? In this case, there’s no doubt: the original recipe made about 6 sandwich cookies… what was 2015-me thinking?!?! A dozen is much more reasonable (but you still may want to double that if you’re cooking for a crowd).

    Once baked, these cookies are stuffed with pumpkin butter, so the end result tastes a bit like pumpkin pie. Perfect match with a cappuccino! But I also experimented with filling the cookies with salted caramel. Oh. My. Goodness. Now that’s a treat! A bit like an alfajore, if you are familiar. I am definitely going to need to make an alfajore recipe now (Foraged Dish style, of course!).

    Grain-free sandwich cookies with pumpkin butter
    Grain-free sandwich cookies with pumpkin butter

    Grain-Free Sandwich Cookies with Pumpkin Butter

    Published October 26, 2015 by

    Yield: 12-24, depending on size   |    Active Time: 60 minutes


    Ingredients:

  • 2 cups finely ground almond flour
  • 1/4 teaspoon baking soda
  • 1/4 cup butter or coconut oil, melted
  • 1/4 cup honey
  • 1 teaspoon vanilla extract
  • 1/2 cup pumpkin butter
  • 1/4 cup dark chocolate

  • Directions:

    1. In a medium mixing bowl, combine the almond flour, salt, and baking soda. Whisk until incorporated. Add the melted butter or coconut oil, honey, and vanilla, and stir until a dough forms. Shape dough into a disc (about 1 inch thick), wrap in plastic wrap, and place in fridge for 30 minutes to 1 hour to chill.
    2. Preheat oven to 325°F. After dough has chilled, remove from fridge. Cut a piece of parchment paper to fit your baking pan.
    3. On a separate piece of parchment, use a rolling pin to roll dough out to 1/4-inch thickness. Use cookie cutters to cut circles out of dough and place on baking sheet, with at least 1/2 inch between each cookie. Bake for 9 minutes, until golden. Allow to cool.
    4. Once cookies are fully cooled, spread pumpkin butter on one cookie, and then use another to create a sandwich. Set aside, and then continue until all of the cookies are sandwiched.
    5. Heat the chocolate in a microwave-safe bowl for 30-second intervals (string between each!) until chocolate is glossy and smooth. You can also do this in a double boiler (stir frequently). Drizzle melted chocolate over sandwich cookies. Allow chocolate to set before serving cookies.
    6. Tip: You can use any sort of jam to fill these cookies! I also made a few with salted caramel sauce and they were SO. GOOD.

    4 Comments