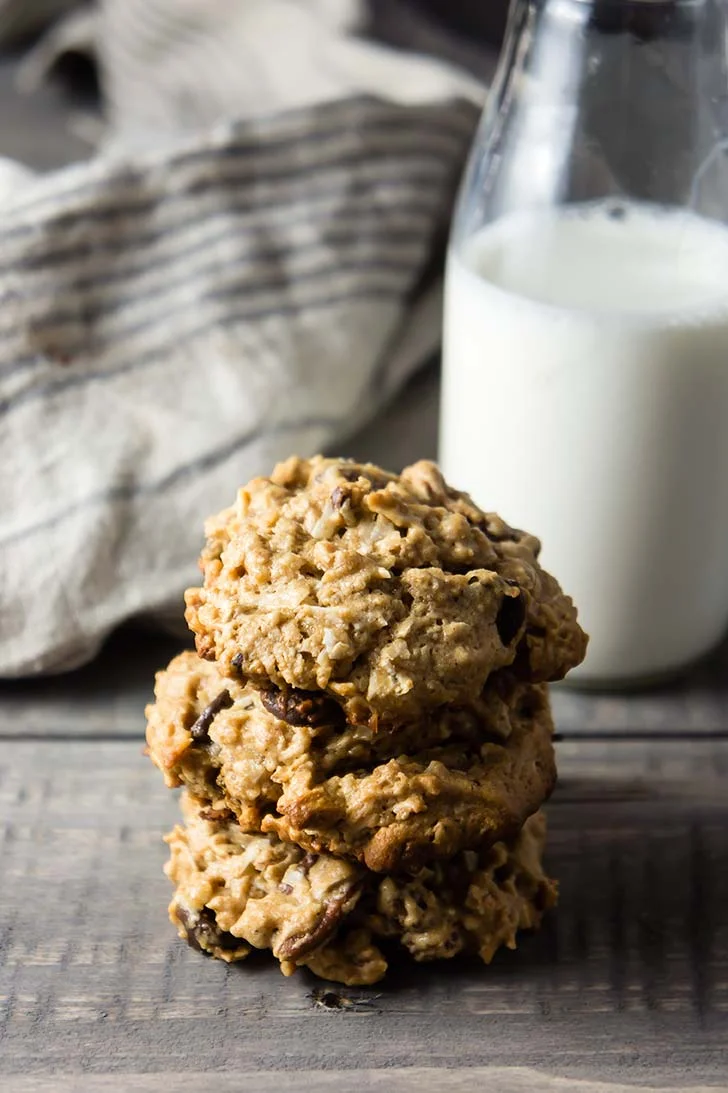
Soft & Chewy Flourless Ginger Tahini Cookies

Soft & Chewy Ginger Tahini Cookies

In January, well after holiday season was over, a client sent a big box of Tate's Cookies to the office, where they filled the kitchen counter for half a week. It was the worst (but also the best) kind of way to kick off January. I had been wanted to make a gingery version of these tahini chocolate chip cookies for some time -- I even had made a batch over the holidays that didn't quite work out. Despite it being peak resolution season, that counter full of cookies was just the push I needed to dive back into recipe development. 

The dream: a chewy, rich, flourless ginger cookie with chunks of crystallized ginger. 

I knew that tahini would be the perfect base, but my first attempt used far too much molasses and the cookies were WAY too soft. I learned, on that attempt, that coconut sugar really imparts enough molasses-y flavor anyhow, as it's unrefined so still carries all of the minerals that are stripped from refined sugars when molasses is made. 

Soft & Chewy Ginger Tahini Cookies

Tips for making these chewy tahini ginger cookies: 

  • STIR THAT TAHINI. This is in all caps because it's no joke. Tahini separates fast and if your tahini is all oil or all solids you're batter won't work. Last time I published a tahini cookie recipe someone asked about how to best stir tahini, which is a really good question because it's not the easiest to stir. But don't worry! Just scrape the entire jar into a blender, and let it rip. OR, carefully put your immersion blender into your tahini container (this is what I do, but also can foresee what a mess this might make in the wrong circumstances) 

  • Let them cool. Really! I too like hot-out-of-the-oven cookies, but these cookies need a minute to set up. More like 5-10. They'll still be warm, and they'll stay soft for a week at room temperature. BUT, if you try to pick one up while it's still piping hot it will just collapse and melt in your hand (if you can even get it into your hand). 

Ok, "mom" warnings over. Now, the recipe! 

Soft & Chewy Ginger Tahini Cookies

Soft & Chewy Flourless Ginger Tahini Cookies

Published February 21, 2019 by

Yields: 16   |    Active Time: 30 minutes


Ingredients:

  • 1 cup coconut sugar
  • 1/4 teaspoon baking soda
  • 1/4 teaspoon salt
  • 1/2 teaspoon ground ginger
  • 1/4 teaspoon ground cinnamon
  • 1/16 teaspoon ground cloves
  • 1 cup tahini (stirred very well - try blending it with your blender if it is separated)
  • 1 teaspoon vanilla
  • 1 egg
  • 1-1/2 teaspoon fresh ginger grated on a microplane
  • Optional: 1/3 cup ginger chips or finely chopped crystallized ginger

  • Directions:

    1. Preheat oven to 350°F.
    2. In a medium sized mixing bowl, combine coconut sugar, baking soda, salt, ground ginger, ground cinnamon, and ground cloves. Whisk briefly.
    3. Add tahini, vanilla, egg, and fresh ginger to bowl, and use a spatula to stir until a stiff, sticky batter forms.
    4. Optional: place bowl of batter in the fridge for 10 minutes to allow dough to stiffen a bit more.
    5. Using your hands, roll dough into spheres by the heaping tablespoonful. Place spheres at least 2 inches apart of a baking sheet lined with parchment paper, and flatted slightly with your fingers.
    6. Bake for 10-12 minutes, until cookies have spread and are golden. Cookies will still be quite soft when you remove them from the oven. Allow them to cool at least 10 minutes before attempting to move them to a cooling wrack or a plate.

    16 Comments

    Chocolate Chip Energy Bites

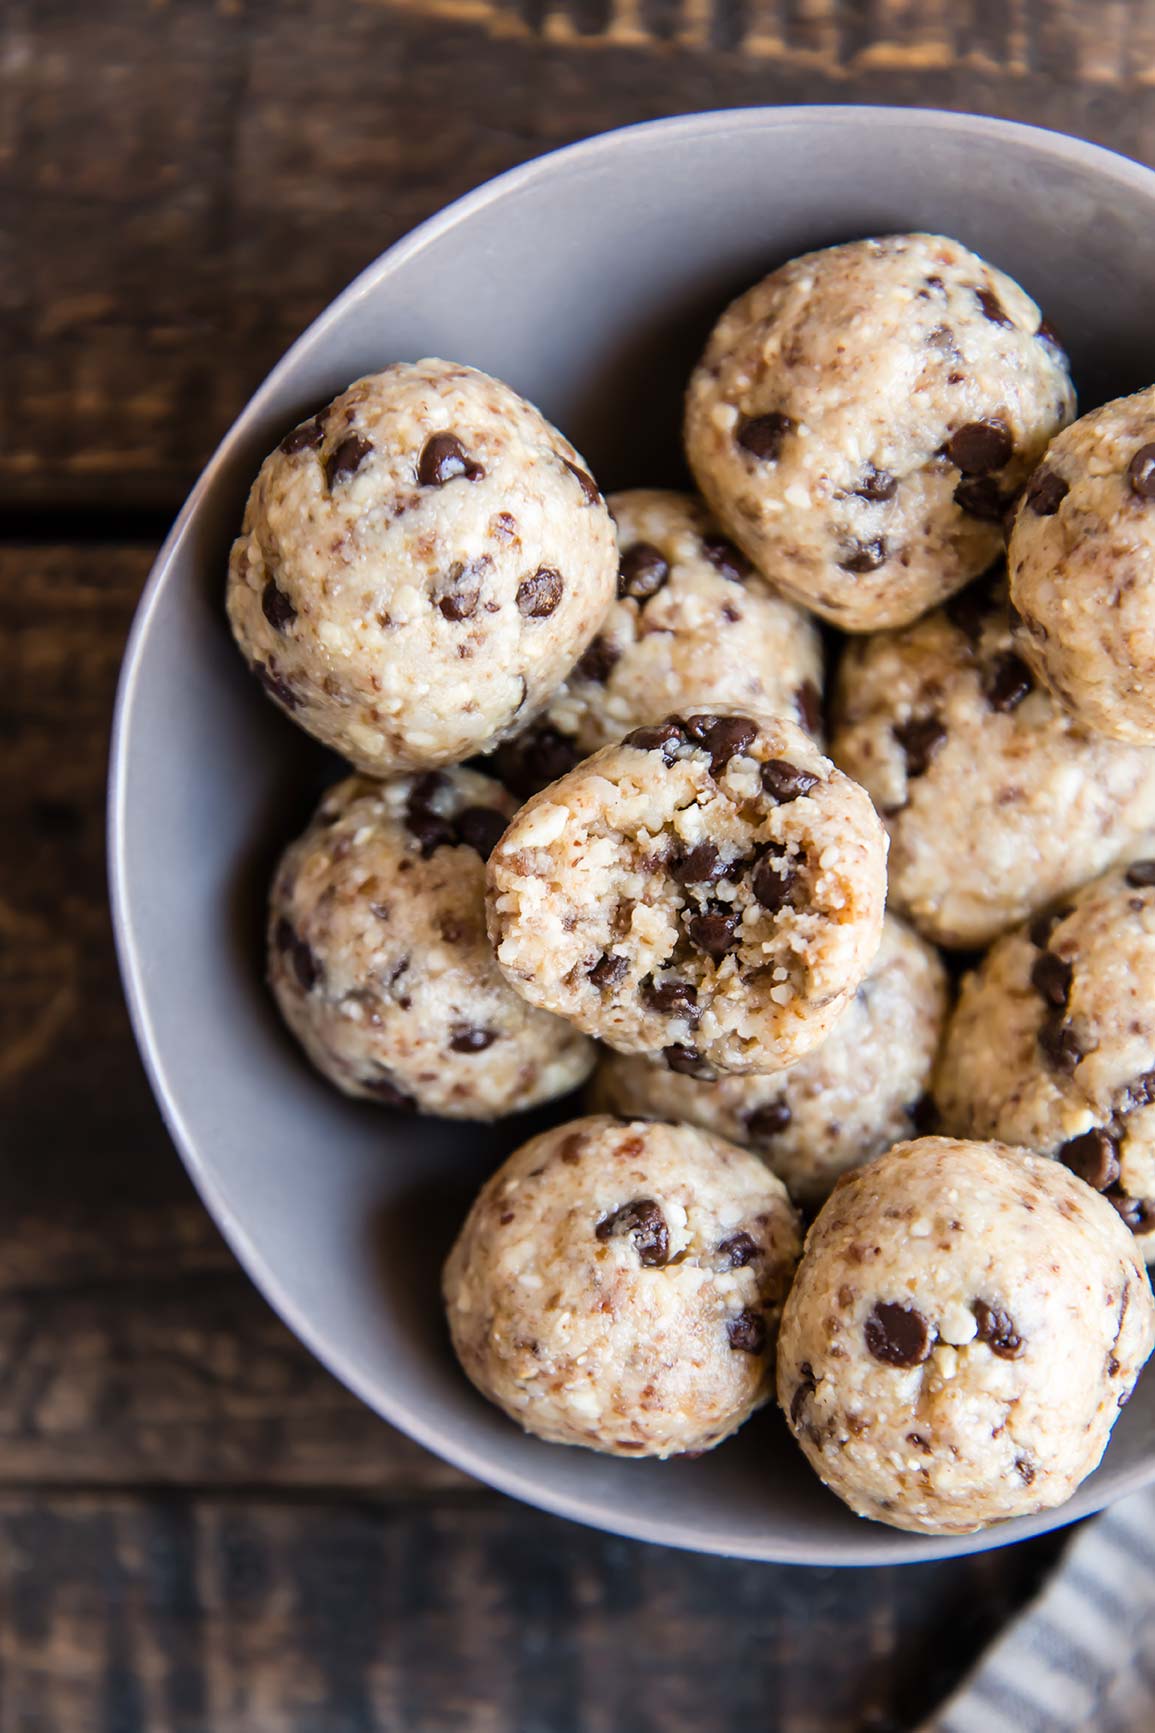
    This is an older recipe from Foraged Dish that I wanted to spruce up with new photos and a video. These energy bites are so darn delicious — they’ve been in my snack draw at work and I SO look forward to snack time each day! 

    Chocolate Chip Energy Bites

    Last week I went on a hike in the Front Range with nothing in my bag but my camera, my phone, and a ziplock stocked with these Chocolate Chip Energy Bites. I thought I had my car key too, until 30 minutes in when — oh no! - I noticed the pocket where I keep my key was open. Open and empty. 

    I immediately turned on my heels and spent the whole hike downhill with my head turned down, eyes constantly scanning the trail. I tried to soothe my inner chatter box, which, by the time I made it back down to the trailhead with no sign of my keys in sight, was freaking out.  In the end, I had to call for a ride to go get a spare key (thanks, Dad!). 

    But I digress. Casualties of hiking alone are not what this post is about!

    Chocolate Chip Energy Bites
    Chocolate Chip Energy Bites

    These energy bites call for only six ingredients and they just go into your food processor and you roll them up. That’s it!  Why macadamias and cashews? Macadamia nuts are extra buttery, which lends very well to this recipe, which taste a lot like a healthy version of cookie dough! At the same time, cashews are a bit starchier than most nuts, and their sweet flavor also gives these bites a bit of a “cookie dough” flavor. 

    Mini chocolate chips are best in this recipe because they distribute into each energy bite well. Each bite has a bit of chocolate and a bit of nut mixture, which sticks everything together. 

    Happy hiking! Take these with you — and don’t lose track of those keys!! 

    Chocolate Chip Energy Bites

    Published January 15, 2018 by

    Yield: 12   |    Active Time: 20 minutes


    Ingredients:

  • 1/3 cup dates, pitted
  • 1/2 cup macadamia nuts
  • 1/2 cup cashew pieces
  • Pinch of salt
  • 1 tablespoon honey
  • 3 tablespoons mini chocolate chips

  • Directions:

    1. Add dates, macadamia nuts, cashews, salt, and honey to bowl of food processor. Secure lid on food processor and run until the nuts are ground into a corse meal that begins to clump.
    2. Add mini chocolate chips to food processor and pulse, 2-3 times, just until chocolate is evenly distributed.
    3. Scoop a heaping tablespoonful of the mixture into your hands and roll into a ball. Repeat until all of the mixture is used.
    4. Enjoy immediately or store in an air-tight container in the fridge.

    Grain-Free Sweet Potato Pancakes

    Grain-Free Sweet Potato Pancakes

    I have never tasted sweet potato pie 😧 but if sweet potato pie was put into a pancake, I imagine this is what it would taste like. 

    The batter for these pancakes is made of primarily mashed cooked sweet potato and egg. If you've ever made grain-free banana pancakes, you know what I'm talking about! The batter needs to be thinned out a little to make pancakes, so a bit of melted coconut oil and milk (whatever type you like) get stirred in. But then, ginger, cloves, cinnamon and a dash of salt are added -- this is where that pie flavor comes to life! These pancakes are grain-free, so expect the finish pancakes to be denser than traditional pancakes made with flour. 

    Cook the pancakes on a well-greased non-stick griddle, and serve them warm. We topped them with butter, maple syrup and a dollop of whipped cream. (Yes, whipped cream is allowed at breakfast, and it really completes the sweet potato pie effect!) 😋

    Perfect for the holiday season! 

    Grain-Free Sweet Potato Pancakes
    Grain-Free Sweet Potato Pancakes

    Grain-Free Sweet Potato Pancakes

    Published December 13, 2018 by

    Yield: 6 four-inch pancakes   |    Active Time: 20 minutes


    Ingredients:

  • 1 cup cooked and mashed sweet potato
  • 2 eggs
  • 1/4 teaspoon ground nutmeg
  • 1 teaspoon ground cinnamon
  • 1/8 teaspoon salt
  • 1 teaspoon melted coconut oil, plus more for cooking
  • 1-2 teaspoon milk of choice
  • Optional: pinch of ground cloves
  • To serve: whipped cream, maple syrup, butter or coconut oil

  • Directions:

    1. In a medium sized mixing bowl, combine mashed sweet potato, eggs, nutmeg, cinnamon, salt, melted oil, milk, and cloves if using. Stir with a spatula or electric mixer until smooth.
    2. Heat a non-stick skillet over medium heat with 1-2 teaspoons of coconut oil. When the oil glistens, spoon batter into the pan by the 1/4 cup. This batter is thicker than traditional pancake batter, so use a spatula to spread it out to be about 1/4 to 1/2 inch thick. Cook for about 3-5 minutes, and then flip pancake and cook for 3-5 more minutes on the other side.
    3. Move cooked pancake to a plate and repeat step two until all of the batter is used.
    4. Serve warm topped with a pat of butter, dollop of whipped cream, and drizzle of maple syrup.