White Bean Salad with Fried Garlic Toasts

White Bean Salad with Fried Garlic Toasts

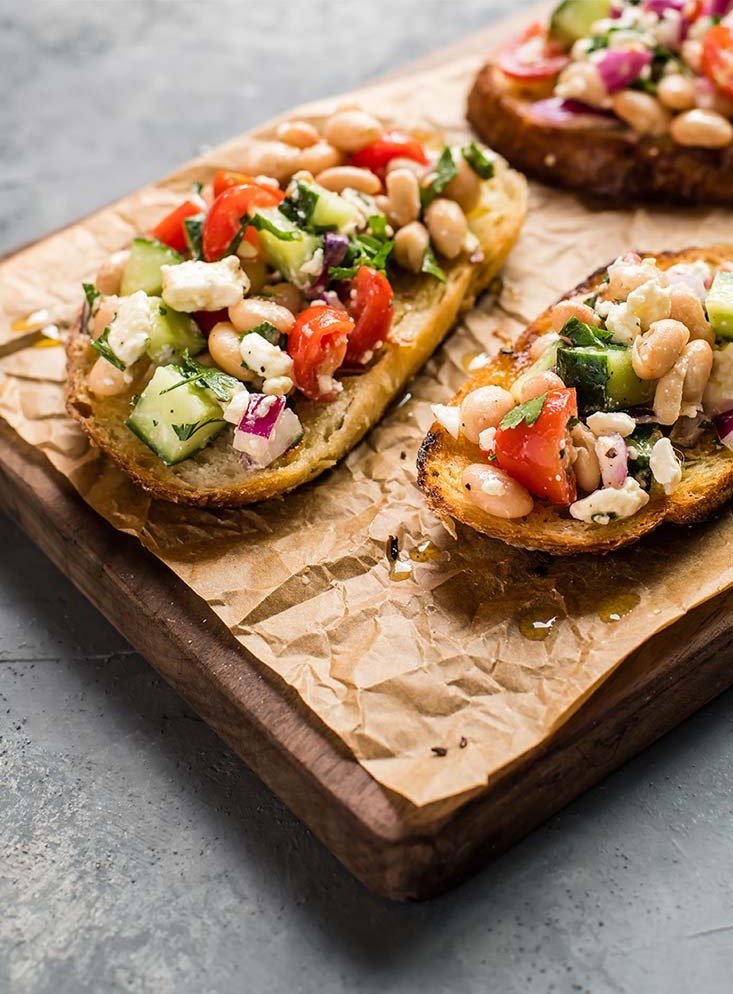
Low-effort and no-cook are ideal characteristics of a late summer, weeknight meal. Grilling is great, but sometimes you need something even easier—not to mention fresher—to put on the table. This white bean salad has been one of my favorite 15-minute dinners this summer, eaten straight, tossed with a bit of arugula, or best of all, with slices of sourdough that have been fried in butter and garlic. It’s satisfying (beans and feta cheese!) but also delivers some produce (tomatoes, cucumber, parsley). Some might call this an appetizer, but for me it’s just right as a light meal. Happy August!

White Bean Salad with Fried Garlic Toasts

White Bean Salad with Fried Garlic Toasts

Published July 30, 2019 by

Serves: 4   |    Active Time: 15 minutes


Ingredients:

  • 1 14-ounce can navy beans
  • 1/2 cup diced cucumber
  • 1/2 cup diced cherry tomatoes
  • 1/4 red onion, minced
  • 1/2 cup feta crumbles
  • 2 tablespoons minced parsley
  • 1-2 tablespoons extra virgin olive oil
  • Freshly ground black pepper
  • Salt to taste (optional)

  • For the toasts:
  • 4-5 slices bread of choice (such as sourdough)
  • 2-3 tablespoons butter
  • 1 clove garlic

  • Directions:

    1. Strain and rinse navy beans. Place in a medium-sized bowl.
    2. Add diced cucumber, cherry tomatoes, red onion, feta, and parsley. Gently stir until ingredients are well distributed. Drizzle with olive oil.
    3. Add freshly cracked black pepper to taste, then season with salt to taste (Note: the feta will also add salt to this dish, so really taste it as you add salt. I find I only need to add a little bit. If your beans were already salty, you may not need salt at all).
    4. Bean salad can be made several hours ahead of time. Cover and place in fridge until ready to eat.
    5. When ready to serve, prepare the garlic toasts: mince garlic. Add garlic, along with 1/2 tablespoon of butter to a skillet and warm over medium heat. Swirl butter in pan to cover the bottom.
    6. When pan is hot, place several pieces of bread in skillet in a single layer. (My 10-inch skillet only fit 3-4 pieces at a time, depending on size. Work in batches.) Toast on the first side for 3-4 minutes. Then, use tongs to flip bread to second side. Add an additional 1/2 tablespoon of butter if pan gets dry. Toast for 3-4 minutes on second side, then remove from pan. Repeat until all slices are toasted.
    7. Serve: top each toast with bean salad and set on serving plates.

    White Bean Salad with Fried Garlic Toasts
    1 Comment

    No-Churn, 5-Ingredient Pistachio Ice Cream

    No-Churn, 5-Ingredient Pistachio Ice Cream

    One of the first fare-weather recipes I shared this year was for No-Churn Rhubarb Crisp Ice Cream. There is some debate in the house on whether making a rhubarb crisp and turning it into ice cream is a good use of time, but I’ll tell you where I stand: ice cream is delicious.

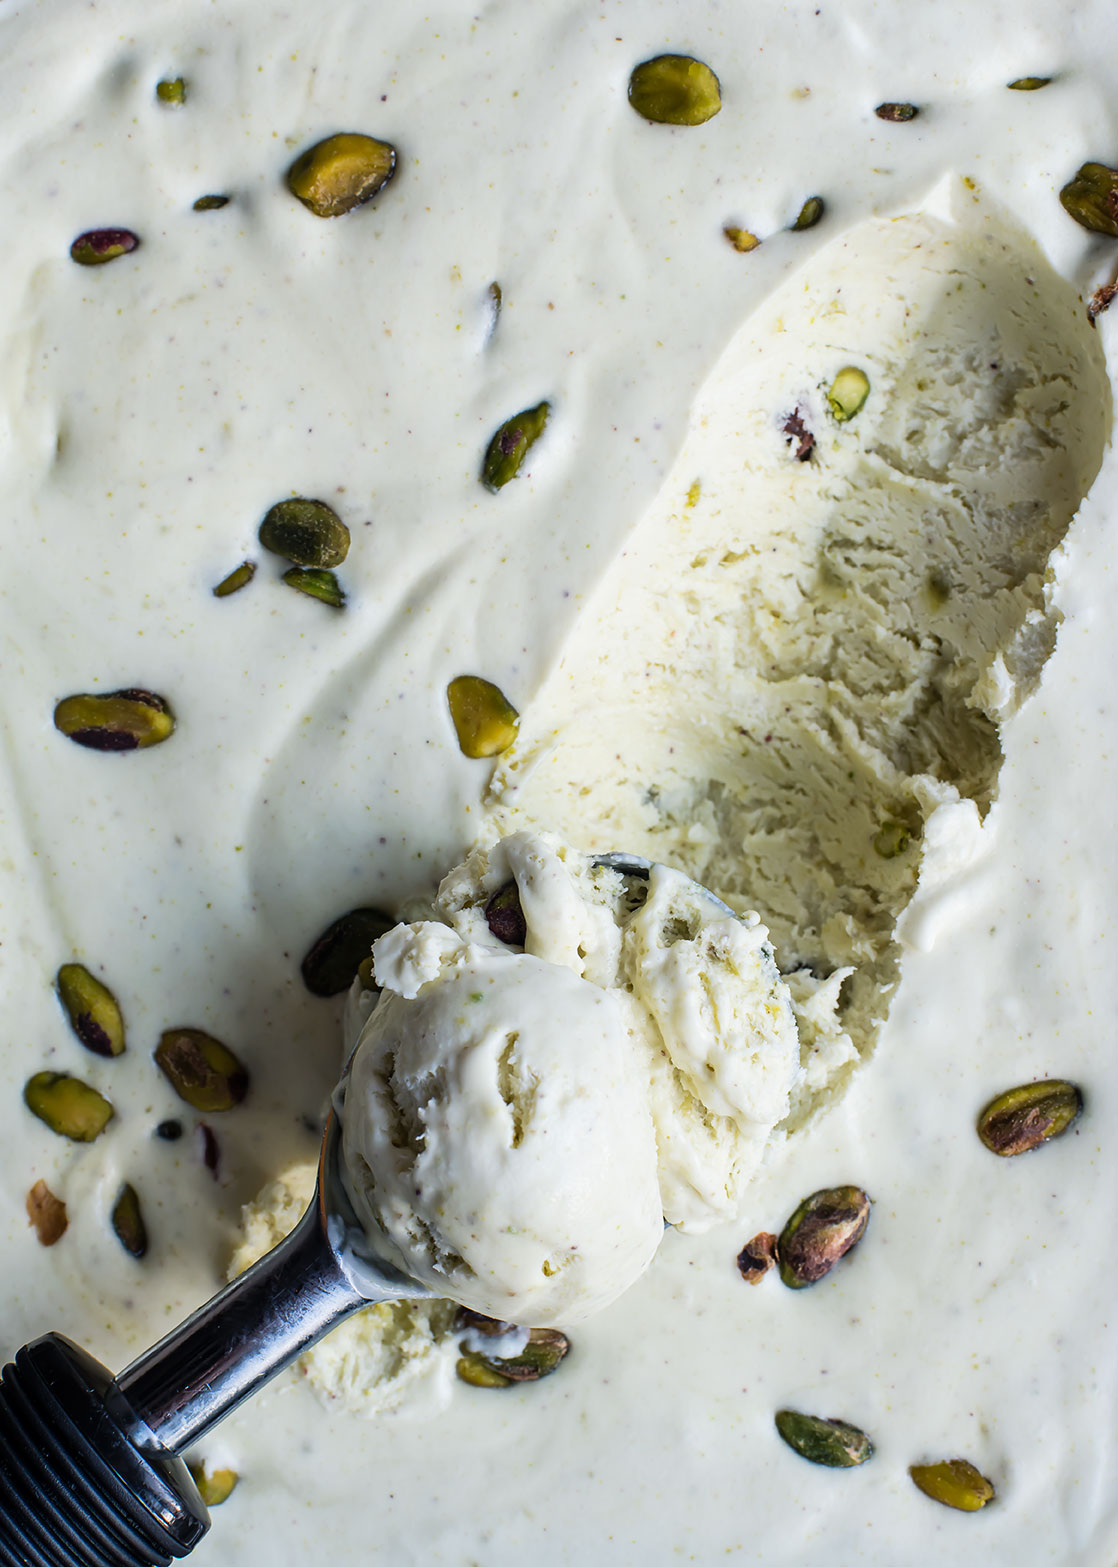
    In that same blog post, I promised to share some of the other recipe adaptions I had tried, including this winner, which causes no hot debates in the house. Other than who is getting the last scoop, of course. All you need is 5 ingredients, including real pistachios. (Real pistachios are important—something anyone who has ever bought a pistachio ice cream that tasted more like pistachio liquor than actual pistachios will understand).

    No-Churn, 5-Ingredient Pistachio Ice Cream
    No-Churn, 5-Ingredient Pistachio Ice Cream

    No-Churn, 5-Ingredient Pistachio Ice Cream

    Published July 23, 2019 by

    Serves: 12   |    Active Time: 20 active minutes


    Ingredients:

  • 2/3 cup shelled, roasted, unsalted pistachios, divided
  • 1 14-oz can sweetened condensed milk
  • Pinch salt
  • 1/2 teaspoon vanilla extract
  • 2 cups whipping cream 

  • Directions:

    1. Place half (1/3 cup) of pistachios in a blender, and blend on high until a paste begins to form. Add sweetened condensed milk, salt, and vanilla to blender and blend again until fully combined and smooth. Transfer for a small mixing bowl.
    2. In a separate, medium-sized mixing bowl, beat whipping cream with electric beaters until firm peaks form.
    3. Gently fold 1 cup of the whipped cream into the pistachio mixture until combined. Then, scape pistachio mixture into the rest of the whipped cream, gently folding it in. Do not over mix (you want as much air in the whipping cream as possible!). A few streaks of green or white are OK.
    4. Scrape the ice cream mixture into a glass pyrex with air-tight lid (about 9x5 inches, or equivalent volume). Place lid on container, and place flat in freezer for 2 hours.
    5. After 2 hours, gently swirl in remaining pistachios to taste, and sprinkle some pistachios on top. Place lid back on ice cream and freeze for at least 3 more hours before serving.

    No-Churn, 5-Ingredient Pistachio Ice Cream

    Grilled Carrots with Feta Yogurt Sauce

    Grilled Carrots with Feta Yogurt Sauce

    Last year, its was the front yard; this year, it’s the back.

    Our backyard. AKA Bind Weed Jungle. The Sloping Hill. The place I wish we spent time but we don’t really—unless we’re using the grill. This year, we’re setting out to change that, by dealing with that slope and the weeds covering it (seriously, they were hip-high last year). We’re adding a large retaining wall, planting native flowers, and maybe—if somehow we gain three extra weeks to our summer—adding space to actually “hang out.” Until that’s done though, the yard is still what it has been since we moved in: the grill spot.

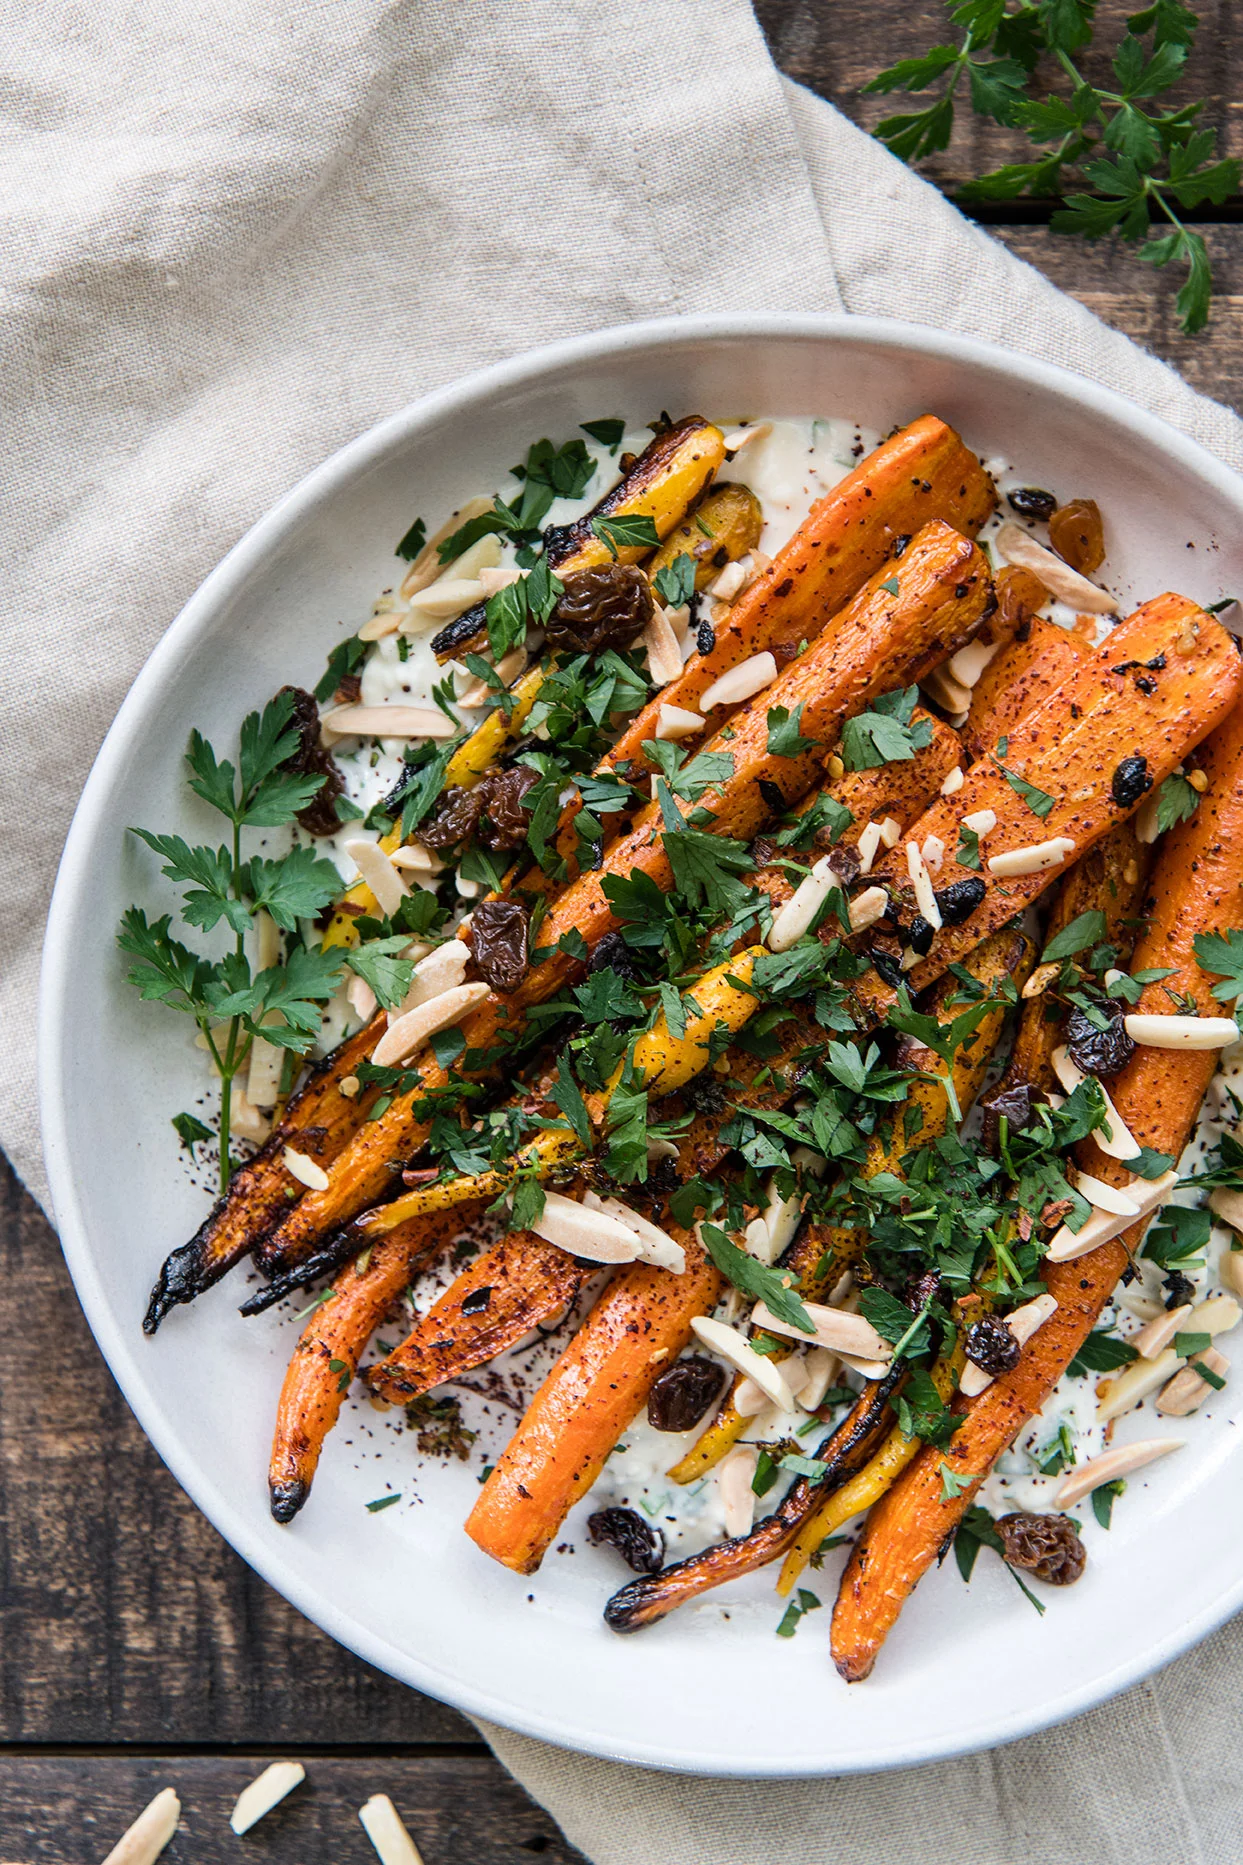
    But who said grilling has to be burgers, hotdogs, and chicken? I’ve been all about charred veggies lately, (carrots, but also cauliflower, and doesn’t this salad from Heart Beet Kitchen look killer?). Combining those hot grilled veggies with other textures and flavors to complete the picture is where it’s at (sauce, fresh herbs, crunchy nuts, etc). Try something new! Grill carrots. I dare you!

    Grilled Carrots with Feta Yogurt Sauce
    Grilled Carrots with Feta Yogurt Sauce

    Grilled Carrots with Feta Yogurt Sauce

    Published July 10, 2019 by

    Serves: 2   |    Active Time: 30 minutes


    Ingredients:

  • 8-10 carrots, peeled
  • 2 tablespoons avocado or olive oil
  • 1 teaspoon honey
  • 2 cloves garlic
  • 4 sprigs thyme
  • Freshly cracked black pepper
  • 1/4 cup feta cheese crumbles
  • 1/4 cup plain Greek yogurt
  • 1 teaspoon lemon juice
  • 1 tablespoon minced fresh chives
  • 1 teaspoon fresh oregano, minced
  • 2 tablespoons toasted slivered almonds
  • 2 tablespoons raisins
  • 2 tablespoons minced parsley
  • Sprinkle of ground sumac
  • Optional: sprinkle of red chili flakes or Aleppo pepper flakes 

  • Directions:

    1. Light grill and set to medium flame. Close lid to allow grill to heat.
    2. Meanwhile, prep carrots: if carrots are thick, cut in half the long way. They should be 1/4 to 1/2 inch thick. Peel, and place carrots in bowl, and drizzle with oil and honey.
    3. Mince garlic, and remove thyme leaves from stems. Add garlic, thyme leaves, and a sprinkle of black pepper to carrots and toss to combine. Place carrots in a grill basket or directly on the grill (just be careful to keep them from falling through the cracks!), and close grill lid. Grill for a total of 20 minutes, turning after 10 minutes. Carrots are done when they are softened through and are charred in spots. (Note: if carrots are charring too quickly, your grill may be too hot; turn down the flame).
    4. Meanwhile, make the sauce: combine feta, yogurt, lemon juice, chives, and oregano in a small bowl and stir.
    5. Assemble: Spread feta sauce in a generous layer on a plate. Arrange carrots over top. Sprinkle with almonds, raisins, parsley, sumac, and chili flakes. Serve warm.