Instant Pot Fall Harvest Minestone Soup

Instant Pot Fall Harvest Minestone Soup

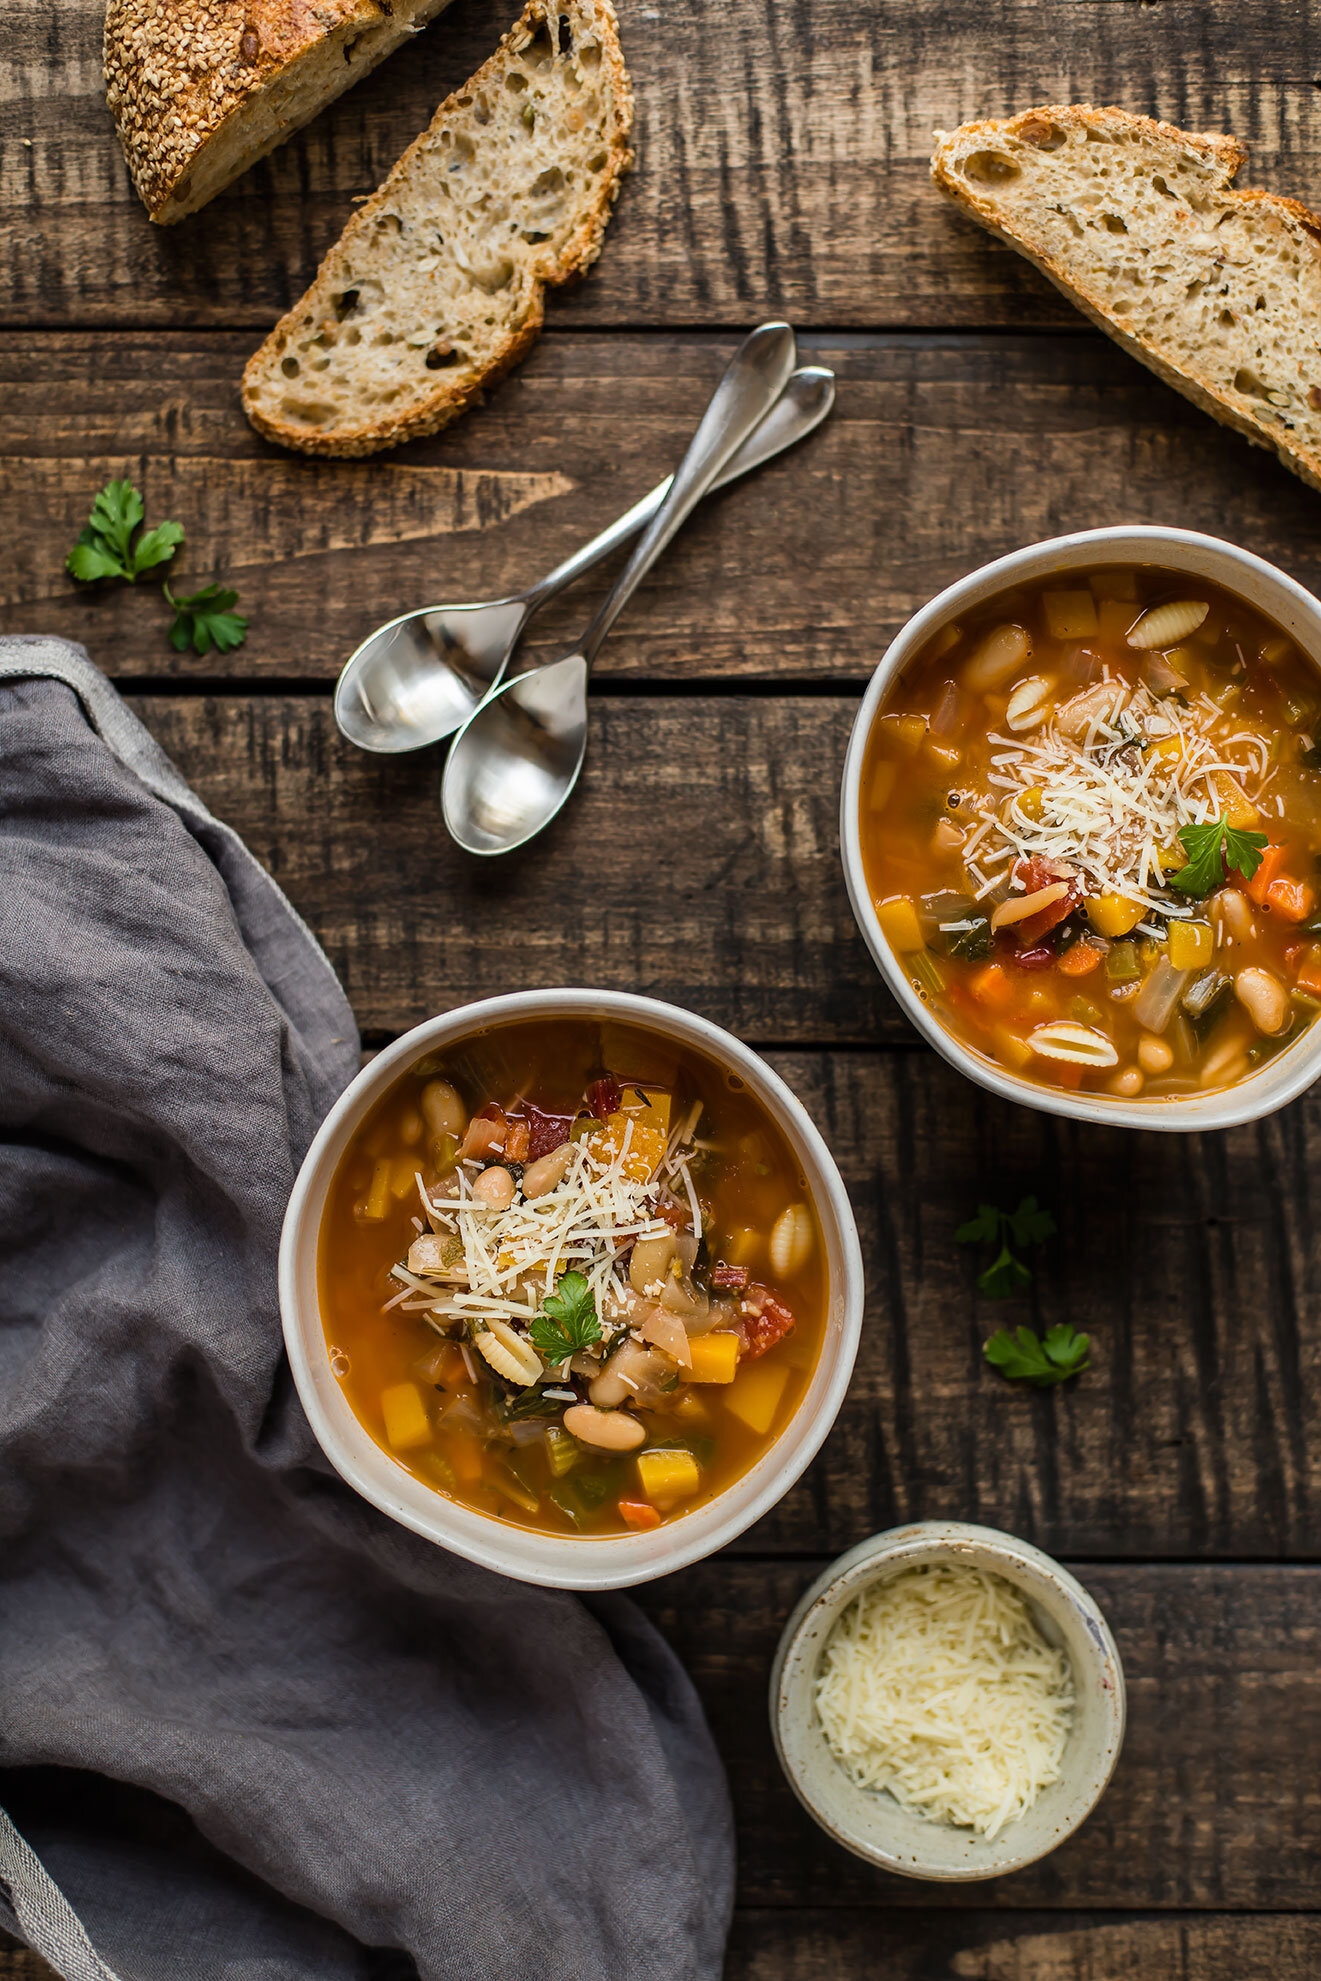
While we were on vacation, we made this Minestrone recipe, originally from Ina Garten. It was super satisfying, especially because the weather was cold up north! The day we arrived back at home, we harvested all of the remaining veggies from our own yard—snow was on the way. Our crop this year included over 20 winter squash, and a giant pile of swiss chard. With Ina’s recipe fresh on my mind, I knew one way to put those veggies to work. After a few adaptions, we had a pot full of perfectly fall minestrone. Cozy, but also chock-full of veggies, which is just want I look for right after vacation.

Instant Pot Fall Harvest Minestone Soup

Instant Pot Fall Harvest Minestone Soup

Published October 17, 2019 by

Serves: 6   |    Active Time: 30 minutes


Ingredients:

  • 2 ounces diced pancetta or diced thick-cut bacon (optional)
  • 1 tablespoon coconut oil or other cooking oil
  • 1 yellow onion, diced
  • 2 stalks of celery, diced
  • 2 large carrots, diced
  • 4 cloves of garlic, minced
  • 1/2 cup white wine
  • 2 cups diced butternut squash (peeled and seeds removed)
  • 1 16-ounce can cannellini beans, strained and rinsed
  • 1 16-ounce can diced tomatoes
  • 5 cups chicken broth
  • 1/4 teaspoon ground black pepper
  • 1 dried bay leaf
  • 1/2 teaspoon dried thyme
  • 3-4 swiss chard leaves
  • 1/2 cup basil (optional)
  • Salt to taste
  • Optional: 2 cups cooked small-sized pasta, such as ditalini, orecchiette, or gnocchetti (Use chickpea pasta for gluten-free)
  • For serving: grated Parmesan

  • Directions:

    1. Turn Instant Pot to Sauté setting. If using pancetta, place in pot and cook for a few minutes, browning on each side.
    2. If pot is dry, add coconut oil. This can be skipped if there is a good amount of oil in the pot from the pancetta. Place onion, celery, carrots, and garlic in pot, and stir to combine. Sauté, stirring occasionally, until onion is translucent.
    3. Using a knife, remove the stems from the swiss chard leaves. Place the green parts aside (reserve for later) and dice the stems. Add the stems to the pot.
    4. Pour wine into pot. Using a wooden spatula, scrape the bottom of the pot, releasing any brown bits as the wine simmers (this adds flavor to the soup).
    5. Add butternut squash, beans, diced tomatoes, broth, pepper, bay leaf, and thyme to pot. Stir. Place lid on Instant Pot and set to “Bean/Chili” setting. Set timer to 1 minute with vent in the sealed position.
    6. When timer goes off, release the pressure and open the pot.
    7. Chop the reserved swiss chard leaves into bite-sized pieces, and roughly chop the basil. Stir both into the soup. Taste, and season with salt to your preferences (note: store bought broth will likely already have salt in it, so you may not need much. Homemade broth usually doesn’t already have salt, so more will need to be added).
    8. Divide pasta among serving bowls. Ladle soup into bowls, and stir to incorporate pasta. Top with grated Parmesan cheese. Serve hot. Great with a side of garlic bread or crostini!
    9. Note: We stir the pasta into each serving bowl, rather than the whole pot, because if you put all of the pasta into the soup, it will absorb much of the broth, and the next day, you’ll find your leftovers are not very soup-like.

    Instant Pot Fall Harvest Minestone Soup

    White Bean Salad with Fried Garlic Toasts

    White Bean Salad with Fried Garlic Toasts

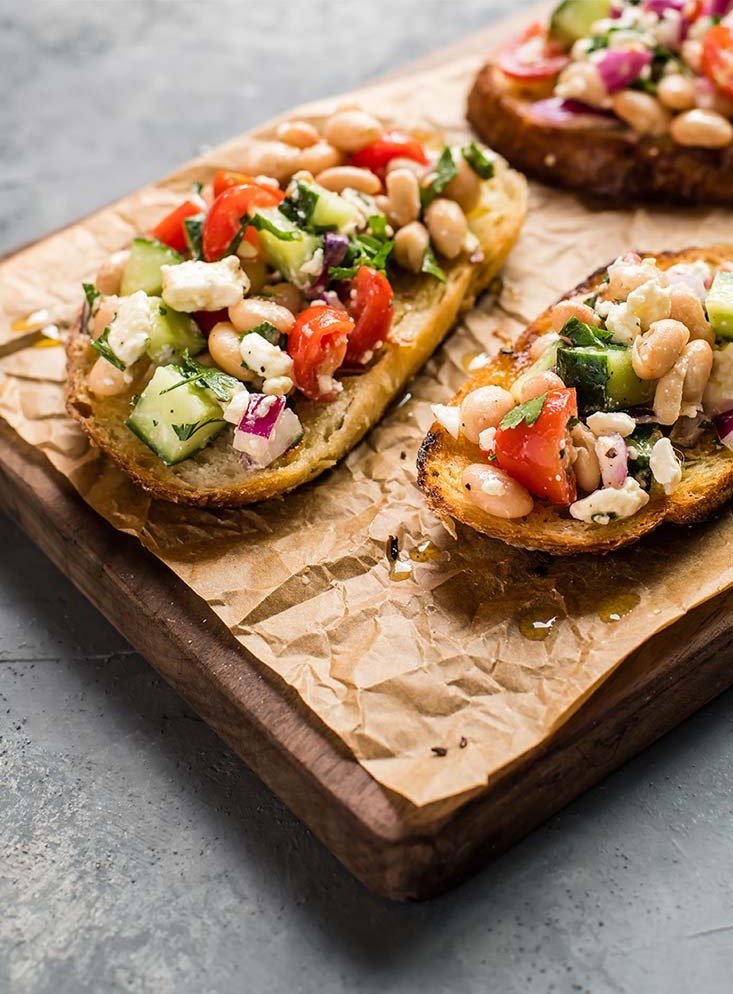
    Low-effort and no-cook are ideal characteristics of a late summer, weeknight meal. Grilling is great, but sometimes you need something even easier—not to mention fresher—to put on the table. This white bean salad has been one of my favorite 15-minute dinners this summer, eaten straight, tossed with a bit of arugula, or best of all, with slices of sourdough that have been fried in butter and garlic. It’s satisfying (beans and feta cheese!) but also delivers some produce (tomatoes, cucumber, parsley). Some might call this an appetizer, but for me it’s just right as a light meal. Happy August!

    White Bean Salad with Fried Garlic Toasts
    White Bean Salad with Fried Garlic Toasts

    White Bean Salad with Fried Garlic Toasts

    Published July 30, 2019 by

    Serves: 4   |    Active Time: 15 minutes


    Ingredients:

  • 1 14-ounce can navy beans
  • 1/2 cup diced cucumber
  • 1/2 cup diced cherry tomatoes
  • 1/4 red onion, minced
  • 1/2 cup feta crumbles
  • 2 tablespoons minced parsley
  • 1-2 tablespoons extra virgin olive oil
  • Freshly ground black pepper
  • Salt to taste (optional)

  • For the toasts:
  • 4-5 slices bread of choice (such as sourdough)
  • 2-3 tablespoons butter
  • 1 clove garlic

  • Directions:

    1. Strain and rinse navy beans. Place in a medium-sized bowl.
    2. Add diced cucumber, cherry tomatoes, red onion, feta, and parsley. Gently stir until ingredients are well distributed. Drizzle with olive oil.
    3. Add freshly cracked black pepper to taste, then season with salt to taste (Note: the feta will also add salt to this dish, so really taste it as you add salt. I find I only need to add a little bit. If your beans were already salty, you may not need salt at all).
    4. Bean salad can be made several hours ahead of time. Cover and place in fridge until ready to eat.
    5. When ready to serve, prepare the garlic toasts: mince garlic. Add garlic, along with 1/2 tablespoon of butter to a skillet and warm over medium heat. Swirl butter in pan to cover the bottom.
    6. When pan is hot, place several pieces of bread in skillet in a single layer. (My 10-inch skillet only fit 3-4 pieces at a time, depending on size. Work in batches.) Toast on the first side for 3-4 minutes. Then, use tongs to flip bread to second side. Add an additional 1/2 tablespoon of butter if pan gets dry. Toast for 3-4 minutes on second side, then remove from pan. Repeat until all slices are toasted.
    7. Serve: top each toast with bean salad and set on serving plates.

    White Bean Salad with Fried Garlic Toasts
    1 Comment

    Eggplant Cannelloni

    Eggplant Cannelloni

    The last few months have been go, go, go, which has meant fewer posts to the blog, less time to photograph recipes, 😭 and learning to cut myself a break every once in a while.

    Somehow, yesterday was April and today it's September. September thirteenth. Back in April my mantra was, "You can't do literally everything," but somewhere between then and now, my mantra became nothing but a string of words, as I continued to ignore their meaning. So, today, I'm trying out this new mantra: Cut yourself a break. It means going easy on yourself when you've been trying your hardest. It means giving yourself a pass when you need it most.

    Eggplant Cannelloni

    In the midst of my mantra-creating and mantra-forgetting, our stockpile of eggplants has been growing: Not a day goes by that I don't have at least three of them sitting in our fruit bowl, staring me back. This year I planted six varieties, next year I'll plant two: Fengyuan and Black Beauty. 

    • Edirne - these were the first to fruit, but they're my least favorite to eat. other than their pretty green and purple stripes, they are just a little bitter and not as tasty.

    • Antigua - these are my favorite to look at but they are quite small, better for slicing in half and roasting with some harissa or something of the sort.

    • Fengyuan - my most copious producer, I freakin' love these eggplants. They are long (17 inches!), skinny and usually make a "J" shape. They are absolutely delicious when stir fried with some garlic and Thai basil.

    • Ping Tung - I also like these for stir fries, but for whatever reason I prefer the Fengyuan... no need to grow both, they are so similar!

    • Black Beauty and Florida - speaking of similar, I can barely tell these two plants apart. I think I like the black beauty ones the most (we have gotten some massive eggplants from those plants). In any case, they are the best variety for recipes like this cannelloni, where you want wide strips, or this roasted eggplant salad. They're also the variety you usually find at the grocery store.

    Ok, don't quote me on the only growing two varieties thing. But those are my favorite so far this season. Have you ever grow eggplants? What were your favorite varieties? 

    Basket of Eggplants from the Garden
    Eggplant Cannelloni

    Normally I'd suggest serving this with a glass of red, but I happened to also be making a batch of this Fig & Pear White Wine Sangria, so of course I had to have a glass of that instead. 

    P.S., if you like this recipe, you'll LOVE this Zucchini Ricotta Manicotti. 😋

    Eggplant Cannelloni

    Published September 13, 2018 by

    Serves: 6-8   |    Active Time: 40 minutes


    Ingredients:

  • 2 medium sized eggplants
  • 2-4 tablespoons olive oil
  • 2 cups marinara sauce
  • 1 cup mozzarella
  • 1/2 cup parmesan
  • 1 pound beef
  • 1 teaspoon coconut oil
  • 1/2 yellow onion, diced
  • 4 cloves garlic, minced
  • Salt & pepper to taste

  • Directions:

    1. Light grill set flame to medium. Slice eggplant into strips the long way. Brush eggplant slices with olive oil, and them place on grill, cooking for about 5 minutes before flipping. Eggplant slices should have char marks on the outside and be softened through. Remove from heat, turn off grill, and set eggplant aside.
    2. Heat coconut oil in a medium sized skillet over medium-high heat until it glistens. Add diced onion and minced garlic and sauté until onions are transparent.
    3. Add beef to skillet. Brown beef, using a wooden spatula to create crumbles as it cooks. When beef is browned, add 1/2 cup marinara sauce to the pan and stir. Turn off heat.
    4. Allow beef mixture and eggplant to cool just enough so they can be handled before proceeding to next step. (Warm is fine, just avoid burning yourself!)
    5. Prepare baking dish: spread remaining 1-1/2 cups marinara sauce in the bottom of a 9x9 or 7x12 baking dish.
    6. Work with one eggplant strip at a time. Lay it out in front of you, with the short end towards you, and place about 2 tablespoons of beef mixture in the center of the strip. Roll the strip around the beef, rolling in the opposite direction of your body. Place rolled eggplant in the baking dish, with the “seam” down. Repeat this step until all eggplant strips are used.
    7. Sprinkle top of cannelloni with mozzarella and then parmesan, and place in oven. Set broiler to high and broil for 5-10 minutes, until cheese and sauce are bubbling. Serve hot.

    1 Comment