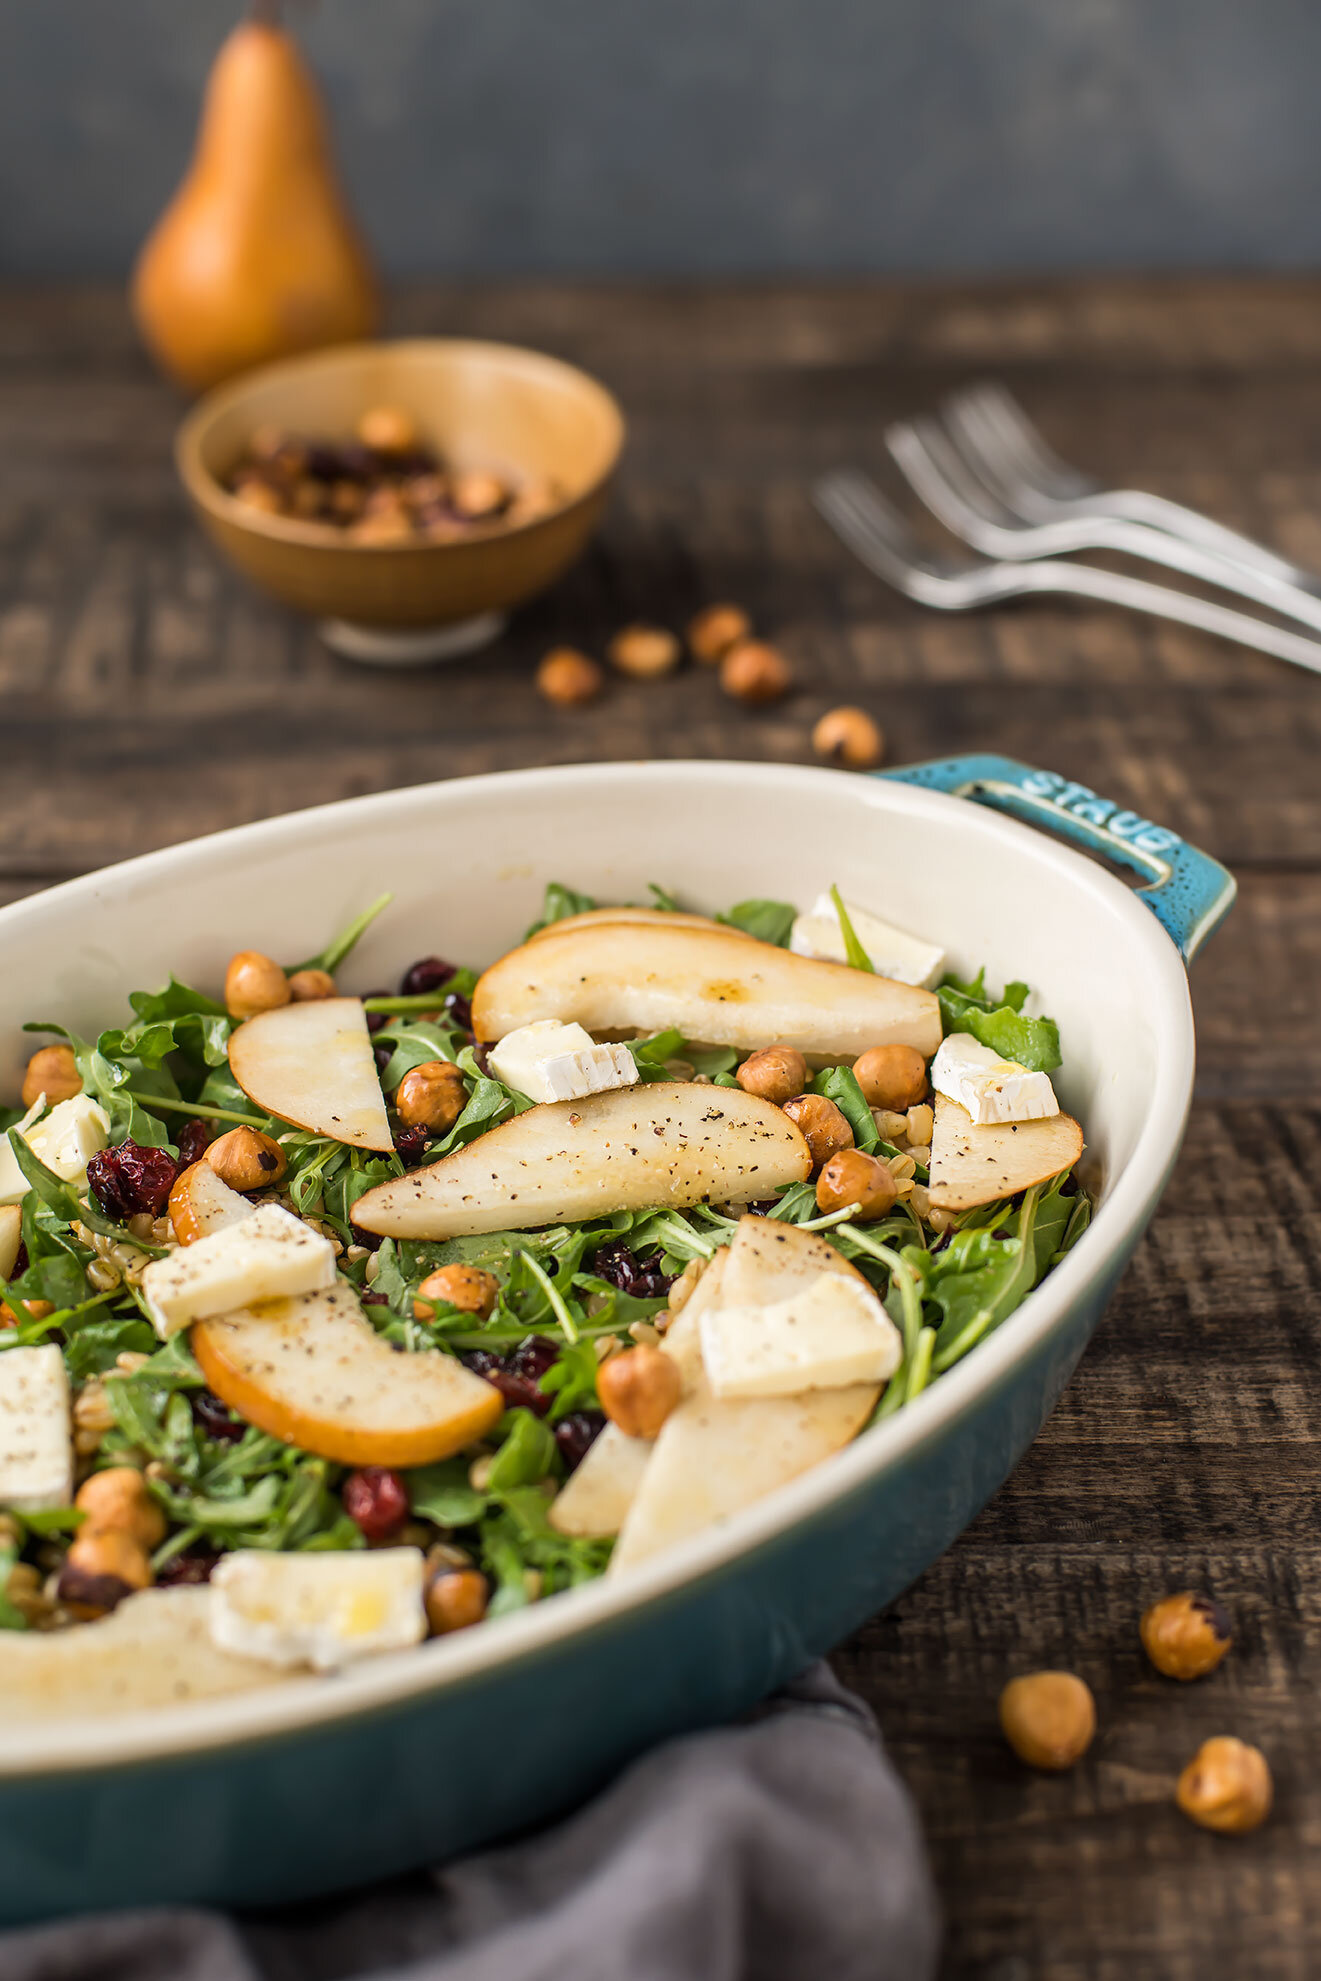
Pear Harvest Salad with Hazelnuts & Brie

Pear Harvest Salad with Hazelnuts & Brie

If you want a fail-proof salad formula, with no recipe, just take a bed of greens and add a fruit, a nut, and a cheese. Drizzle with vinaigrette. This salad is a perfect proof point for that formula (which really never fails).

Happen to be planning your Thanksgiving menu? With pears, brie, and hazelnuts this dish fits right in. Looking for more of a salad-for-lunch kind of situation? Add cooked farro, which will add some heft.

Pear Harvest Salad with Hazelnuts & Brie

Pear Harvest Salad with Hazelnuts & Brie

Published November 13, 2019 by

Serves: 2-4   |    Active Time: 20 minutes


Ingredients:

  • 3-4 cups baby arugula
  • 1 ripe bosc pear
  • 1/4 cup raw hazelnuts
  • 1/4 cup brie, sliced into bite-sized pieces
  • 1/4 tablespoons dried cranberries
  • 1/4 cup cooked and cooled farro, wheat berries or brown quinoa
  • 1 tablespoon balsamic vinegar
  • 2 tablespoon extra virgin olive oil
  • 1/4 teaspoon dijon mustard
  • Generous pinch salt
  • Several cracks of black pepper, plus more for topping

  • Directions:

    1. Preheat an oven to 300°F and spread hazelnuts on a baking sheet. Place pan in oven, and toast nuts for 10-15 minutes, checking frequently. The nut should be golden brown (the papery skin will be dark, and begin to blister). Remove nuts from oven, and place in a cloth kitchen towel. Rub nuts in the towel to remove the papery skins (some won’t come off, but it’s fine). Set aside to cool completely.
    2. While the hazelnuts toast, place arugula in a serving bowl.
    3. Slice the pear in half. Cut off the stem, and remove the seedy center. Slice pear into 1/4-inch thick pieces. Arrange pears over top of the arugula.
    4. Top with dried cranberries, farro, and pieces of brie.
    5. When hazelnuts are cooled, scatter over the salad.
    6. Add balsamic vinegar, olive oil, dijon mustard, a pinch of salt, and a few cracks of pepper to a jar/container with a lid. Place lid on jar, and shake to combine.
    7. When ready to serve, drizzle vinaigrette over salad.

    Pear Harvest Salad with Hazelnuts & Brie

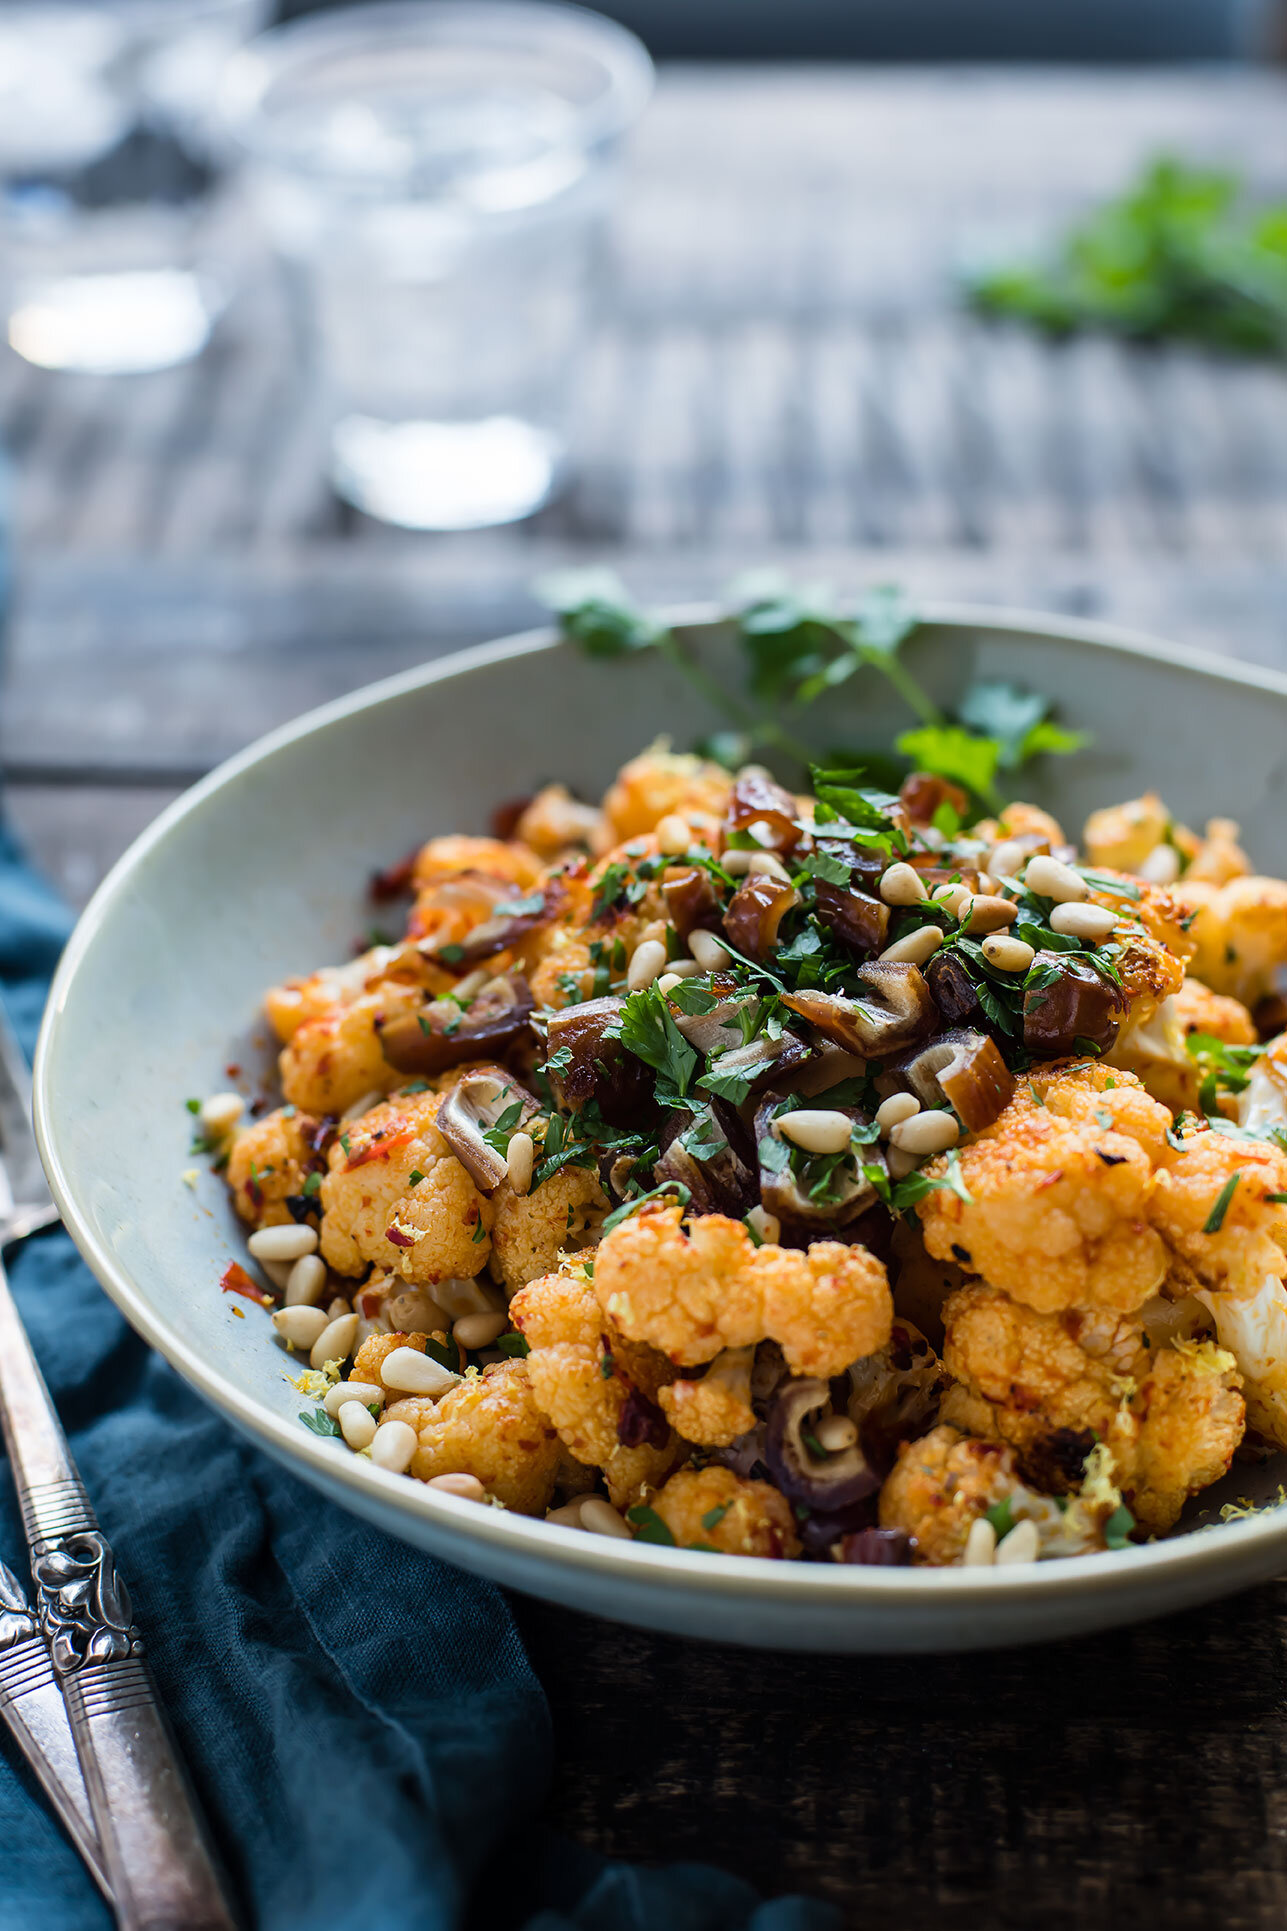
    Harissa Roasted Cauliflower with Dates & Pine Nuts

    Harissa Cauliflower with Dates & Pine Nuts

    This recipe is from the Foraged Dish archives. It’s a favorite this time of year, and the photos were old (and embarrassing! 😛). I made it for dinner recently and took the opportunity to reshoot, and write simpler directions. Recipe is the same!

    Cauliflower: under-the-radar fall veggie (squash gets all the glory this time of year), but versatile, well-loved, and absolutely delicious. In this dish, the cauliflower gets tossed in harissa for a touch of heat, and then mixes with rich dates and pine nuts. Lemon zest and parsley brings brightness. A great side dish for a fall dinner party.

    Harissa Cauliflower with Dates & Pine Nuts
    Harissa Cauliflower with Dates & Pine Nuts

    Harissa Roasted Cauliflower with Dates & Pine Nuts

    Published August 23, 2016 by

    Serves: 4   |    Active Time: 30 active minutes


    Ingredients:

  • 1 head cauliflower
  • 2 tablespoons Harissa paste
  • 2 tablespoons olive oil
  • Salt & Pepper
  • 1/4 cup pine nuts
  • 1/4 cup dates, pitted
  • Small handful parsley, flat leaf
  • Zest 1/2 lemon
  • 1 tablespoon rosemary

  • Directions:

    1. Preheat oven to 450°F. In a medium-sized bowl, whisk Harissa paste with olive oil. Cut cauliflower into bite-sized pieces. Place florets in bowl, and toss in Harissa mixture. Spread out on sheet pan, and sprinkle with salt and pepper. Bake for 20 minutes, until crisp on edges and tender. Set aside.
    2. Meanwhile, toast pine nuts in a small skillet over low heat until golden. Watch them closely to avoid burning.
    3. Roughly chop dates, and mince parsley and rosemary.
    4. When cauliflower is ready, transfer it to a serving bowl. Add additional salt or pepper to taste. Zest half a lemon over the cauliflower.
    5. Sprinkle dates, pine nuts, parsley, and rosemary over cauliflower and serve.

    White Bean Salad with Fried Garlic Toasts

    White Bean Salad with Fried Garlic Toasts

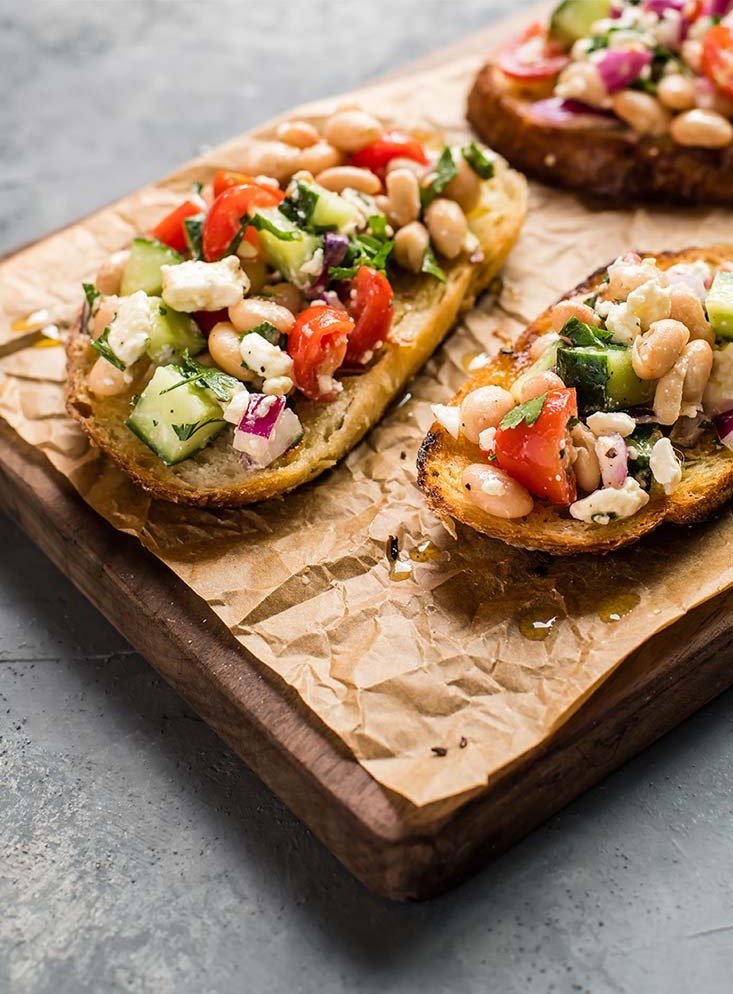
    Low-effort and no-cook are ideal characteristics of a late summer, weeknight meal. Grilling is great, but sometimes you need something even easier—not to mention fresher—to put on the table. This white bean salad has been one of my favorite 15-minute dinners this summer, eaten straight, tossed with a bit of arugula, or best of all, with slices of sourdough that have been fried in butter and garlic. It’s satisfying (beans and feta cheese!) but also delivers some produce (tomatoes, cucumber, parsley). Some might call this an appetizer, but for me it’s just right as a light meal. Happy August!

    White Bean Salad with Fried Garlic Toasts
    White Bean Salad with Fried Garlic Toasts

    White Bean Salad with Fried Garlic Toasts

    Published July 30, 2019 by

    Serves: 4   |    Active Time: 15 minutes


    Ingredients:

  • 1 14-ounce can navy beans
  • 1/2 cup diced cucumber
  • 1/2 cup diced cherry tomatoes
  • 1/4 red onion, minced
  • 1/2 cup feta crumbles
  • 2 tablespoons minced parsley
  • 1-2 tablespoons extra virgin olive oil
  • Freshly ground black pepper
  • Salt to taste (optional)

  • For the toasts:
  • 4-5 slices bread of choice (such as sourdough)
  • 2-3 tablespoons butter
  • 1 clove garlic

  • Directions:

    1. Strain and rinse navy beans. Place in a medium-sized bowl.
    2. Add diced cucumber, cherry tomatoes, red onion, feta, and parsley. Gently stir until ingredients are well distributed. Drizzle with olive oil.
    3. Add freshly cracked black pepper to taste, then season with salt to taste (Note: the feta will also add salt to this dish, so really taste it as you add salt. I find I only need to add a little bit. If your beans were already salty, you may not need salt at all).
    4. Bean salad can be made several hours ahead of time. Cover and place in fridge until ready to eat.
    5. When ready to serve, prepare the garlic toasts: mince garlic. Add garlic, along with 1/2 tablespoon of butter to a skillet and warm over medium heat. Swirl butter in pan to cover the bottom.
    6. When pan is hot, place several pieces of bread in skillet in a single layer. (My 10-inch skillet only fit 3-4 pieces at a time, depending on size. Work in batches.) Toast on the first side for 3-4 minutes. Then, use tongs to flip bread to second side. Add an additional 1/2 tablespoon of butter if pan gets dry. Toast for 3-4 minutes on second side, then remove from pan. Repeat until all slices are toasted.
    7. Serve: top each toast with bean salad and set on serving plates.

    White Bean Salad with Fried Garlic Toasts
    1 Comment