Green Chile Smother Sauce

Green Chile Smother Sauce

This green chile smother sauce was created for a good friend after we went to a Mexican restaurant and fell in love with their smother sauce. The Mexican restaurant is a little hole in the wall across the street from the DMV. You wouldn’t think much of that little restaurant if you were just driving by, but those that know it love it. The burritos come stuffed full of ingredients, making them bigger than anyone person could ever really need. And key to this story, each burrito gets coated in smother sauce.

What is smother sauce, you ask? Well, it’s a sauce, for smothering. But it can be used in a kajillion ways (I’ll share some ideas later in this post). Mostly, it’s a spicy sauce that you can pour over burritos, tacos, eggs—really anything. 

Green Chile Smother Sauce

This green chili sauce is really similar to what you would use in my Pork Chile Verde. It is the sauce to smother every burrito, tamale, and taco with. Basically, it is everything. Still need ideas for how to use it? 

  • Green enchilada sauce (do you have leftover turkey still? Enchiladas are the answer)

  • Green eggs in purgatory

  • A hot sauce for your breakfast (fried eggs or omellete)

  • Serve as a salsa

  • Slow Cooker Pork Chile Verde (use this sauce in place of the tomatillo, onion, garlic blend that the recipe calls for: they are pretty much the same thing)

  • A starter for guacamole

  • A smother sauce for burritos

...just to name a few.

Green Chile Smother Sauce

Green Chile Smother Sauce

Published November 21, 2017 by

Serves: 6   |    Total Time: 20 minutes


Ingredients:

  • 8 medium sized tomatillos
  • 4 cloves garlic 
  • 1 yellow onion
  • 1 tablespoon avocado oil
  • 2 cans hatch green chiles (I use the hot ones, but feel free to use mild if you prefer)
  • 1/2 cup cilantro 
  • 1/2 teaspoon ground black pepper
  • Juice of 1 lime 
  • 1 tablespoon ground cumin
  • 1 tablespoon ground coriander
  • 1 tablespoon dried oregano

Directions:

  1. Preheat your over to 475°F. Peel the papery outer skins from the tomatillos, wash them, and slice them in half. Cut the onion into 4 to 6 large wedges. Arrange them all on a sheet pan along with the garlic cloves. Brush with 1 tablespoon avocado oil, and place in oven. Roast until the tops of the tomatillos are browned, 10-15 minutes.
  2. Add roasted tomatillos, onions, and garlic to a blender along with canned green chiles, cilantro, lime, spices (cumin, coriander, oregano, and optional cayenne), salt, and pepper. Puree. Mixture should be similar to a less chunky salsa.
  3. Store sauce in jars until ready to use. Stays good in fridge for 1 week.

Ecuadorian Garlic-Chile Dipping Oil

Ecuadorian Garlic-Chile Dipping Oil

La Casa de la Abuela is a restaurant with weathered wood tables and a big covered patio. It sits on the main road of La Union, a small town that doesn't even leave a mark on the Google Map of Ecuador. There, in that little town, I experienced the best meal I ate in Ecuador, despite the road noise.

One of the first things that was brought to the table was sliced fresh tomatoes with basil and a drizzle of garlicky, herby oil. There was something about that oil that made those tomatoes shine! Next arrival to the table was a big bowl of seemed muscles and clams, without a doubt freshly caught that morning. We drizzled the same garlic oil over each clam shell in delight. Was it the clams that were stellar or just the oil? Or both? 

Ecuadorian Garlic-Chile Dipping Oil

We took turns guessing how they made the oil, until finally the owner and chef came to the table, bearing a jar full of the stuff, and the list of the ingredients. 

Just garlic, parsley, and red chiles in olive oil will give you a taste of that night in Ecuador. Drizzle it freely over seafood, dress a caprese salad, use it to make a salad dressing, or drip your favorite bread into it. 🤤

Ecuadorian Garlic-Chile Dipping Oil

Ecuadorian Garlic-Chile Dipping Oil

Published August 8, 2017 by

Yields: 1 cup   |    Total Time: 15 minutes


Ingredients:

  • 3/4 cup olive oil
  • 10 cloves garlic, minced
  • 1 fresno chile (in Ecuador, they would use a small red chile called Pico de Pájaro, but I am unable to find that locally)
  • 2 tablespoons minced parsley
  • 1/4 teaspoon salt

Directions:

  1. Mince garlic, fresno chile and parsley and place in jar.
  2. Add salt and oil, to jar. Allow to sit covered, in fridge, for 24 hours so that the flavors seep into the oil.
  3. Use as a drizzle or dipping oil.

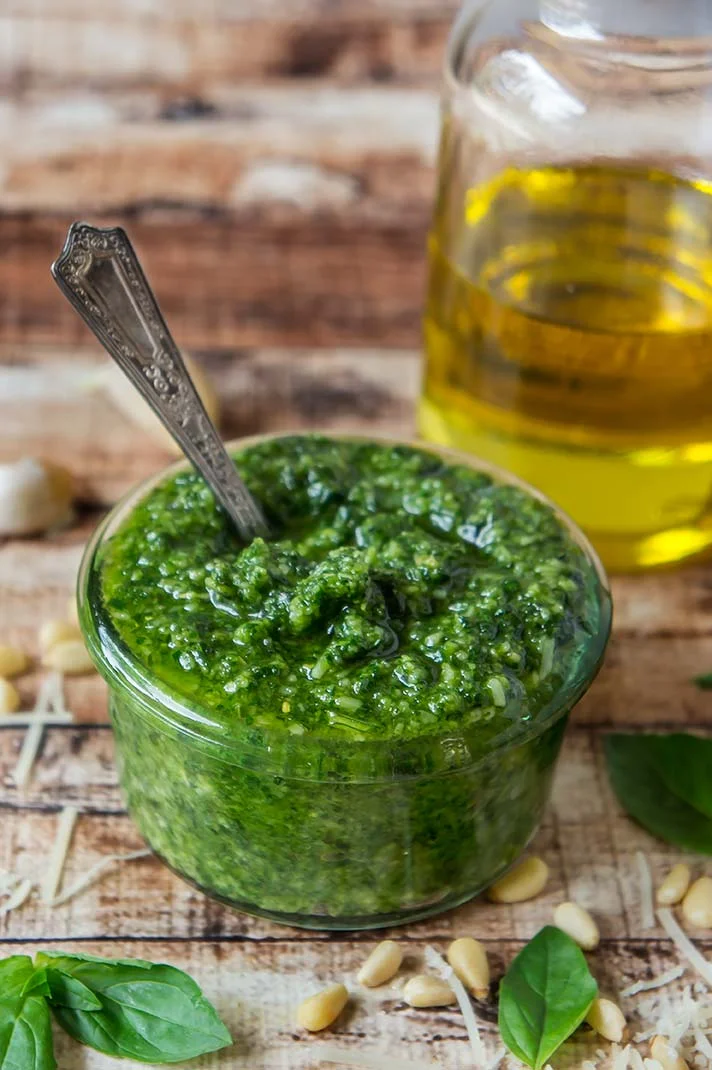
Easy Food Processor Pesto

After posting my eleventh recipe that called for pesto to this blog (Pesto Zoodles with Fresh Peas and Bacon), I decided it was high time I actually post a recipe for pesto itself. Watch below or click here to watch the recipe video! Scroll past the video for some images and the full recipe. 

Pesto is a glorious, glorious thing. Ancient Romans were on to something when they started mashing herbs with garlic, cheese and oil. Can you imagine being the chef to first pull out your moral and pestle, fill it with herbs and nuts, only to yield a greenish glop that looks unlike any other sauce you'd seen? And then the first bite! What do you think they thought?

Easy Food Processor Pesto

Of course, times have since changed dramatically. Basil wasn't the star of pesto sauce until 1863 (according to Wiki), and wasn't even popular in the US until the 1980s and 1990s. Which, I suppose, explains a lot: as a 90s kid, I was set up to love pesto from the beginning. And now here I am, making pesto in a food processor. (Many will tell you this is not the traditional way, and they are right: in ancient Rome they didn't have food processors... or electricity. This food processor method is the 21st century way. I've made many a batch of pesto in a mortar and pestle, but for a big batch, I always go for the food processor). 

When I have a fresh batch of pesto in the fridge, I fearless add it to every meal. A condiment for potatoes (a sauce for sweet potatoes, or just a dip for some roasted yukon golds). The creamy base for this chicken dish. Shmeared inside of a cheesy omelette. I even put the stuff straight on steamed broccoli, or stir a tablespoon of pesto with a tablespoon of lemon juice to make a vinaigrette. You get the picture. 

Easy Food Processor Pesto

Easy Food Processor Pesto

Published July 11, 2017 by

Serves: 4   |    Total Time: 10 minutes


Ingredients:

  • 2 cloves garlic
  • 1/2 teaspoon sea salt
  • 1/4 cup pine nuts
  • 1/2 cup grated parmesan
  • Zest from 1/2 a lemon
  • 6 cups basil
  • 1/4 cup olive oil

Directions:

  1. Pulse garlic in food processor with salt until minced.
  2. Add pine nuts to food processor, and pulse three times. Add parmesan and lemon zest to food processor, and pulse until a meal forms.
  3. Add basil and oil to the food processor and pulse until the basil and minced evenly. Scrape the sides with a spatula and pulse again briefly.
  4. Store in an air-tight container in the fridge until ready to use. Will last up to 1 week in the fridge.

FOR NUT-FREE: Substitute 1/4 cup sunflower seeds for 1/4 cup pine nuts.

FOR DAIRY-FREE: Substitute 2 tablespoons nutritional yeast for 1/2 cup parmesan.

Easy Food Processor Pesto
1 Comment