Rainbow Spring Rolls

Rainbow Spring Rolls

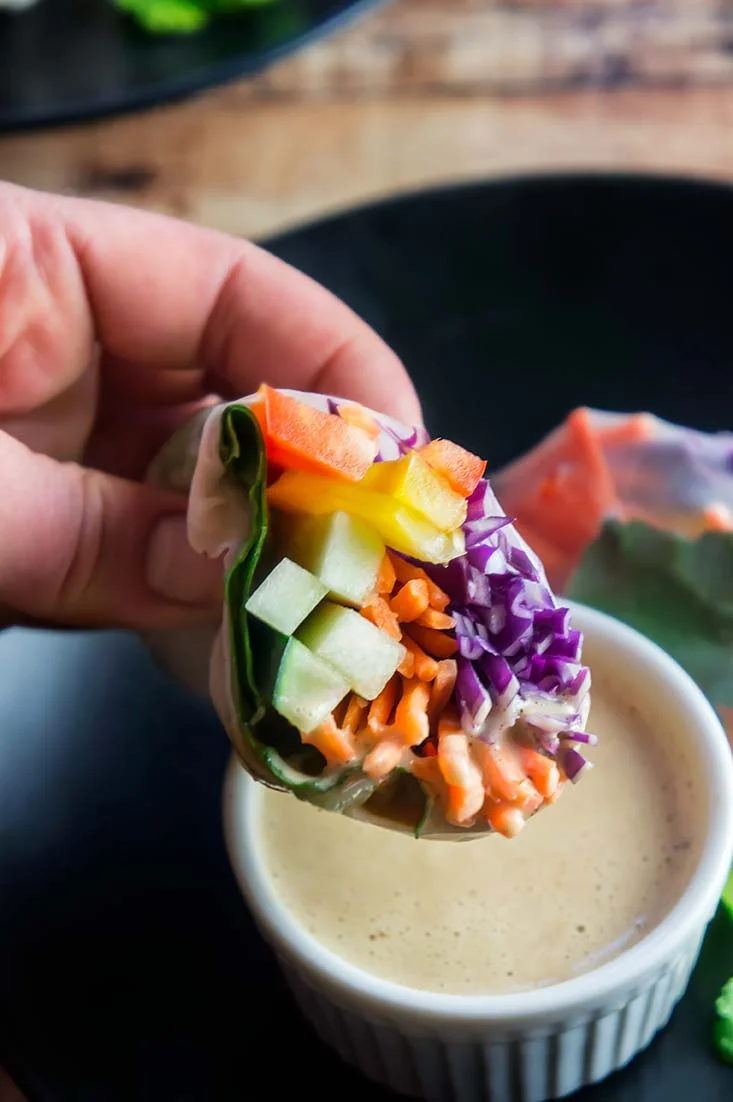
If you are looking for something healthy, full of veggies, and fun to make, try these out. They're also great for a party: put out sliced veggies, cooked and sliced chicken or steamed shrimp if you like, and let everyone make their own rolls. Traditional spring rolls also have rice noodles inside, but I usually skip them... that's just me. Peanut sauce makes for the perfect condiment! Make plenty, everyone will want their fair share. 

Rainbow Spring Rolls

Rainbow Spring Rolls

Published May 30, 2017 by

These spring rolls have every color of the rainbow, and are perfect for summertime!

Yields: 15   |    Total Time: 30 minutes


Ingredients:

    For the rolls:
  • 15 Rice paper wrappers
  • 1 yellow bell pepper
  • 1 red bell pepper
  • 1 cup shredded carrots
  • 1 cup cucumber, julienned
  • 5 pieces of lettuce, thick stem pieces removed
  • 1 cup purple cabbage, shredded
  • 1/4 cup cilantro leaves
  • Optional: chicken (cooked and sliced) or shrimp (steamed), avocado


  • For the sauce:
  • 1/4 cup peanut butter or almond butter
  • 2 tablespoons soy sauce
  • 1/2 teaspoon finely grated ginger
  • 1 teaspoon Sriracha
  • 1/4 cup coconut milk (canned, full-fat) 

Directions:

  1. Prepare your workspace: set all of your sliced veggies out where they are easy to access (I put them all in small bowls around my cutting board).
  2. Heat 1 centimeter of water until it’s just ready to simmer, but not bubbling yet. Place 1 rice paper wrapper in the hot water, just until it becomes soft and pliable. Then, carefully remove it from the water with out tearing it and place it flat on your cutting board (this may take a bit of practice! If you tear one or two, you can try to use it still or just start over with a new rice paper wrapper). While the wrapper is still pliable and warm, make a small row of veggies on one side of the rice paper (1-2 cucumber slices, a few tablespoons each of cabbage and carrots, 1-2 shrimp or slices of chicken, etc.) All together, you want about 1/4 to 1/3 cup of filling for each roll. Then, roll everything up like a burrito.
  3. Repeat step 2 until you’ve used up all of your rice paper wrappers.
  4. Make the sauce: stir together all of the ingredients until a uniform, creamy sauce comes together.
  5. Serve spring rolls with a side of sauce for dipping. Store leftovers in an airtight container in the fridge.

2 Comments

Chipotle BBQ Wings with Avocado Cream

Chipotle BBQ Wings with Avocado Cream

It's rare I find myself cooking a "typical" American dish like wings. For some reason all of those typical dishes fall outside of my arsenal of recipe skills. Take mac and cheese--I have never, not even when I was at my height of pasta eating- made mac and cheese from scratch. (Saying that out load makes me want to make some, just for the hell of it).

Chipotle BBQ Wings with Avocado Cream

Making a stir fry, taco bowl, or curry feels more intuitive to me, but when the Super Bowl rolls around I feel this need to make something more classic. It is, after all, pretty much the only day of the year that I tune in to one of pop culture's most iconic events. Still... I can't help but flex some creative muscle and make an avocado cream sauce on the side, but since these wings themselves are sauced in a sticky and sweet chipotle barbeque sauce, it feels miles away from anything ethnic.  

Even though this recipe sits outside of my typical comfort zone, I'm crazy for it. And who wouldn't be? These wings are the type of wings that require plenty of napkins because their sticky sauce is destined to cover your fingers. I learned quickly that quadrupling the recipe would be wise: a dozen wings is never enough (for two, or for a group). 

Chipotle BBQ Wings with Avocado Cream

Chipotle BBQ Wings with Avocado Cream

Paleo, Primal, Gluten-Free, Grain-Free    |       

Chipotle gives the BBQ for these wings a bit of a kick, while avocado cream cools it down.

Yields: 12   |    Total Active Time:


Ingredients:

  • 1 cup barbeque sauce (I used Stubb's Smokey Mesquite Bar-B-Q Sauce)
  • 1/4 cup coconut oil, melted
  • 1/3 cup chipotles in adobo (canned)
  • 1/4 teaspoon cayenne
  • A dozen chicken wings
  • 1/4 teaspoon salt

  • For the Avocado Cream Sauce:
  • 1 avocado
  • 1/4 cup milk of choice
  • 1/2 cup cilantro leaves (loose, not packed)
  • Juice of 1 lime

Directions:

  1. Prep the wings: use a paper towel to remove any excess moisture from wings, and place in a bowl.
  2. Make the sauce: combine barbeque sauce, coconut oil, chipotles in adobo, cayenne (if you like things really spicy, you can add more cayenne), and salt in a blender and puree until smooth. Pour half of the sauce over the wings, and allow to marinate for 8-24 hours, in the fridge, covered.
  3. When ready to cook, preheat oven to 450°F. Remove wings from bowl and discard extra sauce. Place a wire cooling wrack on top of a baking sheet, and place wings on wire wrack, with about 1 inch between each wing. Place in oven and bake for 25-35 minutes, until internal wing temperature reaches 165°F and skin is crispy on the outside.
  4. Using tongs, place wings in a mixing bowl. Pour about 1/4 cup of sauce over top, and toss to coat. Add more sauce as desired.
  5. To make avocado cream sauce: Combine all ingredients in a blender and puree until smooth.
  6. Serve wings on a platter along side bowl of cream sauce. Optional: garnish with cilantro and lime wedges.

Instant Pot Chicken Tortilla Soup

Instant Pot Chicken Tortilla Soup

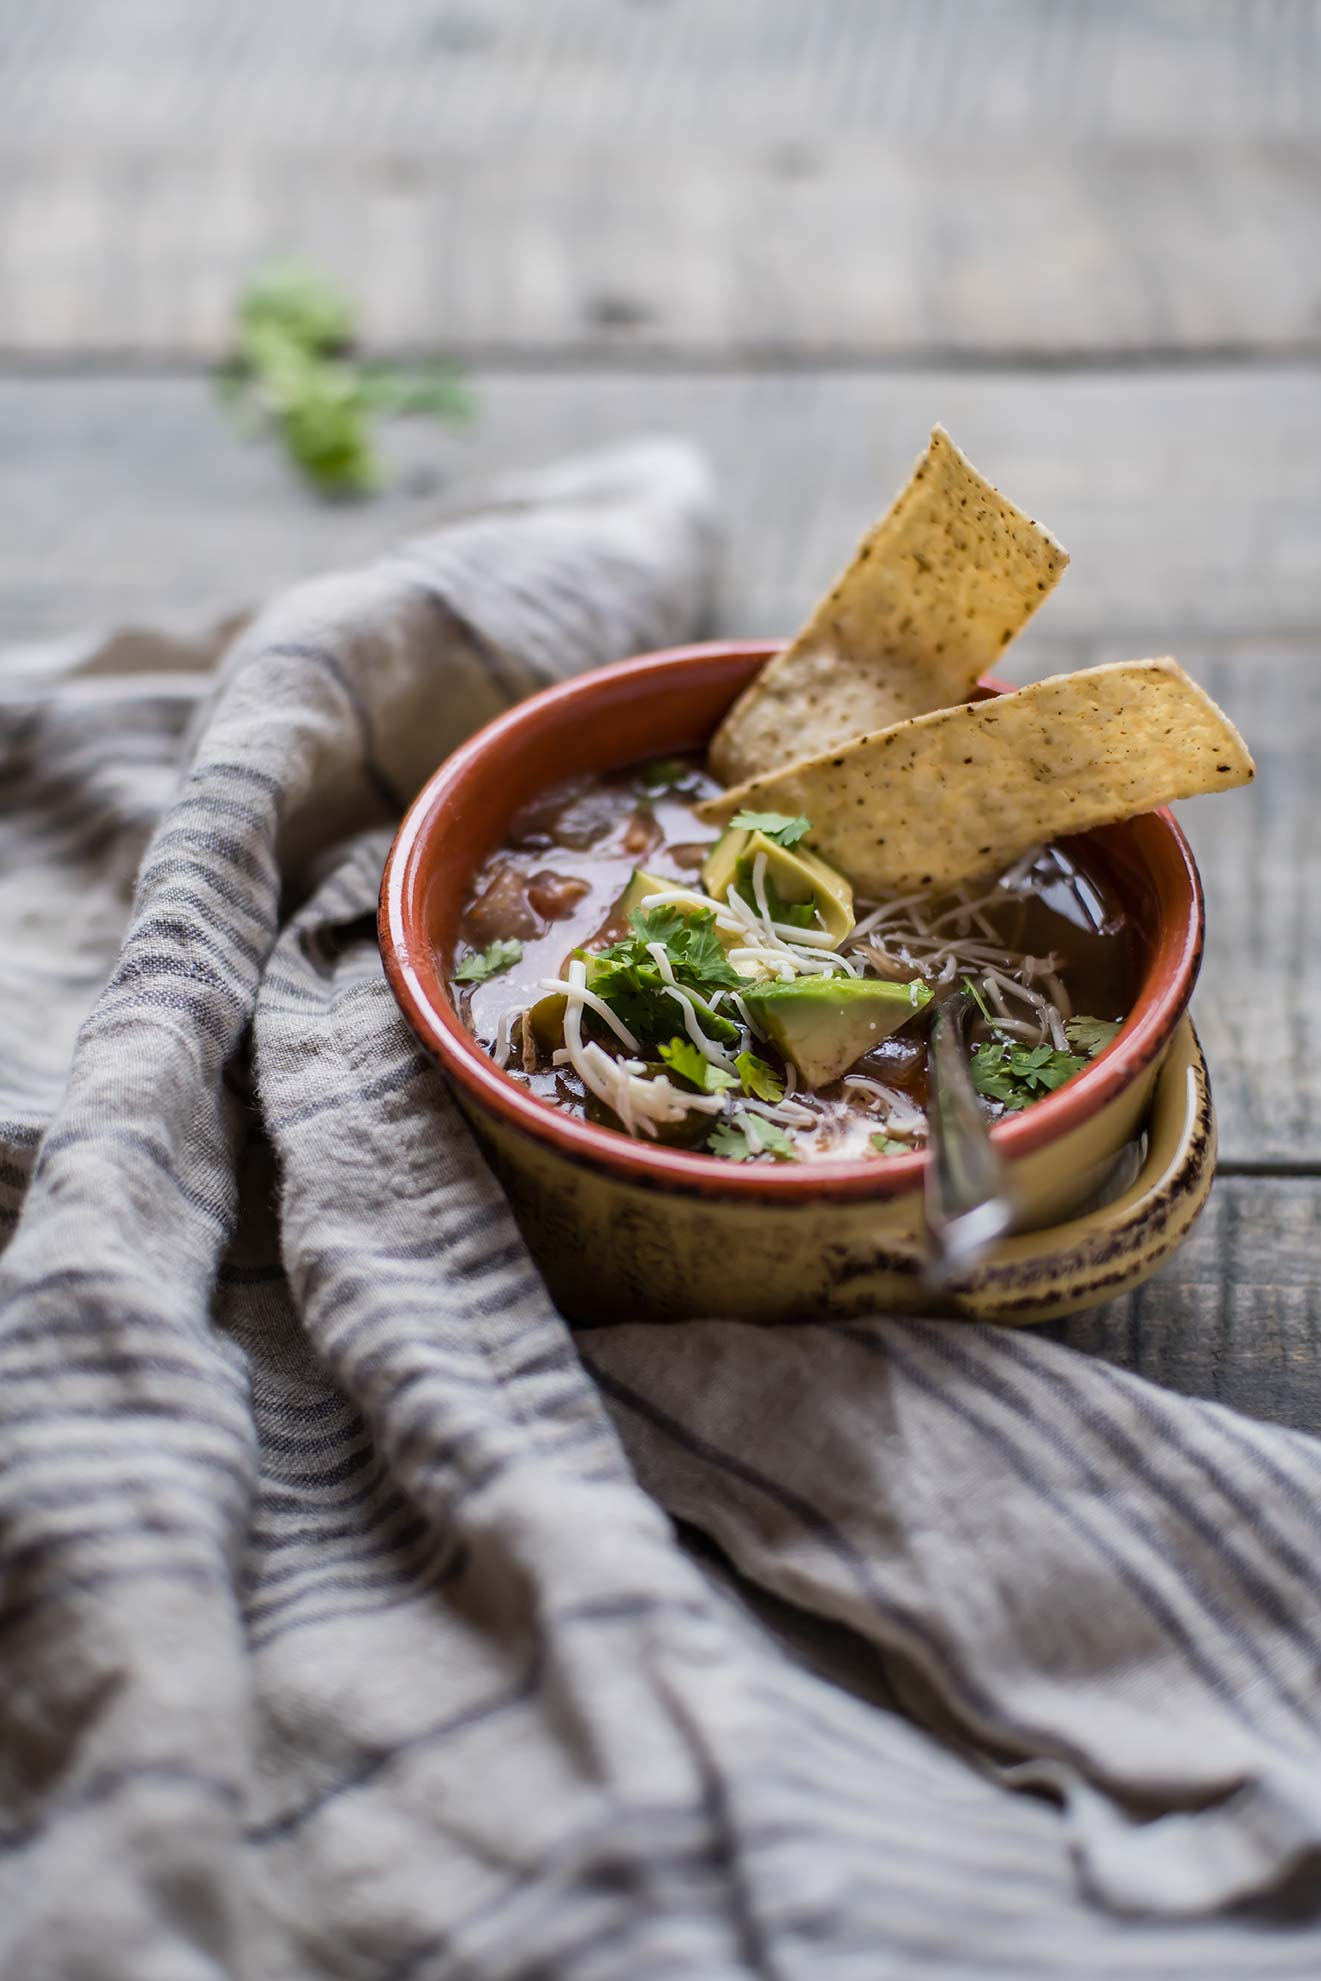
When there is Tortilla Soup on the menu, I'm the first person to notice and there's a pretty high chance I will order it, no matter the weather. I've been in love with Tortilla Soup for as long as I can remember. 

Despite my appreciation for what is a really simple soup, I've never mastered making it at home — I always over think it, adding something extra or missing some key ingredient.

Instant Pot Chicken Tortilla Soup

But I’ve done lots to try to learn the magic sauce, and each experiment gets closer and closer. What I’ve learned: simple poblano chilis, sautéed with the onions and garlic, and freshly made chicken broth. Oh, and not over thinking it. Tortilla Soup should be simple, like a tortilla.

It’s comfort in a bowl for me — this cozy bowl of broth-y goodness and full of Mexican flavor.

And the best part of any tortilla soup? The toppings! Cheese, avocado, crispy tortilla strips (or tortilla chips, which is much faster and less labor intensive), cilantro, and on and on.

Instant Pot Chicken Tortilla Soup

Instant Pot Chicken Tortilla Soup

Published September 24, 2016 by

Serves: 4   |    Active Time: 45 minutes


Ingredients:

  • 1 tablespoon coconut oil
  • 1 poblano chili pepper, diced and seeds removed
  • 1 yellow onion, diced
  • 3 garlic cloves, minced
  • 1 pound boneless chicken breasts
  • 1 28-ounce can diced fire roasted tomatoes
  • 2 tablespoons minced cilantro, plus more for garnish
  • 6 cups bone broth
  • 1 teaspoon ground cumin
  • 1 tablespoon lime juice
  • 1/4 teaspoon salt, plus more to taste
  • Optional: 1 16-ounce can black beans, drained and rinsed
  • Optional, for serving: avocado, cheddar cheese, corn toasted tortilla strips or chips, lime wedges

  • Directions:

    1. Heat coconut oil in the bottom of an Instant Pot on Sauté setting. Add diced onion, minced garlic, and poblano pepper.
    2. Add chicken, tomatoes, broth, cumin, lime juice, cilantro and optional black beans to pot and stir. Place lid on Instant Pot and turn to slow cooker setting (to use soup setting instead, see step 4). Set timer for 10 hours with vent turned to the sealed position.
    3. When soup is done, open Instant Pot. Use tongs or a slotted spoon to remove chicken from soup and place in a bowl. Use a fork to shred chicken, and then return to soup and stir. Season with additionl salt to taste, and serve hot with toppings of choice.
    4. To make this soup more quickly, use the soup setting instead of the slow cooker setting: In step 2, set Instant Pot to “soup” setting and set timer to 10 minutes with the vent in the sealed position. When timer goes off, release pressure, and the move on to step 3.

    4 Comments