Crunchy Cabbage & Peanut Slaw

Crunchy Cabbage & Peanut Slaw

As readers of my monthly newsletter know, I was that girl that brought a salad to a Super Bowl watching party. Yes. (But also, someone should be that person. The salad is always gone at the end of the night--or halfway through the night - and everyone is always glad to at least have a little freshness on their plates between tasting different dips and chips). 

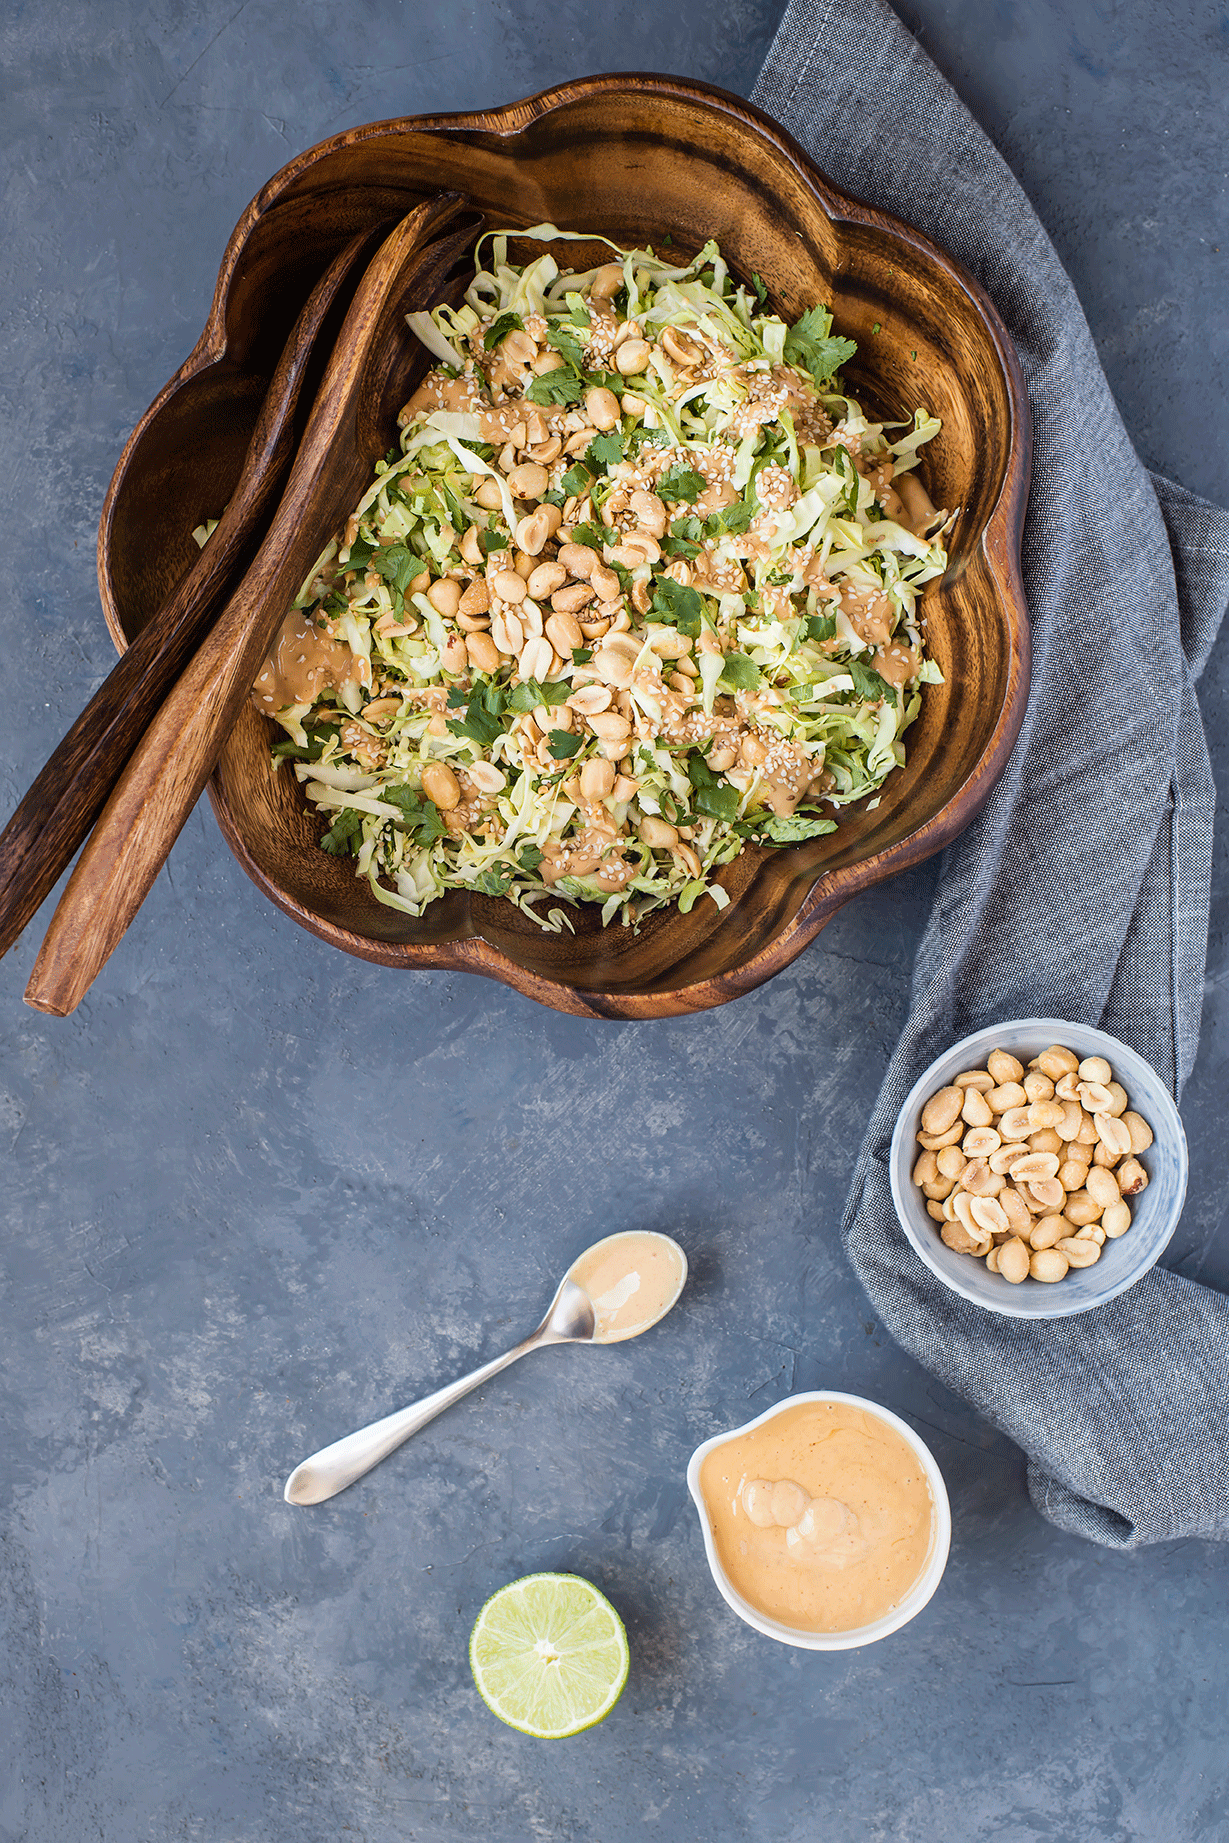
Where this crunchy cabbage peanut slaw began: I am a pack-my-own lunch kinda gal, but some days getting out of the office just to walk around is really the best medicine. It was a day like that when I wandered to Natural Grocers (a few blocks away), and picked up a prepared salad -- I was craving fresh veggies. The gulp of fresh air was nice, but the salad was dry and pretty boring. It was the idea of the salad that inspired me though: a simple cabbage slaw with a peanut dressing. 

Crunchy Cabbage & Peanut Slaw

So I went home and dreamed up a better version, which is still a simple salad but it calls for a LOT of zesty peanut dressing -- a dressing far zestier and more addicting than the original. (So addicting in fact, that it also makes a very good dip for crudités).

You'll notice right away that this dressing calls for a semi-long list of ingredients. They are (almost) all shelf-stable pantry staples, and despite the list of ingredients the magic of this sauce is in how it's made: plop everything in the blender and go. That's it. This is where I tell you: do not fear that list of ingredients, embrace it. It is worth it. And by the time you've checked to see if you have everything you need, you're only 30 seconds away from finishing the dressing. 

Crunchy Cabbage & Peanut Slaw

Crunchy Cabbage & Peanut Slaw

Published February 19, 2019 by

Serves: 4   |    Active Time: 20 minutes


Ingredients:


For the peanut dressing (yields about 1 cup):
  • 1/4 cup creamy peanut butter
  • 2 tablespoons olive oil
  • 2 tablespoons toasted sesame oil
  • 2 tablespoons seasoned rice vinegar
  • 2 tablespoons lime juice
  • 2 tablespoons maple syrup
  • 1 tablespoon soy sauce
  • 2 cloves garlic
  • 1 teaspoon minced ginger
  • 1 teaspoon salt
  • 1 teaspoon red pepper flakes
  • 2 tablespoons water to thin dressing, as needed

  • For the slaw:
  • 3-4 cups finely shredded green cabbage
  • 4-5 green onions, white and dark green parts removed
  • 1/4 cup minced cilantro
  • 2 tablespoons toasted sesame seeds
  • 1/2 cup roasted salted peanuts, roughly chopped
  • Optional additional add-ins we also love: 1 cup chopped bok choy, 1/2 cup chopped sugar snap peas, 1/4 cup minced Thai basil

  • Directions:

    1. Place all ingredients for the dressing, aside from the water, in a blender and purée until smooth. Then, add water as needed to thin dressing as needed (based on preferences).
    2. Sliced green onions and add to a salad bowl with cabbage and cilantro. Toss to combine. Top with sesame seeds and peanuts.
    3. Drizzle with about 1/3 to 1/2 cup peanut sauce, or to taste.

    Chocolate Chip Energy Bites

    This is an older recipe from Foraged Dish that I wanted to spruce up with new photos and a video. These energy bites are so darn delicious — they’ve been in my snack draw at work and I SO look forward to snack time each day! 

    Chocolate Chip Energy Bites

    Last week I went on a hike in the Front Range with nothing in my bag but my camera, my phone, and a ziplock stocked with these Chocolate Chip Energy Bites. I thought I had my car key too, until 30 minutes in when — oh no! - I noticed the pocket where I keep my key was open. Open and empty. 

    I immediately turned on my heels and spent the whole hike downhill with my head turned down, eyes constantly scanning the trail. I tried to soothe my inner chatter box, which, by the time I made it back down to the trailhead with no sign of my keys in sight, was freaking out.  In the end, I had to call for a ride to go get a spare key (thanks, Dad!). 

    But I digress. Casualties of hiking alone are not what this post is about!

    Chocolate Chip Energy Bites
    Chocolate Chip Energy Bites

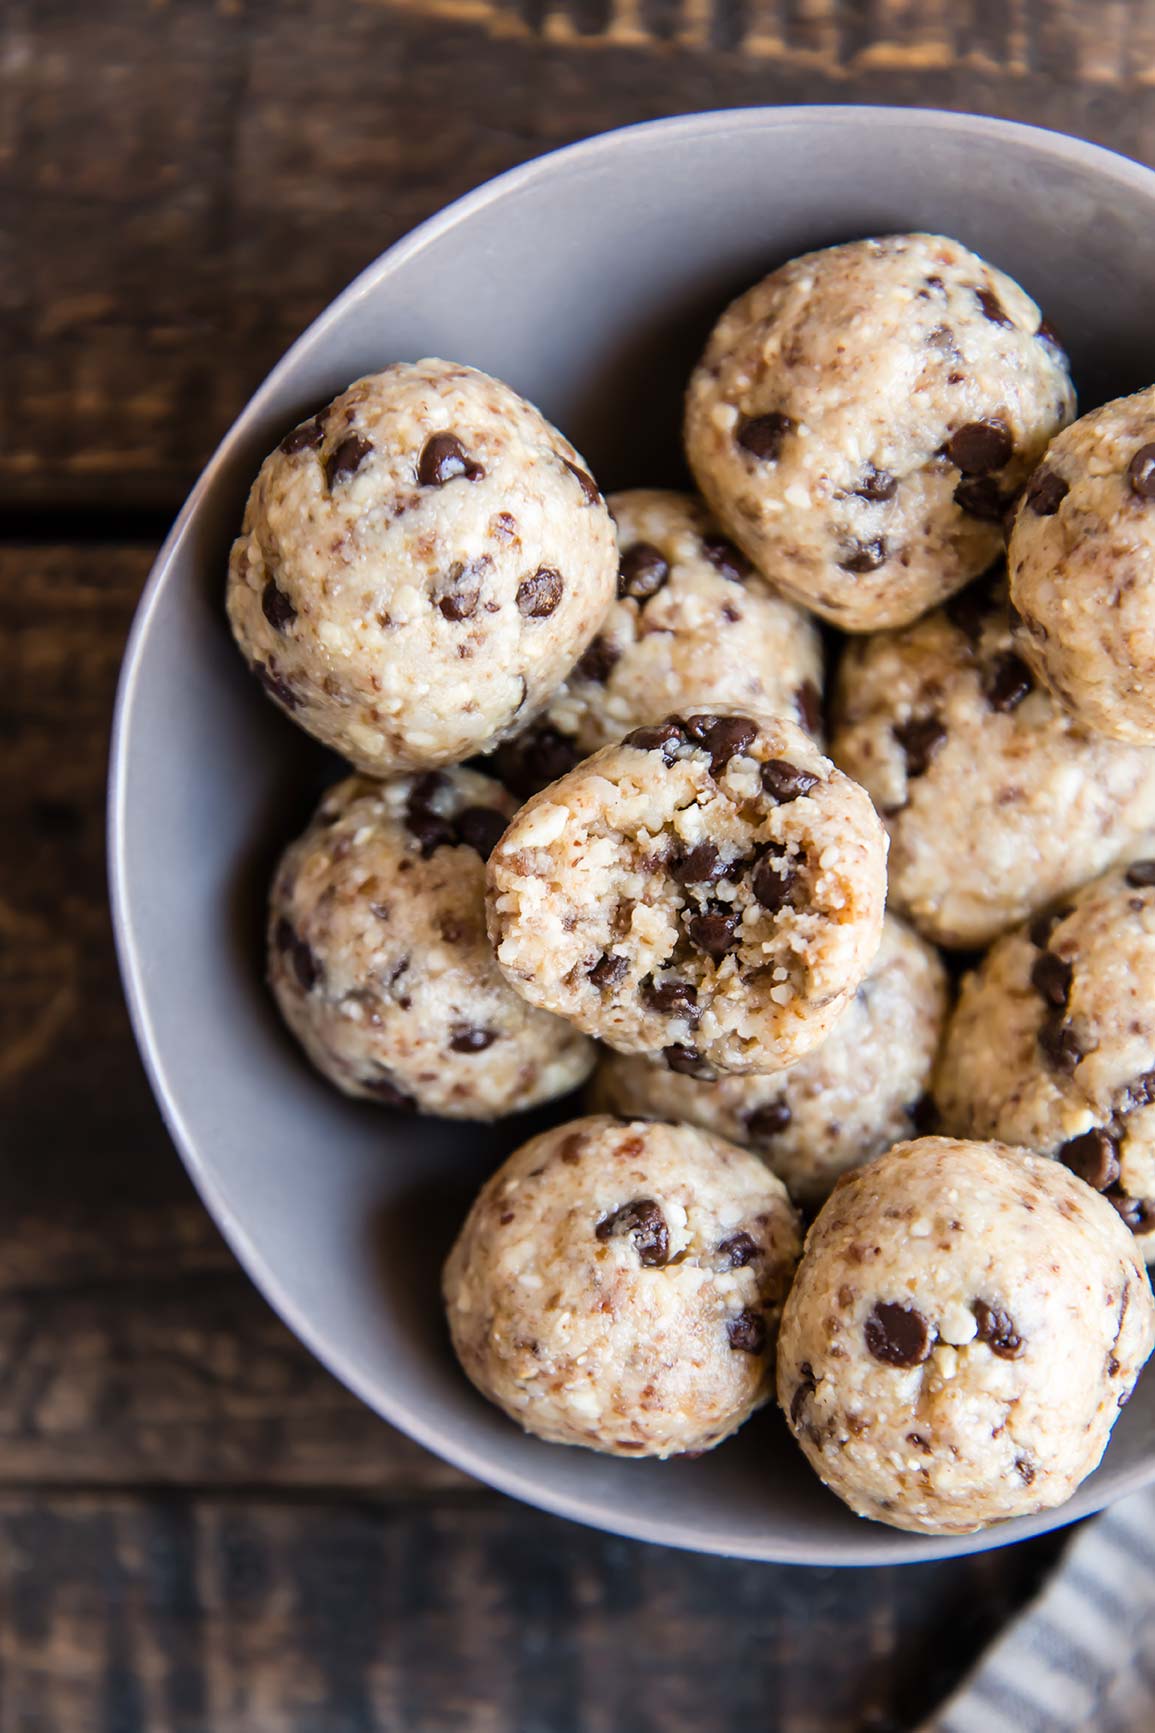
    These energy bites call for only six ingredients and they just go into your food processor and you roll them up. That’s it!  Why macadamias and cashews? Macadamia nuts are extra buttery, which lends very well to this recipe, which taste a lot like a healthy version of cookie dough! At the same time, cashews are a bit starchier than most nuts, and their sweet flavor also gives these bites a bit of a “cookie dough” flavor. 

    Mini chocolate chips are best in this recipe because they distribute into each energy bite well. Each bite has a bit of chocolate and a bit of nut mixture, which sticks everything together. 

    Happy hiking! Take these with you — and don’t lose track of those keys!! 

    Chocolate Chip Energy Bites

    Published January 15, 2018 by

    Yield: 12   |    Active Time: 20 minutes


    Ingredients:

  • 1/3 cup dates, pitted
  • 1/2 cup macadamia nuts
  • 1/2 cup cashew pieces
  • Pinch of salt
  • 1 tablespoon honey
  • 3 tablespoons mini chocolate chips

  • Directions:

    1. Add dates, macadamia nuts, cashews, salt, and honey to bowl of food processor. Secure lid on food processor and run until the nuts are ground into a corse meal that begins to clump.
    2. Add mini chocolate chips to food processor and pulse, 2-3 times, just until chocolate is evenly distributed.
    3. Scoop a heaping tablespoonful of the mixture into your hands and roll into a ball. Repeat until all of the mixture is used.
    4. Enjoy immediately or store in an air-tight container in the fridge.

    Chickpea Antipasto Salad

    Chickpea Antipasto Salad

    In the kitchen, there is the sound of a ticking clock. From the open sliding door on my right, the leaves rustling in the breeze. The high today is seventy-one degrees. The last time I could say that was probably early April, and it feels like a treat. 

    We had no idea what to expect when we arrived in McCall. Boise is surrounded by golden dry hills, the city itself an sprawl of big box department stores. But the further north you go the more trees you find, and the grasses begin to turn green. As you coast down the road into McCall's center you spot Lake Payette, like a gem in the rough. 

    Here, I'm going to be soaking up the cooler weather -- currently drinking orange cinnamon tea - but back home, I'm still defaulting to no-cook, no-bake, minimal effort meals, like this Chickpea Antipasto Salad. 

    This dish is a bit like pasta salad, minus the pasta, and all you do is mix. That's right: skip the oven, skip the stove, and even skip dishes -- it's a one-bowl wonder. 

    Antipasto pasta salad is a picnic classic, with olives, artichokes, sun dried tomatoes, and cheese. But I wanted to make a version that didn’t use pasta. Something gluten-free with more nutrients per bite. Chickpeas are the perfect option here — they have a starchy quality that makes them a good filler, though they are also filling, more so than pasta, and in a good way. So there you have it, a way to fill those pasta salad cravings when you don’t want to fill your stomach with pasta.

    You can make this salad ahead of time and chill it. Served over a few fresh lettuce leaves, it makes for a great make-ahead lunch in the middle of summer! Or, put everything in a large serving dish and tote your chickpea antipasto salad along to a potluck.

    Chickpea Antipasto Salad
    Chickpea Antipasto Salad

    Chickpea Antipasto Salad

    Published August 23, 2018 by

    Serves: 4-6   |    Active Time: 10 minutes


    Ingredients:

  • 2 sixteen-ounce cans chickpeas, drained
  • 1/4 cup red onion, minced
  • 1 cup artichoke hearts, quartered and drained
  • 1/2 cup sliced sun dried tomatoes in oil, drained
  • 1/2 cup sliced kalamata olives, pitted and drained
  • 1/3 cup pesto
  • 1/4 cup fresh basil, minced
  • 2 tablespoons red wine vinegar
  • 1/2 cup feta crumbles
  • Optional: serve over a bed of butterhead lettuce

  • Directions:

    1. In a medium size mixing bowl, combine all ingredients and stir to combine.
    2. Serve immediately, or make a day ahead of time, cover and refrigerate until ready to serve.
    3. Optionally, serve over a bed of butterhead lettuce leaves.