Roasted Sweet Potato Salad with Cranberries, Walnuts, and Goat Cheese

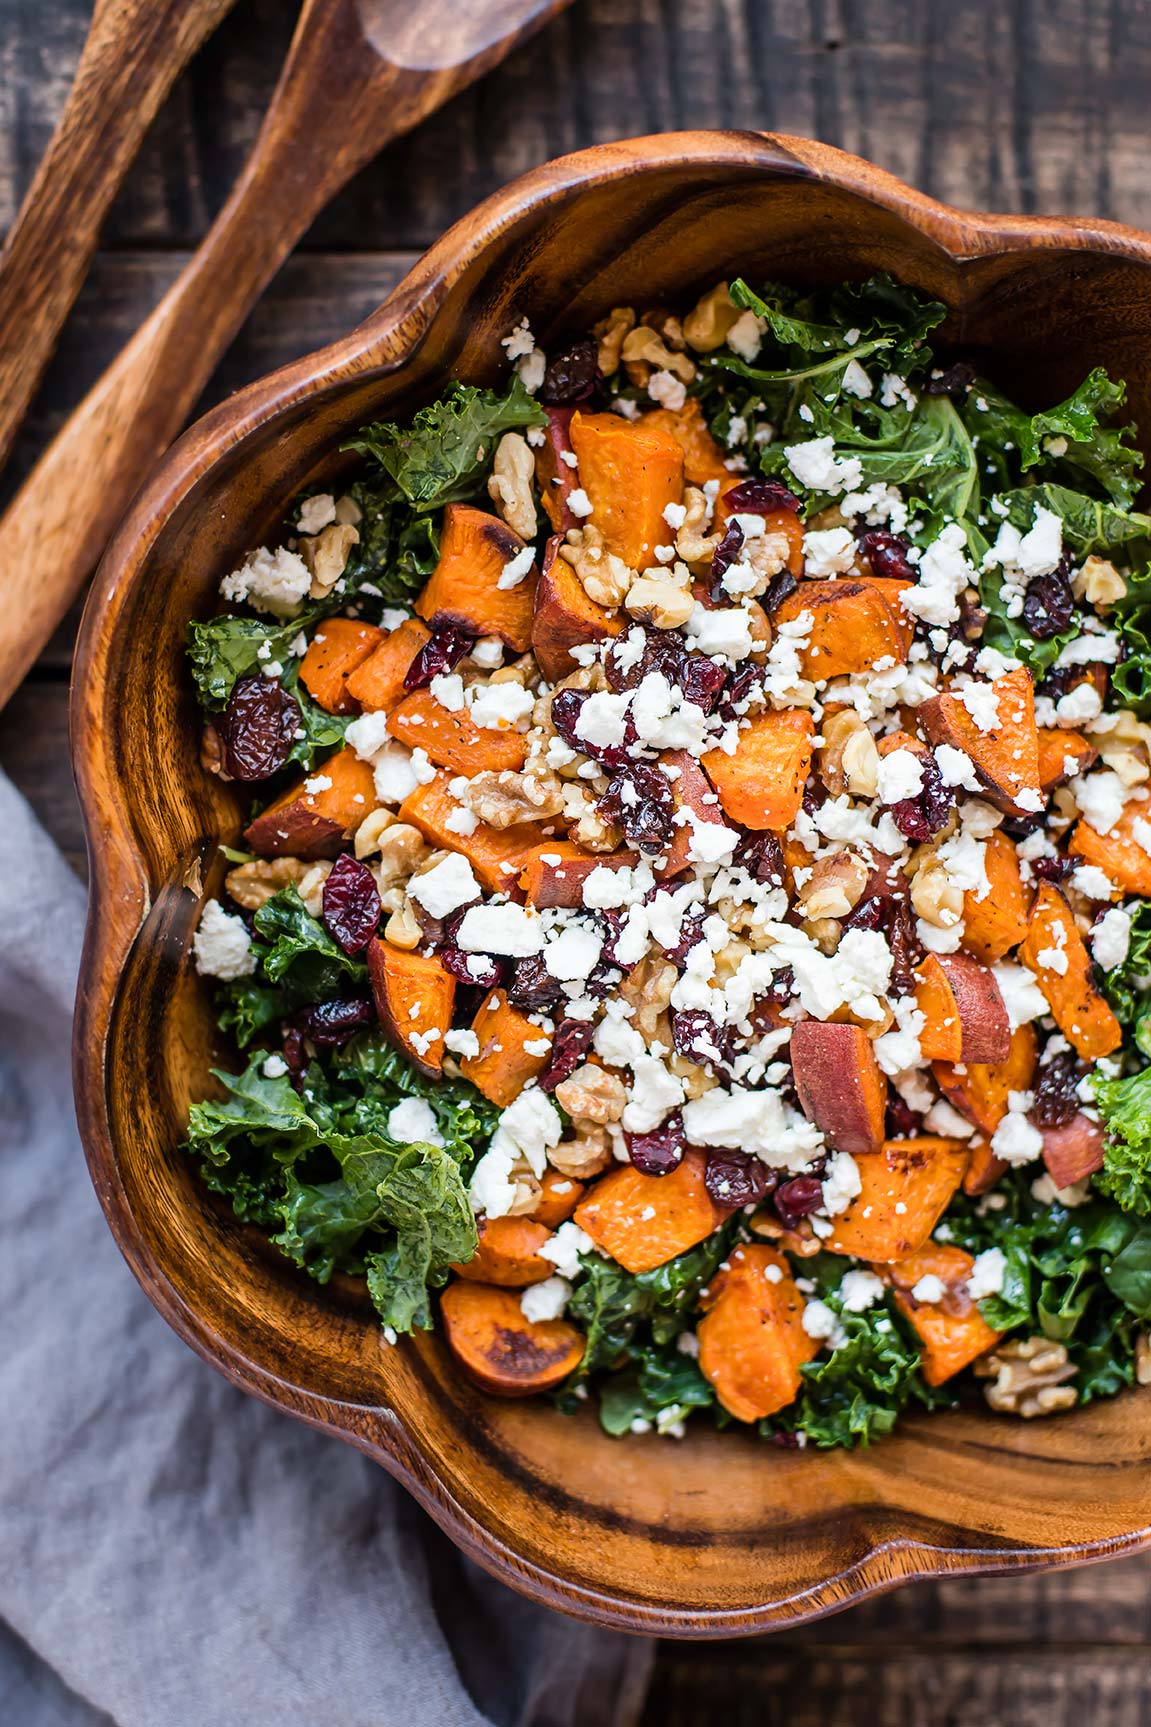
Roasted Sweet Potato Salad

You know that feeling the week after the holiday season, or a vacation, when you just want a bowl full of veggies, because you haven’t had enough recently? Because I do! And salads like this are the answer. A bowl full of greens, but also sustenance — sweet potatoes, walnuts and goat cheese!

This salad is one even veg-haters will like (said it already, but: potatoes, cheese, nuts… I mean is it even a salad? You don’t have to tell them there’s — ehem - kale under all those potatoes). The whole thing is drizzled with an apple cider vinaigrette which has shallots and dijon mustard and even a little bit of honey, for just the right balance of sweet and acid. It’s a pretty classic vinaigrette and one that you can use on just about any kind of salad or with any veggie (not just this salad!).

Roasted Sweet Potato Salad

Roasted Sweet Potato Salad with Cranberries, Walnuts, and Goat Cheese

Published January 8, 2018 by

Serves: 6   |    Active Time: 50 minutes


Ingredients:

  • 2 medium sized sweet potatoes, roughly diced
  • 1 tablespoon oil, such as avocado
  • 1/4 teaspoon salt
  • 1/4 teaspoon ground black pepper
  • 6 cups kale, stems removed and torn into bite-sized pieces
  • 1 teaspoon lemon juice
  • 1/4 cup dried cranberries
  • 1/3 cup walnut pieces, toasted
  • 1/4 cup goat cheese crumbles

  • For the vinaigrette:
  • 2 tablespoons apple cider vinegar
  • 1 tablespoon minced shallot
  • 1 teaspoon honey
  • 1/4 cup extra virgin olive oil
  • 1 teaspoon dijon mustard
  • 1/16 teaspoon salt
  • 1/16 teaspoon ground black pepper

  • Directions:

    1. Roast sweet potatoes: Preheat oven to 400°F. Toss potatoes in 1 tablespoon oil, and sprinkle with salt and pepper. Spread in a single layer on a sheet pan. Roast in oven for 40-45 minutes, until sweet potatoes are soften all the way through and crisping on the edges. Set aside to cool.
    2. Prep the kale: place torn kale pieces in a salad bowl. Drizzle with lemon juice. Using your hands, massage the kale with the lemon juice until the kale is bright green (Why do this? It makes is softer, easier to digest, and nicer to eat).
    3. Top kale with sweet potatoes, cranberries, walnut pieces, and goat cheese crumbles.
    4. Make vinaigrette: combine all ingredients for vinaigrette in a jar and shake to combine. Drizzle vinaigrette over salad, and serve.

    22 Comments

    Warm Gruyère, Roasted Garlic & Thyme Dip

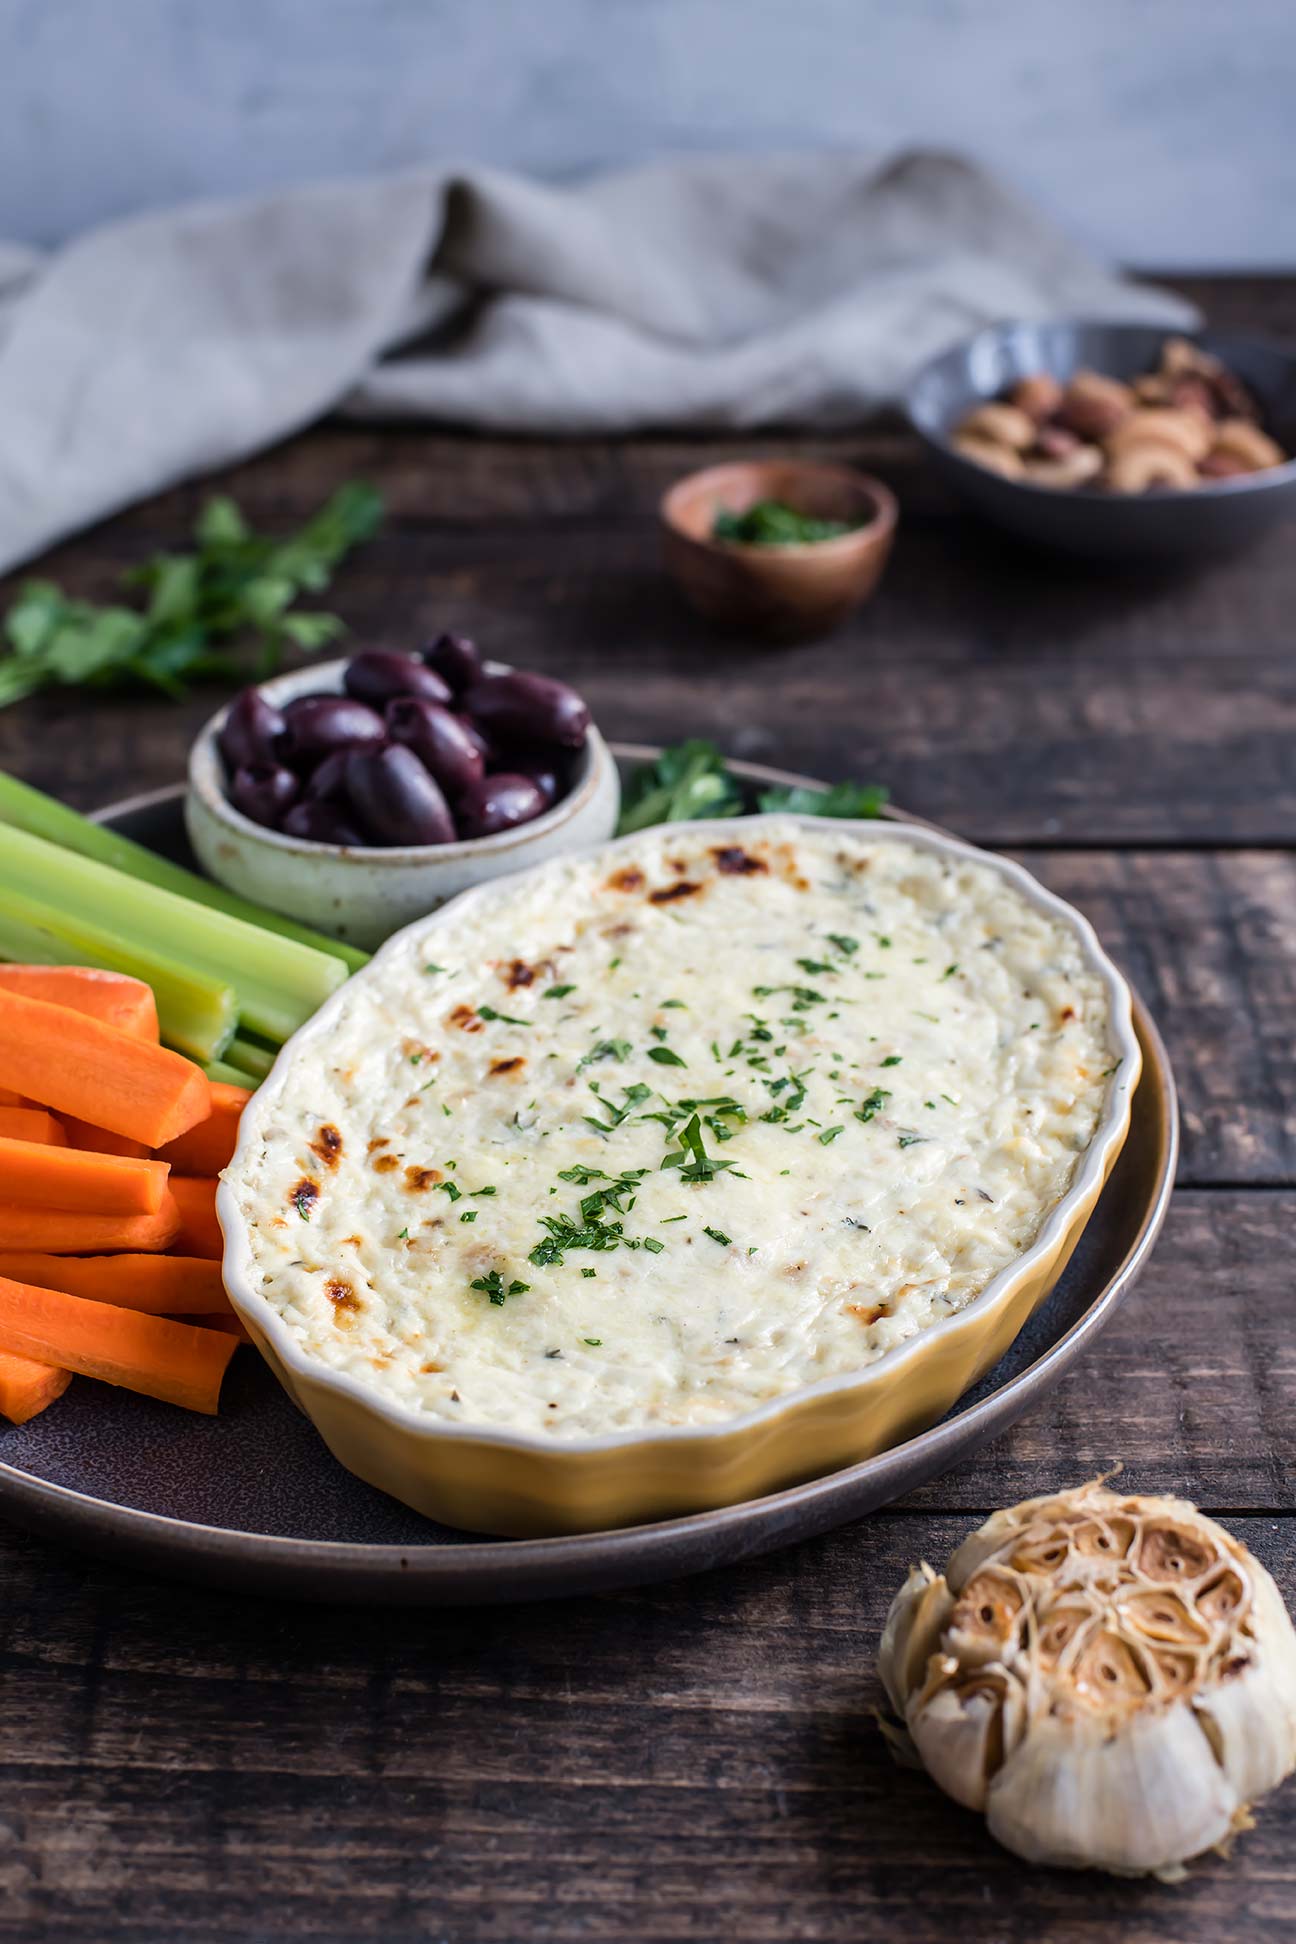
    Warm Gruyère, Roasted Garlic & Thyme Dip

    It is about 21°F this morning. The cold always me makes me crave crave warm, cozy dishes. This gruyère, roasted garlic and thyme dip  is just the thing to take to a New Years Eve cocktail party, or simply enjoy on the sofa after a long day, with your feet kicked up (build a fire in that fireplace, while you’re at it!).

    I went to a cocktail party this fall (potluck style), and there were at least three different spinach and artichoke dips! Tasting and comparing them all was fun, but really? Three versions? Seems everyone was on the same page that night. I LOVE spinach artichoke dip, and this dip hits the same craving but mixes it up a bit.

    Warm Gruyère, Roasted Garlic & Thyme Dip
    Warm Gruyère, Roasted Garlic & Thyme Dip

    The first step in this recipe is to roast a whole head of garlic. Have you roasted garlic before? YUM. It becomes golden and soft and spreadable. I roasted an extra head of garlic while I was making the one for this dip just so we could have it. It makes the best garlic garlic bread or compound butter. You may as well make the most of having the oven on!

    Surprisingly, even with a whole head of garlic in this dip, it’s a subtle flavor — not a “I’m going to be breathing garlic for the rest of the night,” flavor. The gruyère and cream cheese soften it. Thyme adds an herbaceous note. The leftovers (if you have leftovers — in the realm of cheese that’s a rare story) do well as a sandwich spread or tucked inside of an omelette with sautéd mushrooms.

    Warm Gruyère, Roasted Garlic & Thyme Dip
    Warm Gruyère, Roasted Garlic & Thyme Dip

    The new year is almost here! Wishing everyone a joyful 2019!

    Warm Gruyère, Roasted Garlic & Thyme Dip

    Published December 7, 2018 by

    Serves: 6   |    Active Time: 75 minutes


    Ingredients:

  • 1 head of garlic
  • 1 teaspoon olive oil or avocado oil
  • 8 ounces sour cream, at room temperature
  • 2 ounces cream cheese
  • 2 ounces gruyère, finely grated, plus 2 tablespoons for topping
  • 1/8 teaspoon salt
  • 1/4 teaspoon freshly cracked black pepper
  • 1 teaspoon fresh thyme leaves
  • 1 tablespoon minced parsley for garnish
  • For serving: crudités, crackers, crusty bread, etc.

  • Directions:

    1. First, roast the garlic: preheat oven to 350° F. Chop the very top off of the head of garlic. Place on a baking sheet and drizzle with the olive/avocado oil. Place in oven and roast 45 minutes, until cloves are golden and soft.
    2. Allow garlic to cool until you can easily touch it without burning your hands, about 15 minutes. Squeeze garlic cloves into a medium-sized mixing bowl, discarding of the garlic papers. Mash garlic.
    3. Add sour cream, cream cheese, 2 ounces gruyère, salt, black pepper, and thyme to bowl. Use a fork to mix until well combined.
    4. Spread cheese mixture in a ramekin or cocotte dish. Do not over fill—make sure there is at least 1/4-inch of extra room in the dish to avoid bubbling over. Top with remaining 2 tablespoons gruyère, and place in oven and bake for 20-25 minutes, until cheese is bubbling and just starting to brown in spots on the top.
    5. Remove from oven and allow to cool 10 minutes before sprinkling with minced parsley and serving with crudités, crackers, or crusty bread.
    6. Leftovers? Eat them cold as a spread on toast, sandwiches, etc, or re-warm the dip in the microwave for 30-second intervals or in an oven until warmed through.

    Broccolini & Mushrooms with Fried Shallots

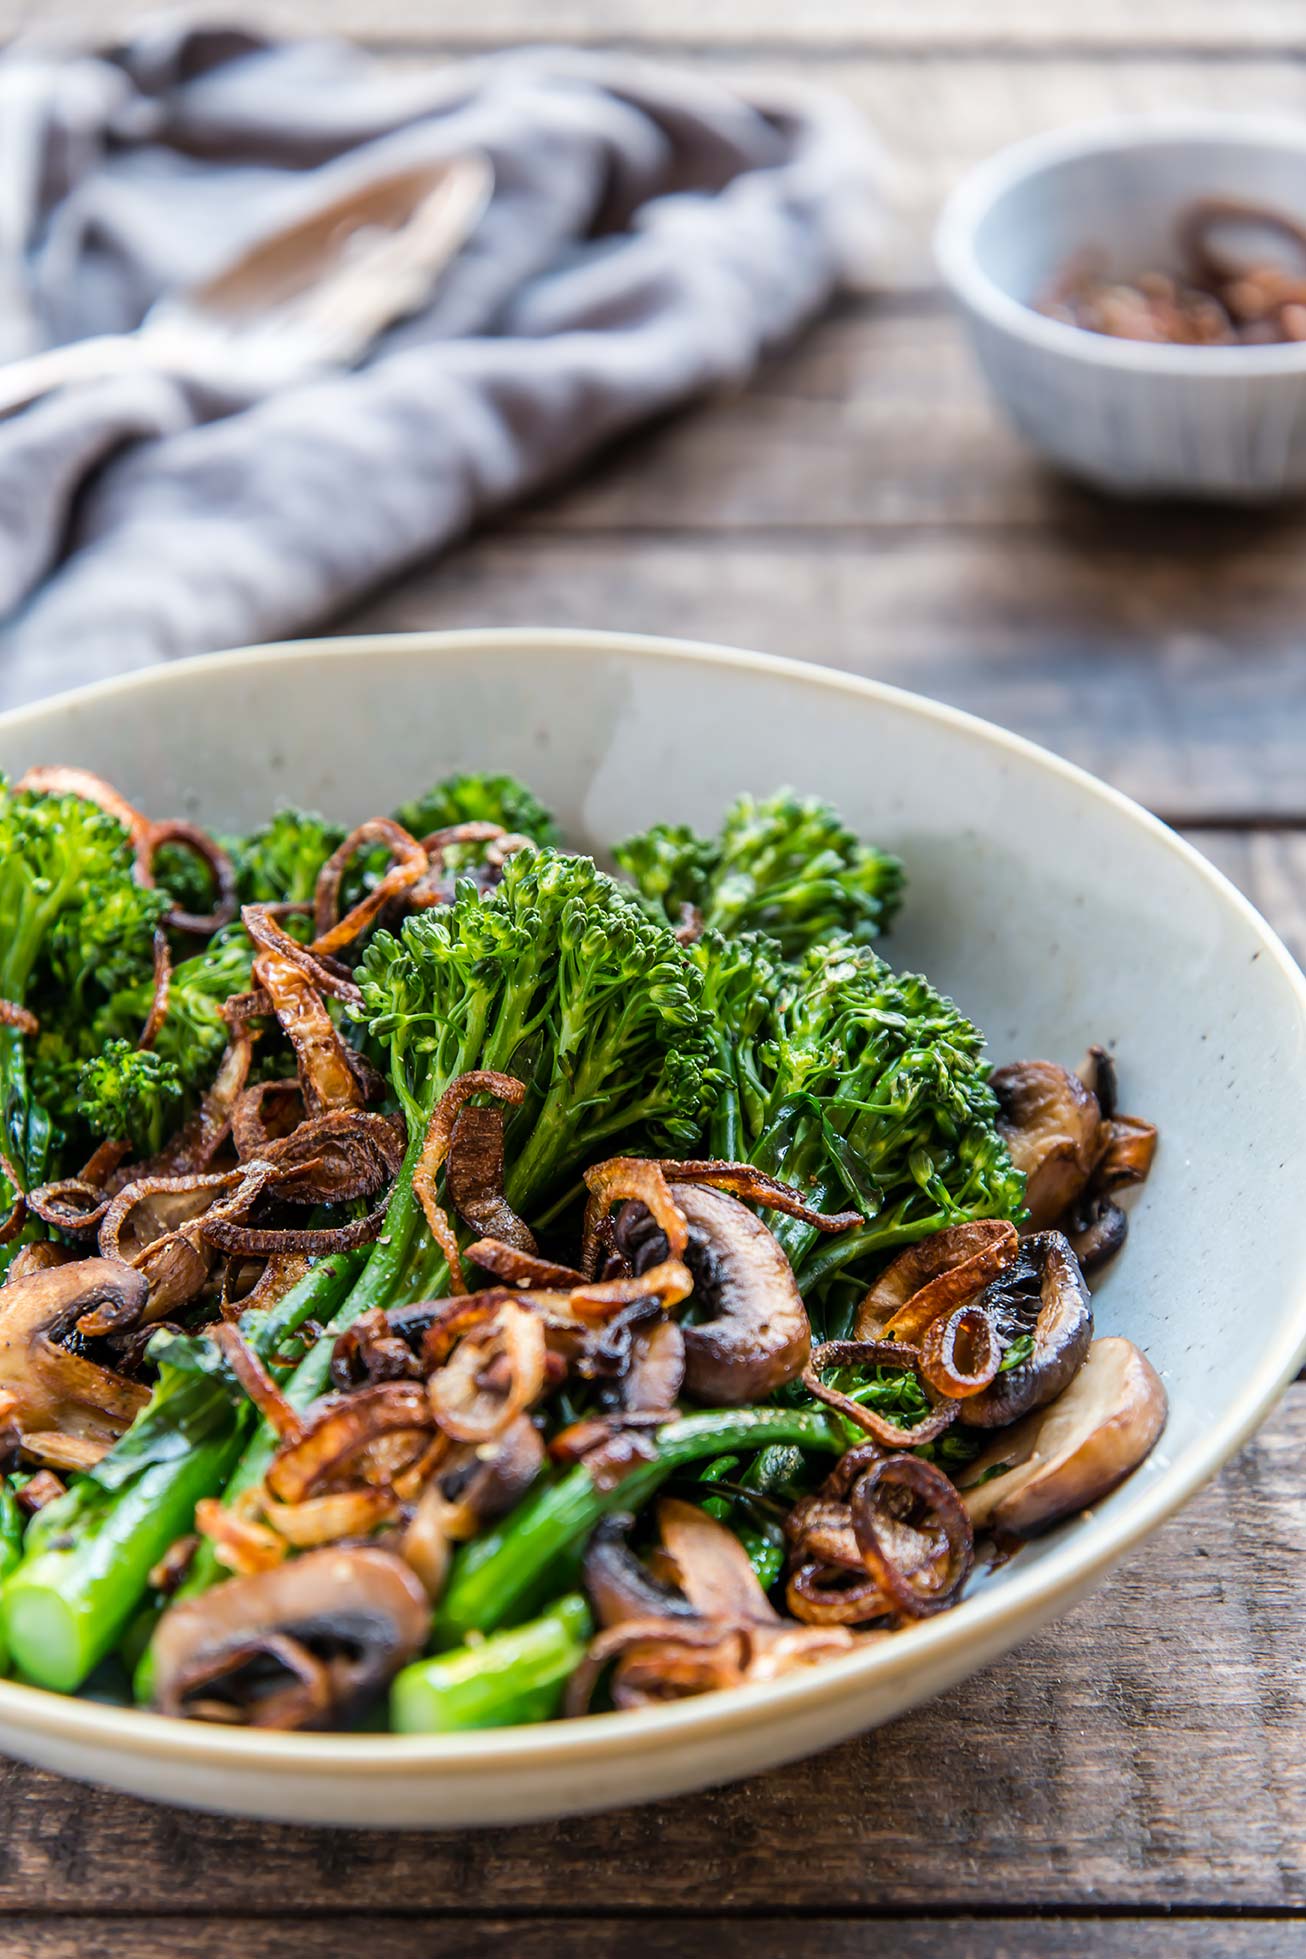
    Broccolini & Mushrooms with Fried Shallots

    Two words for you: fried shallots.

    They are crispy, salty, savory, and akin to those French’s Crispy Onions, but they’re just fried shallots with a little bit of salt. They can be used just about about any way you’d normally use French’s, but are also used in many Vietnamese recipes (like as a topping on Pho… YUM!). And they can be made ahead — one of two days before you’re going to use them. They add a crispy crunch to whatever you serve with them!

    In this case, broccolini and mushrooms get the special treatment. After being sautéd, They’re topped with a generous amount of crispy shallots. It’s a fun way to make something so simple (sautéd broccolini) feel special — special enough to be a side dish at a holiday meal, or topped with a poached egg for breakfast 😍 …runny yolk and fried shallot is a particularly great combo.

    With Winter Solstice tomorrow, it felt good to eat something earthy and fresh between all of the holiday cookies. 🌎 Happy Solstice! 

    Broccolini & Mushrooms with Fried Shallots
    Broccolini & Mushrooms with Fried Shallots

    So how do you make those little golden rings? It’s not too difficult, and once you’ve done it once you’ll be pro. Here are a few tips:

    • Slice two shallots extra thin.

    • Use an oil with a high smoke point. I used avocado oil, which has a fairly high smoke point — 520°F, far below what we’ll need here. Avoid olive oil.

    • Use an instant read thermometer to monitor the temperature of your oil. In this case, using a thermometer makes it way easier to get timing right!

    • You can drain fried shallots on a plate stacked with paper towels, but we don’t keep paper towels in the house. Instead, I place a fine mesh sieve over a heat-proof bowl or pot. Works great, less waste!

    • Salt immediately. With all fried food, salting right after frying helps the salt stick to the food, so salt those shallots up! A few sprinkles will do. Toss them gently to coat.

    Broccolini & Mushrooms with Fried Shallots

    Making fried shallots ahead of time: This can be very helpful, especially if you plan to already be at the stove earlier in the week. Plan ahead, and you’ll be glad. Store fried, cooled shallots in an air-tight container in the fridge (let them cool completely, so that no steam is trapped in the container — that will make for soggy shallots). You can store them in the fridge for two days, though the shallots are really best used right after they are fried or the next day. If they feel a little soft when you go to use them, you can toast them in a  oven or toaster oven for 10 minutes at 350°F, and then leave them to cool again (they will at first feel even softer when heated, and then will crisp up again as they cool).

    Broccolini & Mushrooms with Fried Shallots

    Published December 20, 2018 by

    Yield: 4   |    Active Time: 40 minutes


    Ingredients:

  • 2 shallots, sliced thin
  • 1-inch high-heat oil for frying (such as avocado), plus one tablespoon for sautéing broccolini
  • 1 bunch broccolini
  • 1 cup sliced baby portobello mushrooms
  • Salt & pepper to taste

  • Directions:

    1. Place a fine mesh sieve over a heat-proof bowl or pot. Set aside for later use.
    2. Heat oil in a skillet. Use an instant read thermometer to monitor the temperature of the oil. When the oil reach 275°F, carefully add shallots to the oil. Shallots will slowly turn from pink-white to yellow-brown. Stir occasionally. When the oil temperature reaches 375°F, wait 5 more seconds. Then, use a slotted spoon to transfer shallots from oil to prepared sieve. Sprinkle salt over shallots and toss to coat (1/16 to 1/8 teaspoon). Allow shallots to continue to cool in sieve.
    3. Sauté mushrooms & broccolini: heat remaining 1 tablespoon oil in a skillet over medium heat. Once oil glistens, add sliced mushrooms. Cook for about 5 minutes, and stir. Add broccolini, and place lid on pan. After about 5 minutes, stir again, and then return lid to pan, cooking until broccolini is bright green and tender through.
    4. Transfer cooked broccolini and mushrooms to a serving dish, and top with fried shallots. Season to taste with salt & black pepper.
    5. Serving suggestion: Serve this as a dinner side, and top with freshly grated Parmesan Reggiano, or for breakfast, topped with a poached egg.