Gluten-Free Chocolate Pecan Thumbprint Cookies

Gluten-Free Chocolate Pecan Thumbprint Cookies

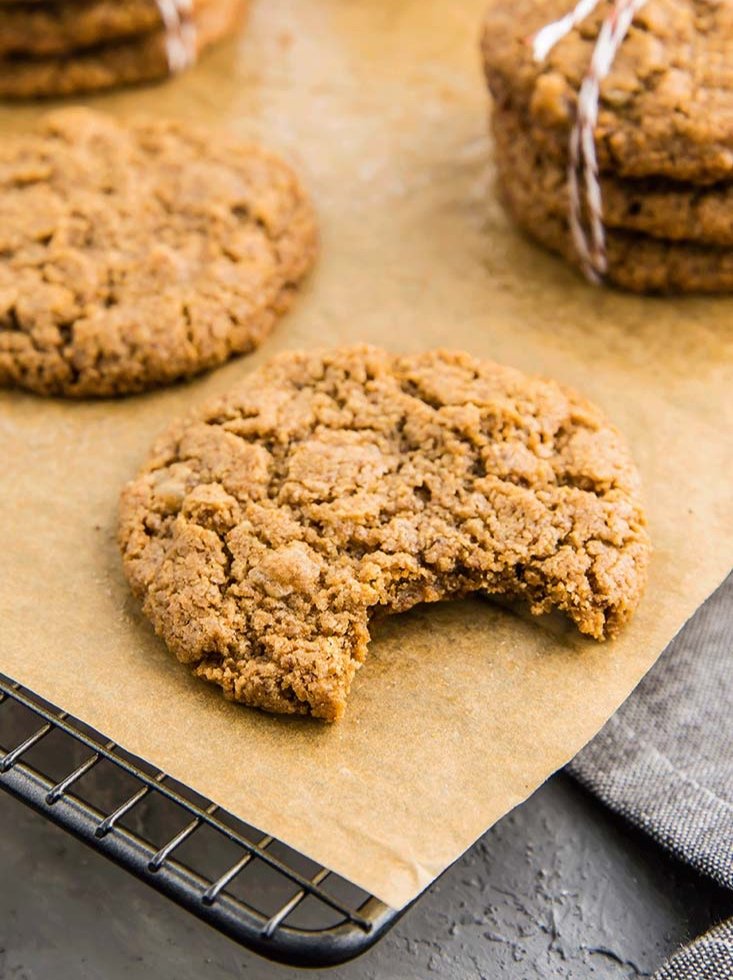
Happy holidays! Hoping everyone is having a beautiful day, where ever you are and whatever you are up to. We’re taking it easy, with no fancy plans, aside from maybe making a fresh batch of eggnog. I am so thankful to have a break from the hustle and bustle of the rest of the year — time to slow down, get outside (fingers crossed for some warmer weather later this week! 🤞), and even some creative recipe development without the time constraints of the normal work week (been working on lots of videos! Check out this one for homemade loose leaf chai! Also still trying to use up all of the spaghetti squash harvest from the garden). And, eating these gluten-free chocolate pecan thumbprint cookies!

These cookies.

Just almond flour, honey, butter, salt and baking soda combine to make a surprisingly soft but sturdy and satisfying cookie, something I discovered when I made these Paleo chocolate vanilla pinwheel cookies two years ago (2016 seems like so long ago! We had just moved into our house, I remember rolling out the cookie dough next to the wall between our kitchen and dining table. Just a few weeks later, we removed the wall and the house looks about 1,000x better! But I digress...)

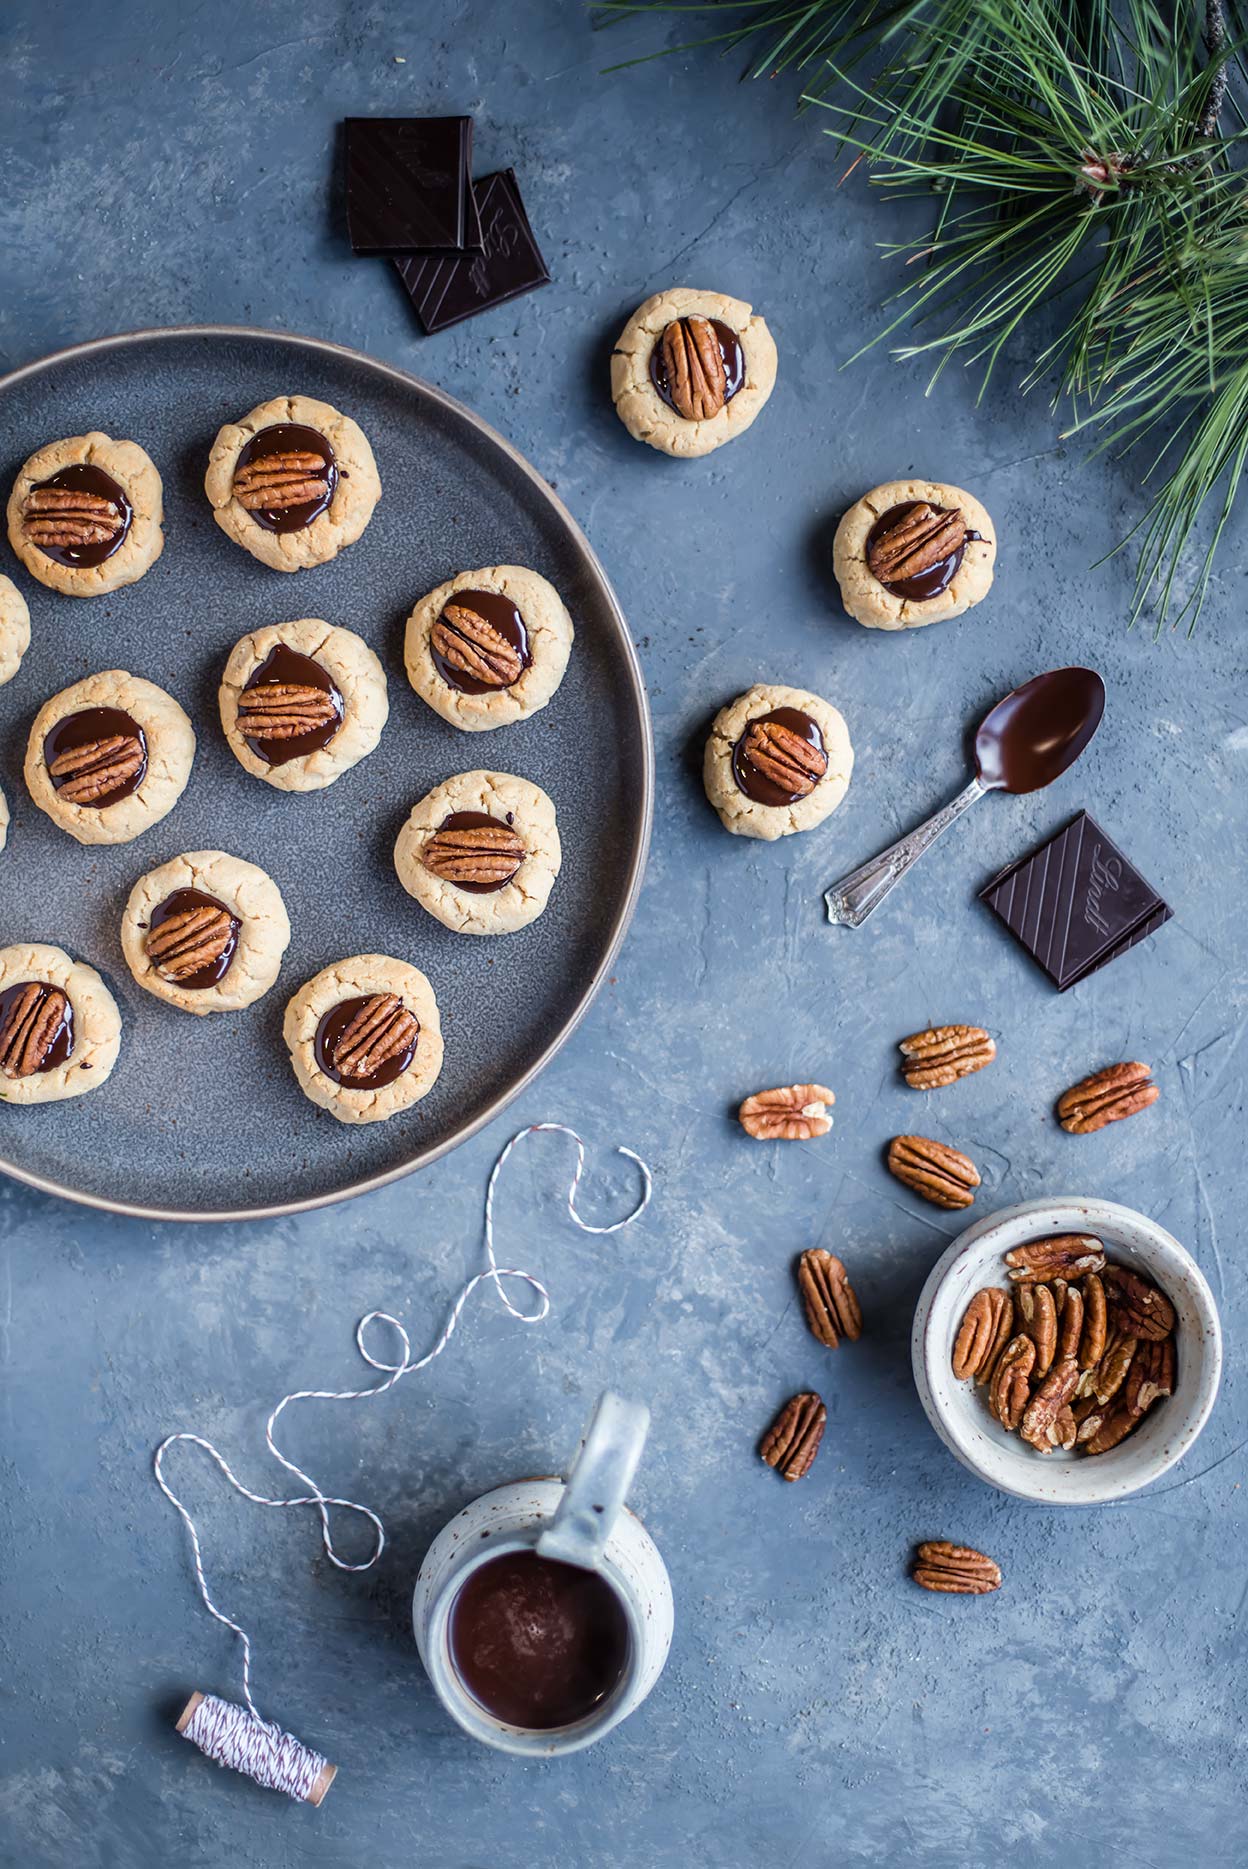
Thumbprint cookies — a Swedish treat traditionally made with a raspberry filling - have always looked festive to me. When filled with raspberry jam, they gleam in the light like little gems. But raspberry is a very summery flavor, and my inner chocoholic screamed “ganache!!” and I gave in easily, filling each with a melted 85% Dark Chocolate Lindt Bar.

Gluten-Free Chocolate Pecan Thumbprint Cookies

The result is similar to those chocolate kiss-topped peanut butter cookies we’ve all had at many a Christmas party, but with more delicate flavors. Toasted pecans with chocolate is an unparalleled combo in desserts in my book, one that fills your kitchen with the smells of caramelly nuts and fruity cacao scent.

The cookie dough in this recipe is fairly flexible when it comes to flour. I tested using 1/2 cup gluten-free measure for measure flour (King Arthur flour) in place of 1/2 cup of almond flour and the result was almost the same as using all almond flour. That’s not to say I’ve tested everything! But I’m confident you’ll love these. The dough will crack a bit when you go to make the thumbprints, but that doesn’t impact the cookie much. We’re not going for perfect here — once you add the chocolate and the pecans, they’ll look (and be) absolutely delicious!

Gluten-Free Chocolate Pecan Thumbprint Cookies

Gluten-Free Chocolate Pecan Thumbprint Cookies

Published December 25, 2018 by

Yield: 15   |    Active Time: 40 minutes


Ingredients:

  • 2 cups almond flour
  • 1/4 teaspoon salt
  • 1/4 teaspoon baking soda
  • 1/4 cup coconut oil or butter, melted
  • 1/4 cup honey
  • 1/2 teaspoon vanilla extract

  • For the filling:
  • 1/3 cup chocolate chips (or a chopped up dark chocolate bar)
  • 1 tablespoon coconut oil or butter
  • 1/2 cup pecan halves, toasted

  • Directions:

    1. Preheat oven to 325°F. Line a cookie sheet with parchment paper and set aside.
    2. In a medium-sized mixing bowl, combine almond flour, salt, and baking soda and whisk briefly to combine.
    3. Add melted oil/butter, honey, and vanilla and stir dough with a spatula until a stiff dough forms.
    4. Shape cookies: scoop cookie dough by the tablespoonful into the palm of your hand. Shape into a sphere, and then place on a prepared cookie sheet. Using a smaller spoon or you thumb, make an indent in the center of the cookie. The dough may crack a bit around the edges, which is fine; if you like, you can carefully press it together with your fingers.
    5. Repeat step 4 until all of the dough is used. Leave at least 1/2 inch between each cookie on the baking sheet.
    6. Place cookies in oven on middle rack and bake for 10-13 minutes. Cookies should be golden and fragrant. Set aside to cool.
    7. While cookies cool, make the filling. Melt chocolate and 1 tablespoon butter/oil in a microwave safe bowl in the microwave by heating at 30-second intervals, stirring between each round, or in a double boiler.
    8. When cookies have cooled enough to be easily handled, carefully spoon chocolate into the center of each, and place a single pecan half in the center of each. Allow chocolate to set for 10-15 minutes, and then serve or store in an air-tight contain for a week.

    Vanilla Chai Spice Dried Pears

    Vanilla Chai Spice Dried Pears

    A big box showed up in our dining room in mid-September with my name on the shipping label. 

    It was my birthday but I still scratched my head. This September, I had been so stressed that I mostly avoided the topic of my birthday or gifts with anyone that asked— I certainly didn’t need anything, but I also just couldn’t find a minute to think about it clearly.

    I had ordered nothing from Amazon myself (though in the same minute that thought entered my mind I also started doubting myself— had I hit “buy now” on that Dehydrator I had been eyeing instead of “add to cart?”). 

    When I got halfway through opening the box with a paring knife and found it was a Dehydrator, I doubted myself even further. So much so, that I stopped right there and pulled out my phone to check my Amazon order history.

    Vanilla Chai Spice Dried Pears

    Relief washed over me when I saw I had placed no orders in the last month, but I still had a mystery on my hands. I finished unpacking the appliance before drilling Oliver on who had bought it. It probably took me four tries to get it right, but when I did land on my dad it all made sense. I had given him a non-answer when he had asked about my birthday in general, so he had asked Oliver.

    This new dehydrator was about five times nicer than any of the ones I was planning to buy myself! (THANKS DAD!)

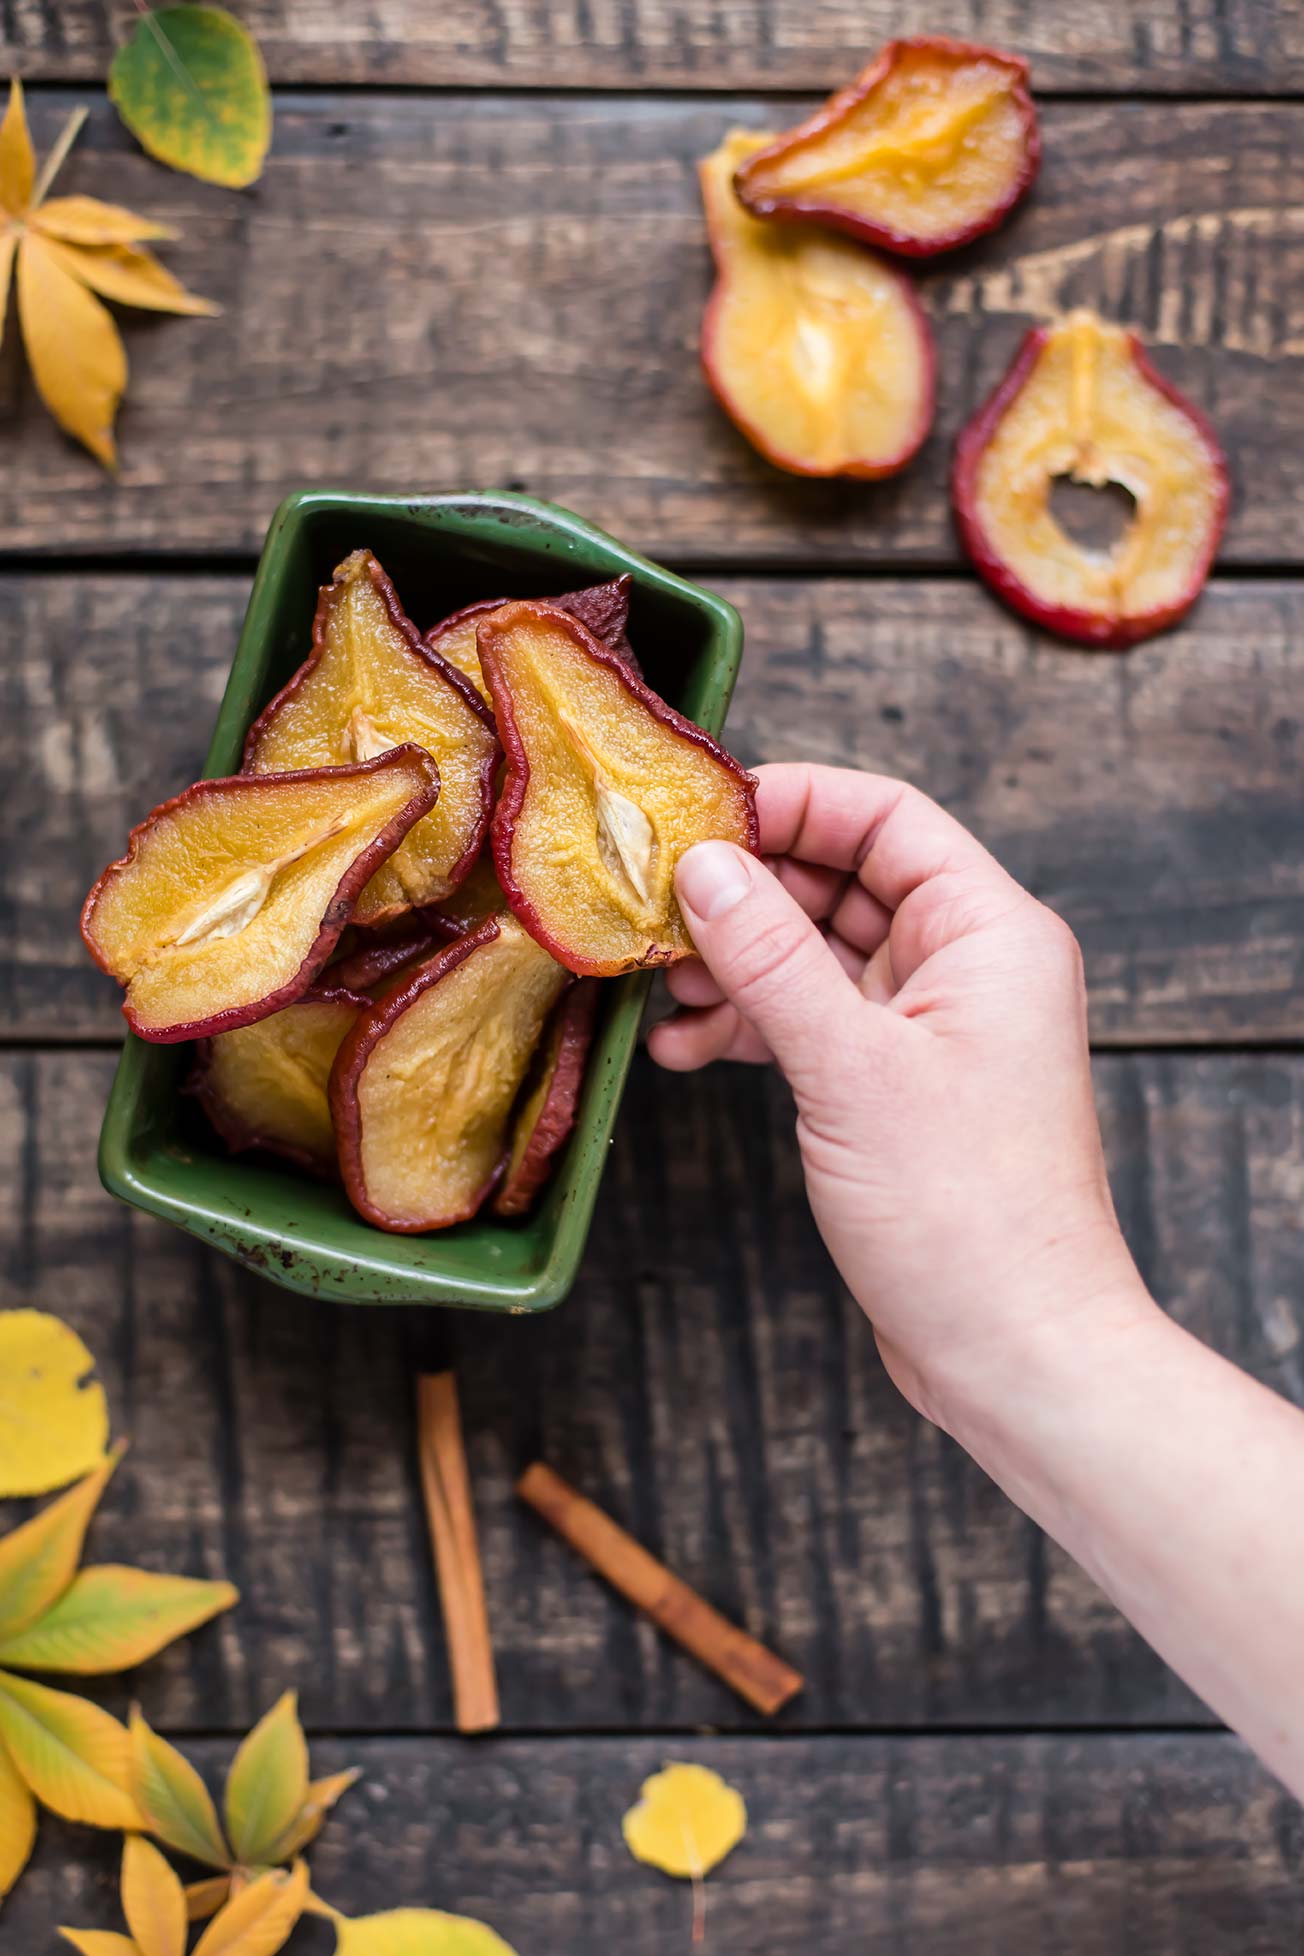
    So far, my absolute favorite thing to dehydrate has been pears.

    This recipe is inspired by one I found in the book, “Dried and True”, a cookbook that takes dehydrating to the next level, moving it from boring old-fashioned recipes to new, inventive, and tantalizing flavors. I made the Dried Vanilla Pears from the book twice before venturing out on my own.

    Vanilla Chai Spice Dried Pears

    As soon as our first fall day hit, I immediately was dreaming about warmer flavors, like cinnamon, nutmeg, and cloves. Chai. And that’s how these pears came to be — a day dream, like most of my recipes 😉

    In real life, each slice of pear was such a treat, I savored every one. We took them hiking, ate them around the house, and packed them in our bags for outings around town. I always looked forward to those delicious pears. I thought, for about 5 seconds, about sharing them with a few coworkers but greed got the best of me and I kept it to myself. Sharing the recipe is almost as good, right?!

    This recipe is good for dehydrating-pros or a newbies like me. Make it while the pears are at their peak! I used Starkrimson Pears one round and Colorado Heirloom Pears another; Starkrimson are especially hardy pears so hold up well to the boiling and dehydrating process.

    Vanilla Chai Spice Dried Pears

    Vanilla Chai Spice Dried Pears

    Published October 16, 2018 by

    Yield: 20 slices   |    Active Time: 8-9 hours


    Ingredients:

  • 4 ripe pears (recommend Starkrimson)
  • 1/2 cup granulated sugar
  • 1 cup water
  • 5 slices of fresh ginger - each about the size of a nickel
  • 1/8 teaspoon ground cinnamon
  • 1/8 teaspoon vanilla extract
  • 1/16 teaspoon ground nutmeg
  • 1/16 teaspoon ground cardamom
  • Pinch of ground cloves

  • Directions:

    1. Combine all ingredients but the pears in a sauce pan, and bring to a simmer, stirring until sugar is dissolved.
    2. Wash pears and cut into 1/4-inch thick slices. Remove seeds and cut of stems as you go.
    3. Work with 3-4 pear slices at once: submerge pears in syrup on the stove, simmering slices for 10 minutes. Pears should be softened through but should not fall apart easily.
    4. Use a slotted spoon to remove slices from syrup and set on a plate to cool for several minutes.
    5. When all of the pears are done, spread them out on the wracks of your dehydrator, with at least 1/4-inch of space between each slice.
    6. Place wrack in dehydrator and set to 135°F for 8-10 hours, until pears are dried but still chewy.

    Raspberry Pistachio Fool (Sweetened with honey!)

    Raspberry Fool
    Raspberry Fool

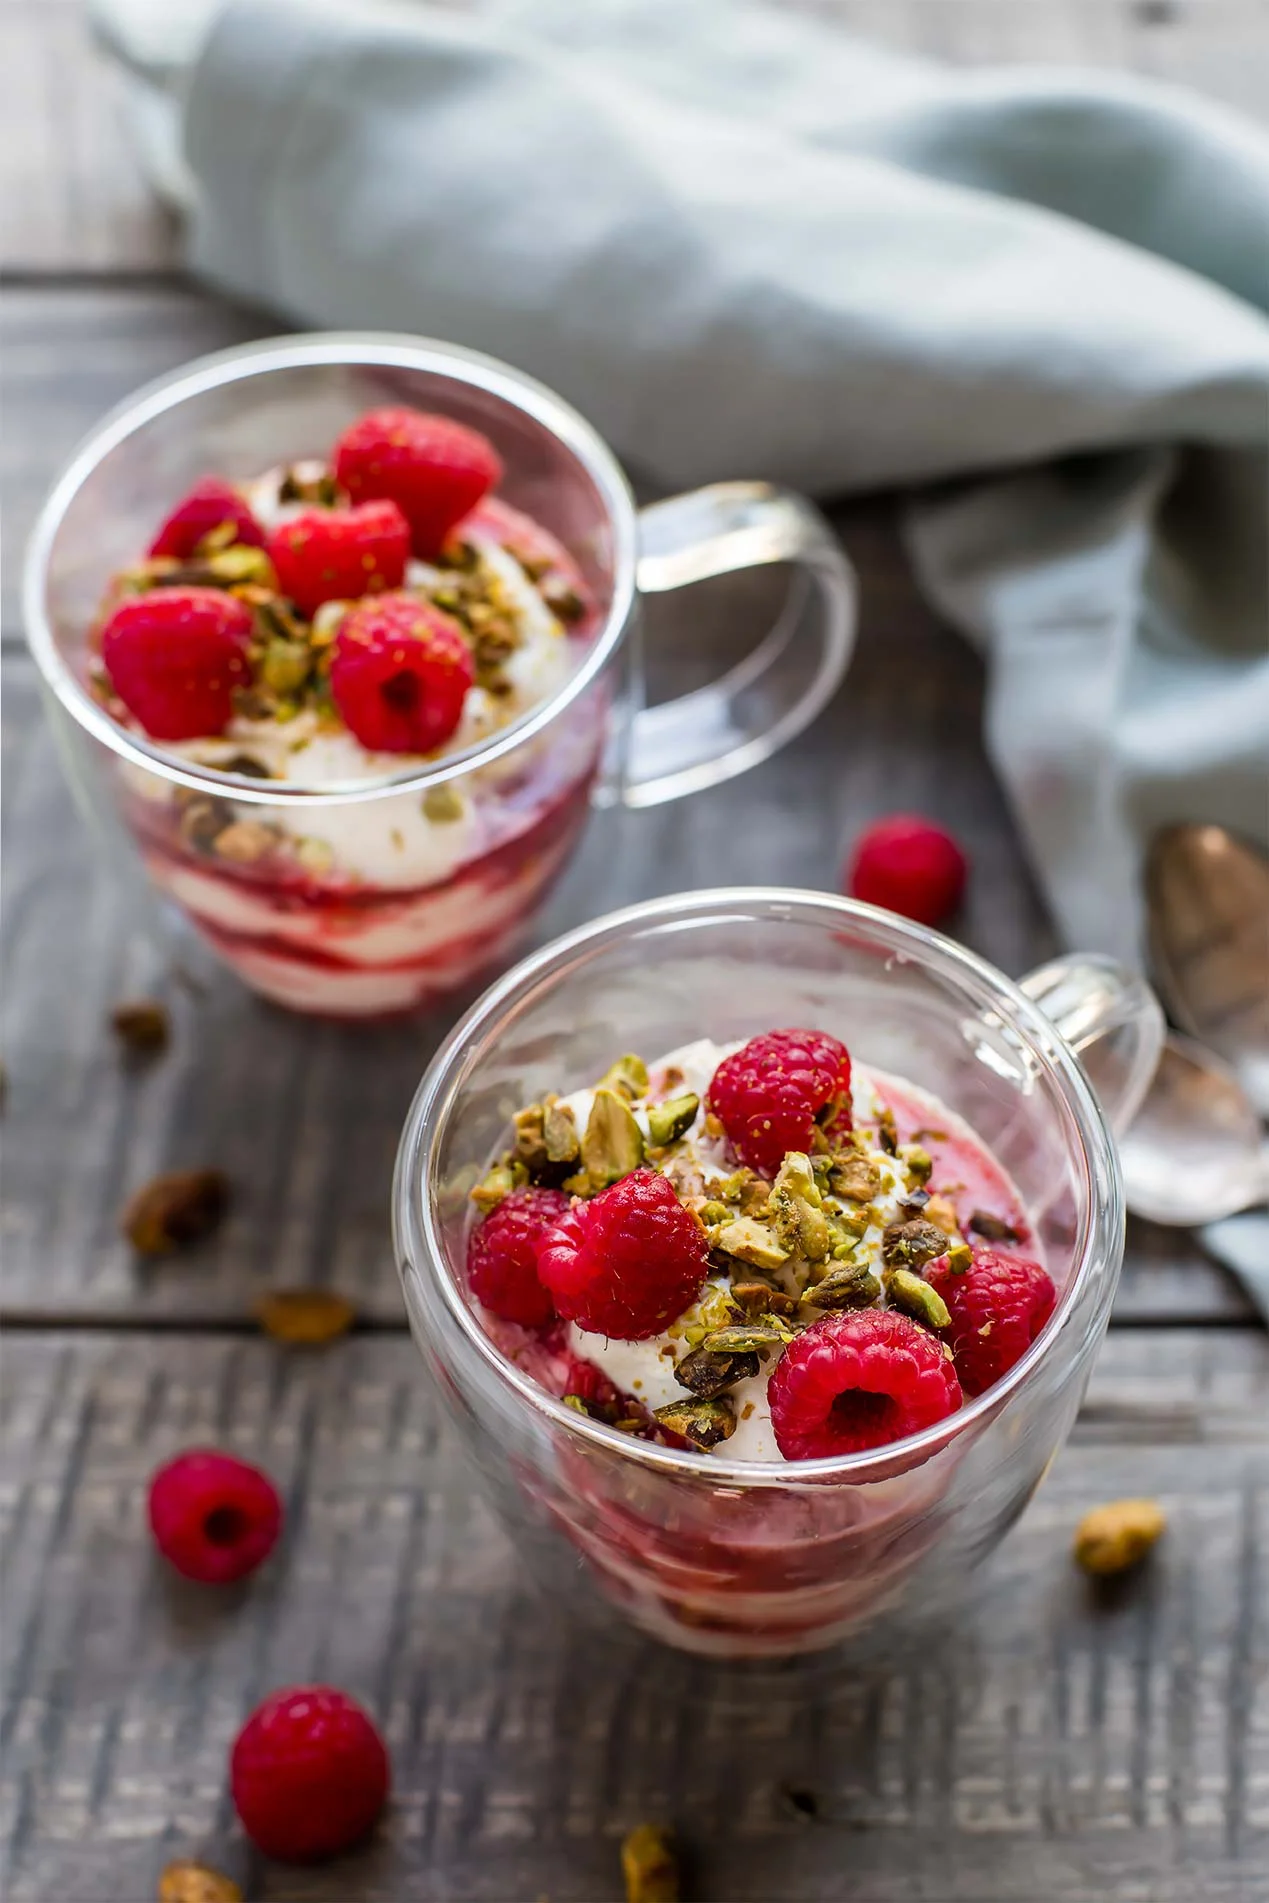
    A simple dessert such as this one hardly needs a full blog post to go with it — soft folds of whipped cream, fresh raspberries accentuated with just a touch of honey and lemon, bits of slightly salty pistachio. That ingredients list alone will do. 🤤

    A “fool” is a British dessert where puréed fruit is layered with custard or whipped cream. This version used whipped cream, which is lighter and pairs well with fresh raspberry, which are sweet and delicate at their peak.

    The raspberry bush I planted last year is producing it’s first round of berries right now (a miracle really, because the backyard is basically a jungle of weeds). There are only a few berries and they’re not quite ripe yet, so I used store bought for this recipe. In a pinch, frozen berries would work — just thaw the berries before macerating.

    And — I’m all for dessert-for-breakfast, so if you're looking for something you could eat in the morning, you could swamp the whipped cream in this recipe for your favorite Greek yogurt and make a parfait.

    Pistachios add a nice crunch to this fool, which is otherwise all fluff and fruit. You could really use any type of nut, but I like the flavor of pistachio with raspberry and whipped cream, and also love the way the color pops!

    And now, onwards, because there’s really nothing better than tasting this one for yourself. 

    Raspberry Fool
    Raspberry Fool

    Raspberry Pistachio Fool (Sweetened with honey!)

    Published July 3, 2018 by

    Serves: 3   |    Active Time: 20 minutes


    Ingredients:

  • 10 ounces fresh raspberries
  • 1 tablespoon lemon juice
  • 2-3 teaspoons honey, divided
  • 1/2 teaspoon vanilla
  • 1 cup heavy whipping cream
  • 1/4 cup crushed pistachios

  • Directions:

    1. In a small bowl, combine 8 ounces of raspberries with lemon juice and 1 teaspoon honey. Set remaining raspberries aside. Using a fork, mash the 8 ounces of raspberries with the lemon and honey. The mixture should resemble a jam or compote. Set aside.
    2. In a second mixing bowl, whip cream to soft peaks using an electric mixer. Add in vanilla and 1-2 teaspoons of honey, depending on your tastes, and continue to whip cream for another minute to incorporate.
    3. In three serving glasses or bowls make alternating layers of whipped cream and the raspberry mixture. Place reserved fresh raspberries on top, and sprinkle with crusted pistachios. Serve immediately.