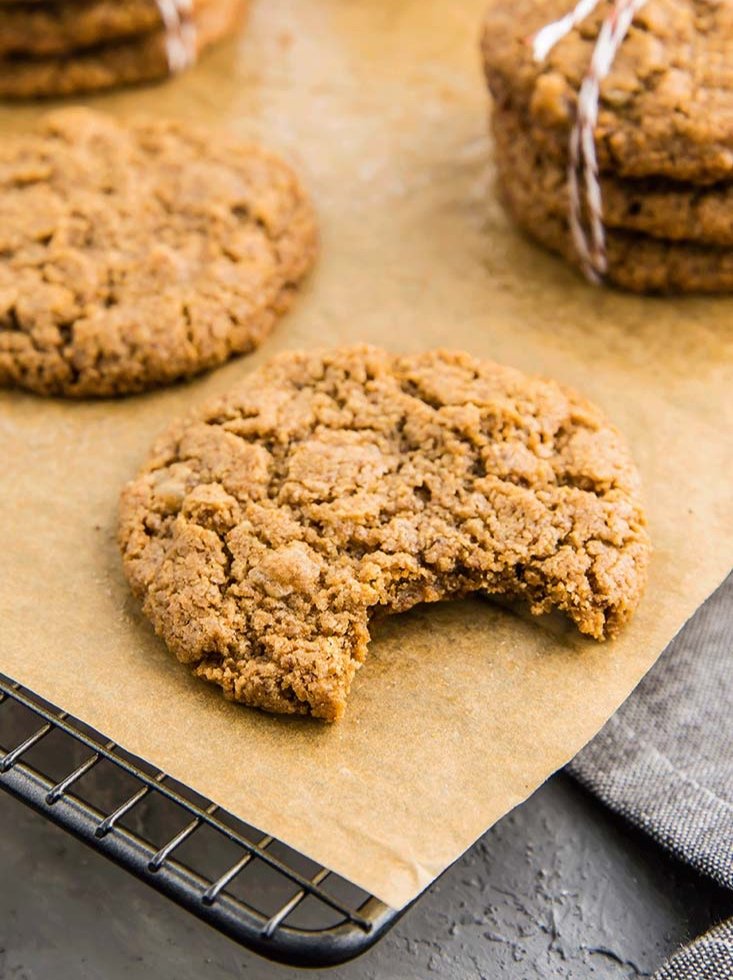
Paleo Almond Flour Snickerdoodle Cookies

Paleo Almond Flour Snickerdoodle Cookies

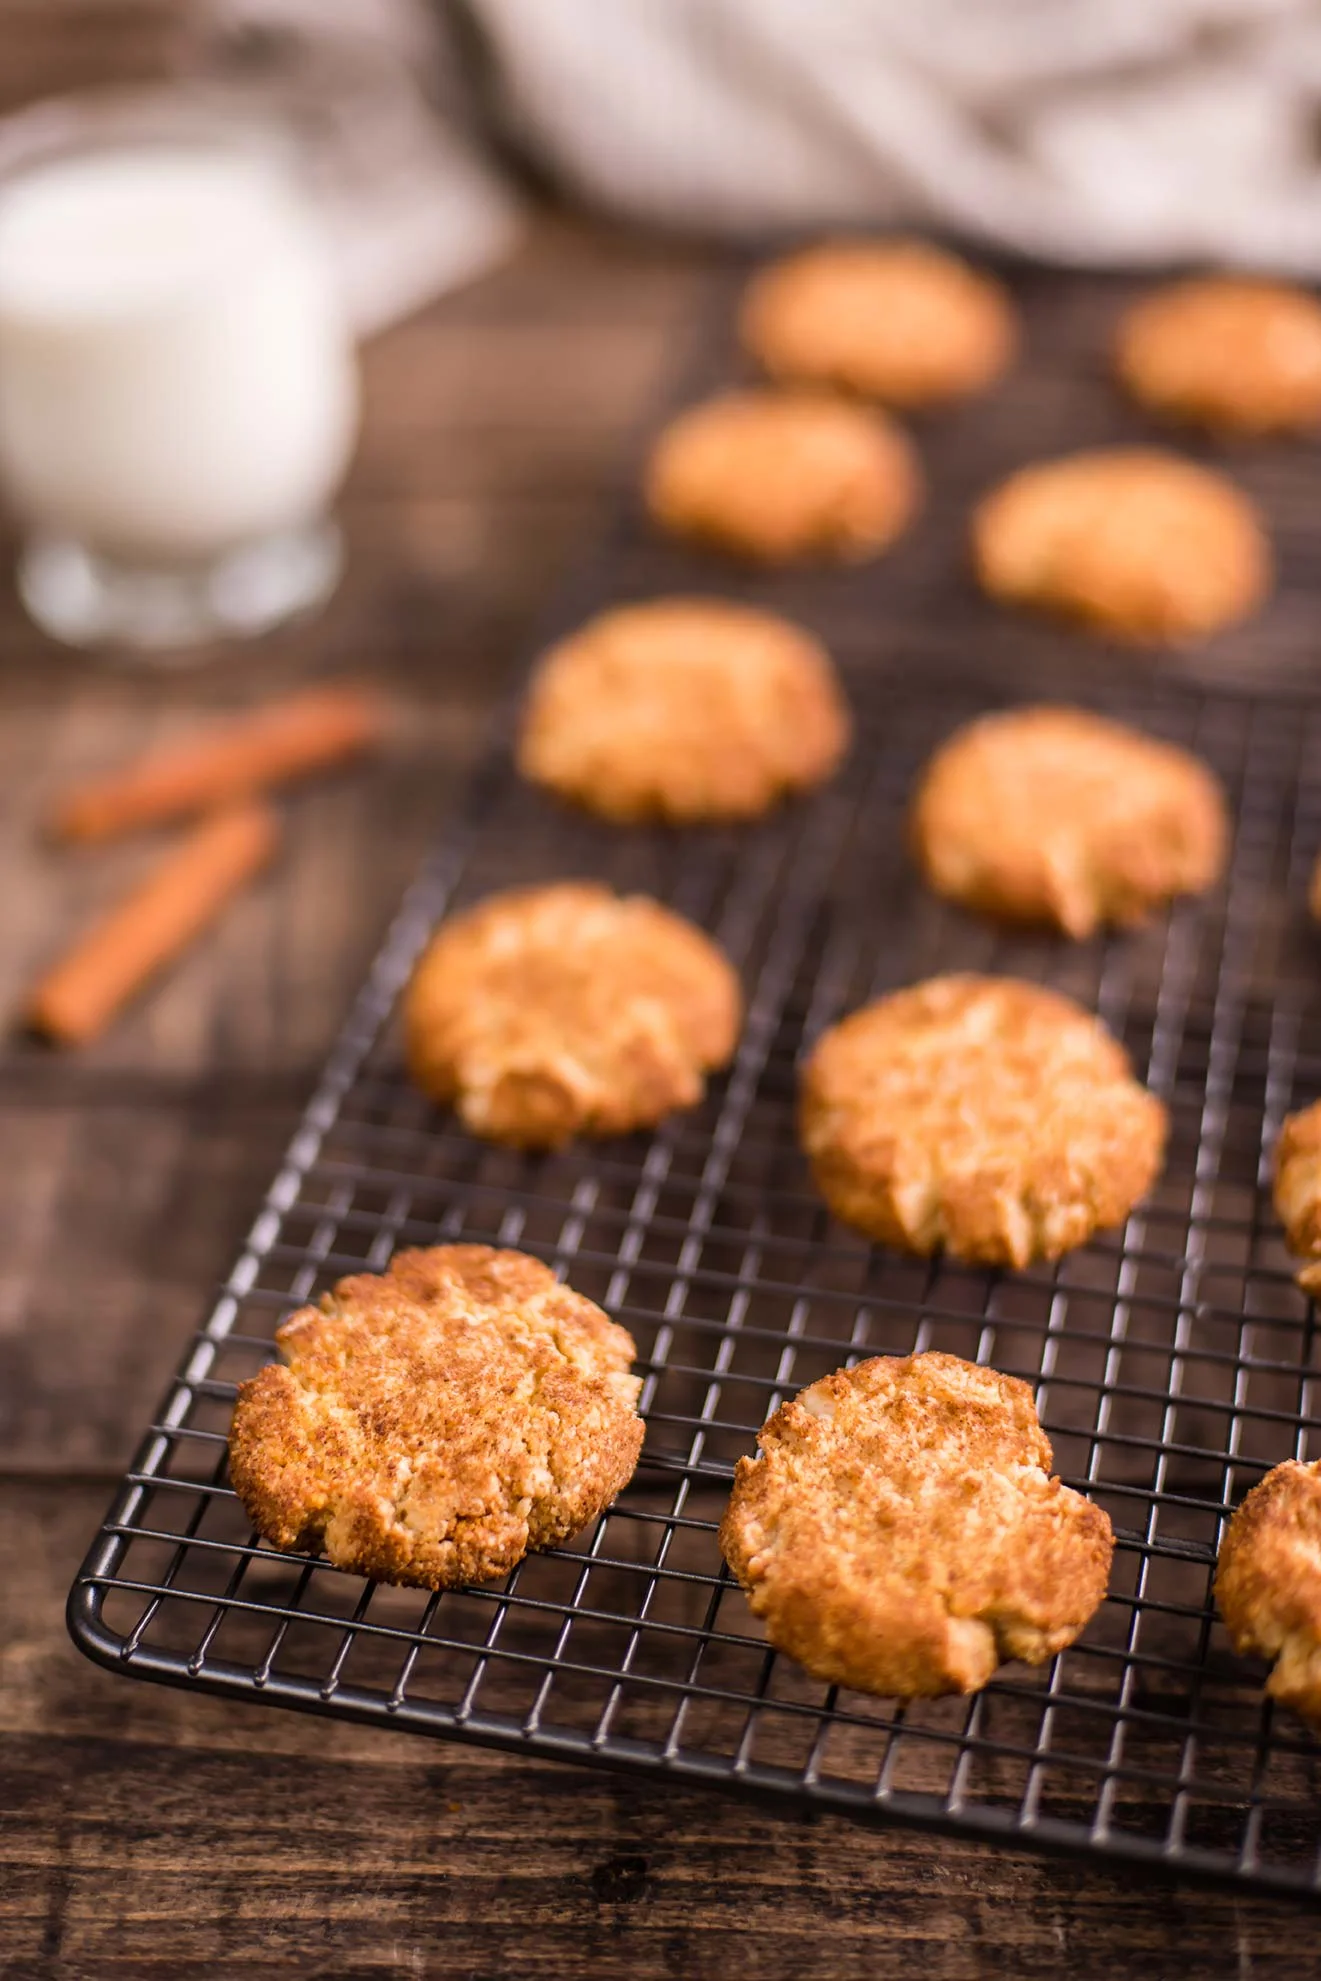
Snickerdoodle cookies fill your house with the best, homiest, sweetest smell. Especially these snickerdoodles, which are made with cinnamon, coconut sugar, honey and almond flour.

It is snowing here today — giant flakes that drift like feathers on their way down. And lucky me! I have the day off. I’m sticking around the house, and this weather is PERFECT for cookies, which is exactly why I jumped in an made this recipe, which I originally created in 2016, but am revisiting today (January, 2019).

I’m using my go-to combination for cookie dough here: almond flour with a tiny bit of salt and baking soda, and honey and coconut oil. It’s miraculous to me that those five ingredients are all you need (plus a little vanilla) to make a gluten-free, grain-free, better-for-you cookie dough, but it’s true. What’s more, they come out of the oven a little bit chewy and crispy on the outside. Dipped in a glass of milk they are SO tender and melt-away delicious.

Paleo Almond Flour Snickerdoodle Cookies

I LOVE cinnamon — in snickerdoodle cookies, but also in pie and almond butter and chai and more. Apparently that love does not run in the family, something I learned some time in high school:

It started at my Mom's house. When I found the cinnamon jar empty, I asked her if we had anymore. She mentioned something about being surprised we were out, she didn't like cinnamon at all and would never use it. I'm not sure which put more of a rut in my baking plans: finding out we didn't have cinnamon, or finding out I might need to just skip it all together. After all of these years, how could I not know that my own mother didn't like cinnamon?! I had been putting it in next to everything.

It was only a few days later I was to find out my dad agreed with her. After the missing cinnamon debacle, I tried to make the same exact recipe a week later at my dad's house. You can probably guess what happens next. He was out of cinnamon as well! I asked him the same thing: "Do we have any more?" and he respond in almost an identical way: "That's weird that we're out, I hate cinnamon." My eyes just about popped out of their sockets. Hate cinnamon?

I hadn't realized anyone had a problem with cinnamon until that moment in my mom's kitchen, and now you're telling me both of my parents are holding a grudge against the stuff?! 

For the record, I replenished both cinnamon supplies, kept baking with cinnamon, and they both continued to eat my baked treats happily. I guess their distaste for cinnamon only went so far. 

Paleo Almond Flour Snickerdoodle Cookies

Watch the video below, or click here if you do not see the video player.

Paleo Almond Flour Snickerdoodle Cookies

Published August 2, 2016 by

Yields: 12   |    Active Time: 30 minutes


Ingredients:

  • 2 cups almond flour
  • 1/4 teaspoon baking soda
  • 1/8 teaspoon salt
  • 1/4 cup coconut oil, melted
  • 1/4 cup honey, melted
  • 1 teaspoon vanilla extract
  • 1/4 cup coconut sugar
  • 1 tablespoon ground cinnamon

  • Directions:

    1. Preheat the oven to 350°F. Fit a baking sheet with parchment paper.
    2. In a medium-sized mixing bowl, combine almond flour, baking soda, and salt. Stir to combine.
    3. Add melted coconut oil, honey, and vanilla and stir to make a stiff dough. Scoop dough by the tablespoonful into your hands, and gently shape into a sphere. Repeat until all of the dough is used.
    4. In a small bowl, combine coconut sugar and cinnamon. Stir to incorporate. One at a time, place the cookie dough balls in the sugar mixture, and roll to coat. Place coated cookie dough ball on the prepared baking sheet, leaving at least 1-inch between each cookie. Repeat until all of the cookie dough balls are coated.
    5. Using a fork, gently press down on each cookie to flatten it to 1/4 to 1/2 inch thick.
    6. Bake for 10-14 minutes, until cookies are puffy, fragrant, and golden. Allow to cool 10 minutes (they will continue to set as they cool).

    6 Comments

    Real Deal Nanaimo Bars (Primal)

    Real Deal Nanaimo Bars (Primal)

    The first time I made Nanaimo Bars, I had no idea what I was in for. It was an assignment, per say, and I was just along for the ride. Guys, I'm just going to spoil the story now and tell you that in this case, trusting in the journey was the right move --> those bars were amazing. 

    A few months later I made Nanaimo Bars again, but this time it was my own inspiration that got me in the kitchen. I want to put a little twist on the classic Canadian dessert. I added lime zest to the custardy filling and topped each slice with candied lime peel. Those bars were 💛💚💛💚💛.

    Real Deal Nanaimo Bars (Primal)

    So of course I didn't just move on when I dropped grains from my diet: I found a way to make a whole-food, real-deal Nanaimo Bar. One that uses unrefined sweeteners (maple syrup nonetheless, to make these Canadian bars even more Canadian!), grain-free flours, and no custard powder (which is a key ingredient in most Nanaimo Bars), and real cocoa powder (I used this cocoa powder, from Anthony's Goods). 

    If you're guessing that these real-deal bars are even better than that first batch I ever made, you're right! 💯 There is no reason to go back to the other bars. 

    Real Deal Nanaimo Bars (Primal)
    Real Deal Nanaimo Bars (Primal)

    Anthony's Goods provided me with product for this blog post, but the recipes and opinions are all my own. Working with brands to develop wholesome recipes is one way I keep Foraged Dish going! Anthony's Goods helps me stock the pantry and keep the blog going. I only work with brands that I truly enjoy and use.  

    Real Deal Nanaimo Bars

    Paleo, Gluten-Free, Grain-Free,    |       

    This dessert is a traditional Canadian dessert. My spin used grain-free flours and maple syrup, for real-deal flavor.

    Serves: 12   |    Total Time:


    Ingredients:

      Base layer:
    • 1-1/4 cup almond meal
    • 1/4 cup cocoa powder
    • 1/4 cup shredded coconut
    • 1/4 cup coconut flour
    • 1/3 cup maple syrup
    • 1/2 tsp salt
    • 1/4 tsp baking soda
    • 1/3 cup coconut oil (melted)

    • Middle Layer:
    • 1 egg yolk
    • 1/3 cup maple syrup
    • 2/3 sticks butter, sliced into 1/4-inch pats

    • Top Layer:
    • 1/3 cup coconut oil
    • 1/4 cup maple syrup
    • 1/3 cup cocoa powder

    Directions:

    1. Preheat your oven to 350°F and prepare your baking pan: line a 9x9 baking pan with parchment, or grease it well with coconut oil. Then, prepare the base layer: In a medium mixing bowl, stir together the almond meal, cocoa powder, shredded coconut, coconut flour, salt, and baking soda. Then, stir in the melted coconut oil and the honey until a consistent dough forms. Press dough into 9x9 pan in an even layer. Bake for 10 minutes, then remove from heat and set on cool wrack.
    2. Next, make the middle layer: whisk the egg yolk until frothy in a medium-sized mixing bowl with an electric mixer. Pour the maple syrup into a small sauce pan. Bring to a boil. Boil until a candy thermometer reads 240°F or the syrup just begins to reach the soft ball stage (drop a bit of syrup into a glass of cold water—the syrup should stay as a drop, rather than dissolving immediately into the water, however it should be moldable between your fingers). For the next part, move quickly: while beating the egg yolk with an electric mixer, slowly pour the maple syrup into the bowl in a steady stream. Doing this slowly will allow you to whisk the syrup in with out getting scrambled eggs! Once the syrup has been poured in, continue to beat for 5 more minutes. Then, add the butter 1 pat at a time to the bowl, beating the whole time. Once the pat is creamed into the maple mixture, add another. Repeat until all of the butter is creamed in and the frosting is fluffy.
    3. Wait until the base layer is 100% cool to the touch before adding the frosting (I let mine cool in the fridge for several hours). Then, spread the frosting over the cookie layer. Place in freezer.
    4. Finally, make the topping: melt coconut oil and maple syrup in a small sauce pan. Once melted, whisk in cocoa powder. Set aside to cool at least 15 minutes. After 15 minutes, remove bars from the freezer and pour the chocolate mixture over top, gently spreading it around so that the entire top is covered. Return to freezer for 15 more minutes before slicing into squares and serving. Store in freezer in air-tight container.

    6 Comments

    Vanilla-Honey Tapioca Pudding

    Vanilla-Honey Tapioca Pudding

    When people hear that I grew up as an only child, they often ask I if you liked it. They as if I know any different – or have any perspective on what it's like compared to having siblings. I want to answer--I want to have an answer- but I do not. Instead, it was just me, and as an introvert, that never bothered me much. I certainly never had to compete for the last pudding cup, which my mom would often keep in the fridge (always tapioca). 

    Vanilla-Honey Tapioca Pudding
    Vanilla-Honey Tapioca Pudding

    Tapioca pudding is ridiculously easy to make. No joke, it's as easy as soak, simmer, set. Serve it with fresh berries in summer, or even a touch of homemade cranberry sauce in winter. Vanilla-Honey Tapioca Pudding!

    Vanilla-Honey Tapioca Pudding

    Primal, Gluten-Free, Grain-Free,    |       

    Tapioca is naturally grain-free, made form tapioca root. Use small tapioca pearls to make this pudding.

    Serves: 4   |    Total Active Time:


    Ingredients:

    • 2 1/2 cups whole milk
    • 1/2 cup heavy cream
    • ⅛ teaspoon salt (or 1/4 teaspoon kosher salt)
    • 1/2 cup small pearl tapioca
    • 1/2 cup honey (or 1/2 cup sugar, depending on preferences -- honey will lend a honey taste to the pudding)
    • 2 eggs
    • 1 teaspoon vanilla

    Directions:

    1. Put the milk, cream, and tapioca pearls in a medium sized sauce pan. Allow to sit for 30 minutes for quick cooking -- or overnight (covered, in the fridge) for normal tapioca, to hydrate.
    2. Place sauce pan on stove over medium-low heat. Add honey, and stir. Warm slowly until the milk is almost to a simmer, stirring frequently to avoiding tapioca sticking to the bottom, and cook until tapioca is fully hydrated (this will vary depending on type of tapioca -- quick cooking tapioca will only need 5 minutes, while regular could take up to 45).
    3. Meanwhile, whisk the eggs in a medium sized mixing bowl. Set aside. When tapioca is hydrated, use a ladel to scoop a ladel of warm milk mixture into the egg, whisking quickly to temper eggs. Then, pour eggs into sauce pan, again stiring quickly to avoid curdling. Cook for 3-5 minutes more, until mixture thickens. Pudding should coat the back of your spoon. Remove from heat, and stir in vanilla. Pour into airtight container and cool in fridge 2 hours or until ready to server.
    4. Divide the pudding among glasses and top with fresh berries, nuts, or marmelade.

    14 Comments